Sometimes you want to combine two figures in Stata but the –graph combine– command isn’t doing it for you for whatever reason. I’ve run into this when I’ve already merged several figures (abcd), and want to combine that with another merged figure (1234):
[a]
[b]
[c]
[d]
...run graph combine then graph export in Stata and get:
[abcd].png

[1]
[2]
[3]
[4]
...graph combine and graph export to get:
[1234].png
But what I want is one image that looks like this, stacking one on top of the other:
[abcd
 1234].png
My previous workflow was to open up GIMP and manually combine them together. It turns out ImageMagick allows you to do this from the command line, so you can embed a couple of lines of code in your Stata do file to combine images together quickly. You can read details on the append command here (and also the related smush command here).
Getting started with Imagemagick & Stata, and example on how to combine/merge/append images
Note: I am doing this on Windows. The process might be slightly different for Mac or *nix.
Also note: The examples here use PNG files since they are smaller than TIFF files. You might opt to use TIFF files since they are uncompressed and won’t introduce compression artifact with multiple manipulations. Journals will probably want TIFF files anyway so perhaps do that from the start.
Also also note: Imagemagick doesn’t like extra spaces in code. If your code doesn’t run as expected, check that you don’t have extra spaces in your code. And also make sure you are also running the “local pwd=c(pwd)” command along with your other lines of code all at once.
- Step 1: Download and install ImageMagick. Make sure to check the box next to “Add application directory to your system path”. This allows you to call ImageMagick from the command line so you can use it in Stata.
- Step 2: From a do file, make some figures and use –graph export– to save them in your working directory as a common filetype (e.g., PNG, JPG, SVG). Let’s assume you have one figure called abcd.png and another called 1234.png.
- Note: Type -pwd- to see where your working directory is.
- Step 3: In your do file below the code that makes your two figures, call ImageMagick from the shell (“!” is the Stata command to call the shell), list out the names of the figures you want to combine, say you want to combine them, then tell it the name of the combined filetype.
- To simplify the code, we’ll also grab the present working directory and put it before the filename as a local macro. Since this uses local macros, you need to run all lines at once from a do file and not one-by-one in Stata.
Combining figures using convert -append
Here’s some code that will vertically append a file “abcd.png” to “1234.png” and save as “abcd1234.png”:
local pwd = c(pwd) // pluck stata's working directory
//
!magick ///
convert ///
"`pwd'/abcd.png" ///
"`pwd'/1234.png" ///
-append ///
"`pwd'/abcd1234.png"
Note that if you want to combine them horizontally instead of vertically, you’d use “+append” instead.
Combining figures using mosaic
Alternatively, you can use the mosaic command, and specify “concatenate” to do the same thing, specifying they are tiled in a 1×2 tiling (read about the mosaic command here). Note that adding -label “” before each figure name keeps any generated labels from appearing under each figure in the final mosaic:
local pwd = c(pwd) // pluck stata's working directory
//
!magick ///
montage ///
-label "" "`pwd'/abcd.png" ///
-label "" "`pwd'/1234.png" ///
-mode Concatenate -tile 1x2 ///
"`pwd'/abcd1234.png"
Or you can use the mosaic command to stick together all of the original figures as 4×2 tiling:
local pwd = c(pwd) // pluck stata's working directory
//
!magick ///
montage ///
-label "" "`pwd'/a.png" ///
-label "" "`pwd'/b.png" ///
-label "" "`pwd'/c.png" ///
-label "" "`pwd'/d.png" ///
-label "" "`pwd'/1.png" ///
-label "" "`pwd'/2.png" ///
-label "" "`pwd'/3.png" ///
-label "" "`pwd'/4.png" ///
-mode Concatenate -tile 4x2 ///
"`pwd'/abcd1234.png"
Adding text/annotation to your image
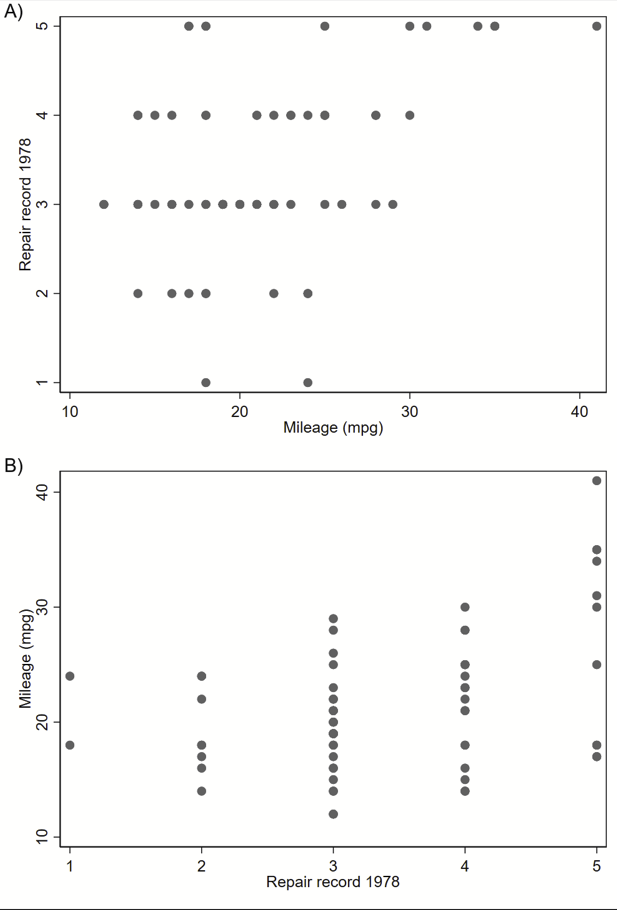
Adding text label on the figure itself with Convert -annotate
You can also add some labels right on your figure with the “convert -annotate” command (details here). Here we are adding a label “A)” and “B)” to the top left corner of each figure, or “Northwest” as defined by gravity (can use other cardinal directions too). You can move things up or down from the Northwest point if needed by changing the +0+0 (that’s +x+y) offset.
sysuse auto, clear

set scheme s1mono // I like this scheme
twoway scatter mpg rep78
graph export 1234.png, width(1000) replace

twoway scatter rep78 mpg
graph export abcd.png, width(1000) replace

local pwd = c(pwd) // pluck stata's working directory
//
!magick ///
convert ///
"`pwd'/abcd.png" -gravity Northwest -pointsize 30 -annotate +10+0 "A)" ///
"`pwd'/abcd_labeled.png"
//
!magick ///
convert ///
"`pwd'/1234.png" -gravity Northwest -pointsize 30 -annotate +10+0 "B)" ///
"`pwd'/1234_labeled.png"
//
!magick ///
"`pwd'/abcd_labeled.png" ///
"`pwd'/1234_labeled.png" ///
-append ///
"`pwd'/abcd1234_labeled.png"
Here’s the resulting figure:
Adding text above your figure with convert -label, then combining figures with mosaic
This will add a label above your image, instead of on your image like convert -annotate. Here, the background is yellow so you can see it. Details are here.
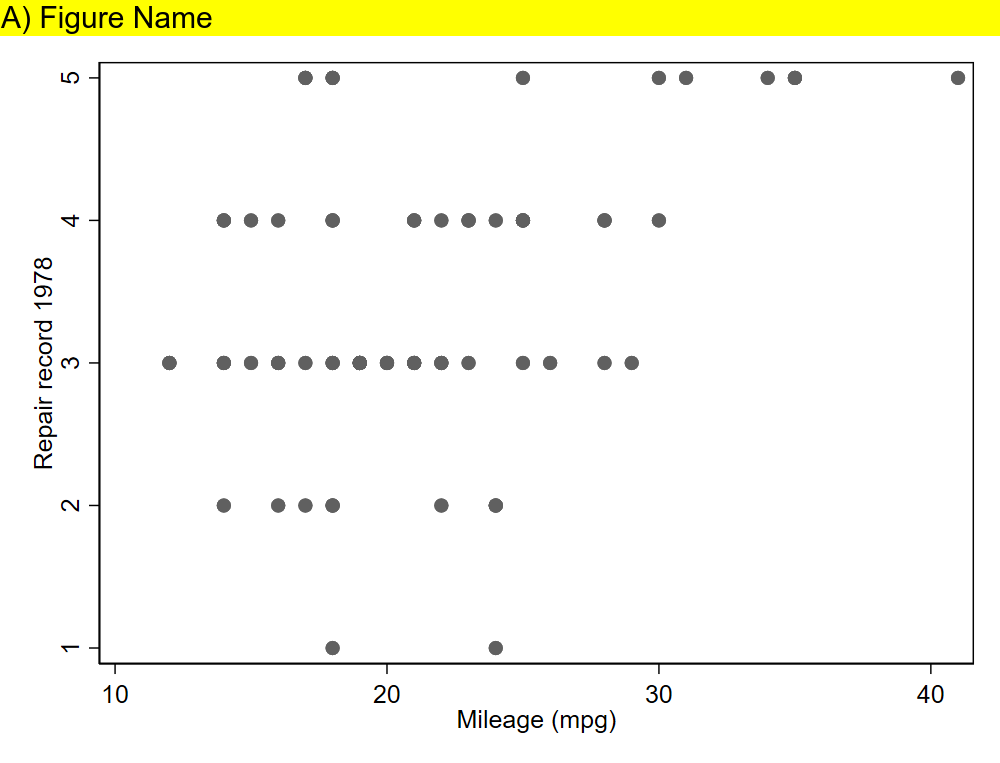
This can be followed by a mosaic command so you can get a figure like this (with white label now).
Note that Imagemagick will try to append the labels that you generated in prior lines (“A) Figure Name” and “B) Figure Name”) under each image before combining unless you specify -label “”. Code to make the above figures:
sysuse auto, clear

set scheme s1mono // I like this scheme
twoway scatter mpg rep78
graph export 1234.png, width(1000) replace

twoway scatter rep78 mpg
graph export abcd.png, width(1000) replace

local pwd = c(pwd) // pluck stata's working directory
// label
!magick ///
convert ///
"`pwd'/abcd.png" -background white -pointsize 30 label:"A) Figure Name" +swap -gravity West -append ///
"`pwd'/abcd_labeled.png"
//
!magick ///
convert ///
"`pwd'/1234.png" -background white -pointsize 30 label:"B) Figure Name" +swap -gravity West -append ///
"`pwd'/1234_labeled.png"
// combine as a montage
!magick ///
montage ///
-label "" "`pwd'/abcd_labeled.png" ///
-label "" "`pwd'/1234_labeled.png" ///
-mode Concatenate -tile 1x2 ///
"`pwd'/abcd1234_labeled_montage.png"
Generating an image with text then sticking that on top of your figures
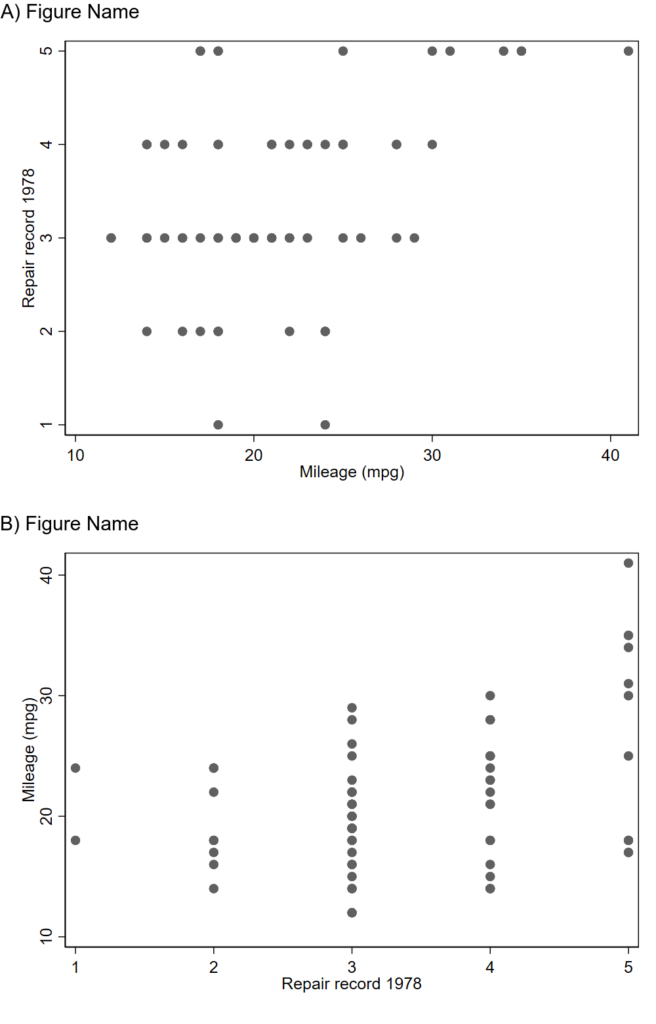
ImageMagick will allow you to make an image that’s just text, which you can then stack on top of your figures using the montage feature. Just make sure to set the text width to be the same width as your figure, 1000 pixels here. You will stack them like this:
[abcd_label <-newly generated image of just text
abcd
1234_label <-newly generated image of just text
1234]
And you’ll get something like this:
sysuse auto, clear

set scheme s1mono // I like this scheme
twoway scatter rep78 mpg
graph export abcd.png, width(1000) replace

twoway scatter mpg rep78
graph export 1234.png, width(1000) replace

local pwd = c(pwd) // pluck stata's working directory
// make two separate text labels that you will later combine with your
// abcd and 1234 figures using montage
//
// first make the labels
// note: the caption option will use word wrap if it's too wide.
// This is 1000 pixels wide to match the other figures.
//
!magick ///
convert ///
-background none -size 1000x -fill black -font ariel -pointsize 30 caption:"A) Figure Name" ///
"`pwd'/abcdlabel.png"
//
!magick ///
convert ///
-background none -size 1000x -fill black -font ariel -pointsize 30 caption:"B) Figure Name" ///
"`pwd'/1234label.png"
//now use montage to put those labels on top of your other ones.
//combine as a montage
//
!magick ///
montage ///
-label "" "`pwd'/abcdlabel.png" ///
-label "" "`pwd'/abcd.png" ///
-label "" "`pwd'/1234label.png" ///
-label "" "`pwd'/1234.png" ///
-mode Concatenate -tile 1x4 ///
"`pwd'/abcd1234_labeled_montage.png"
Other useful functions of Imagemagick
Convert and -Trim
Trimming removes all of the extra border around your figure. The border is defined as whatever color the pixel in the corner is. So if you have a figure that looks like this:
Trimming will remove the small amount of blue space outside of your labels and around the figure, so you get this:
Code to do this:
sysuse auto, clear
set scheme s2color // stata's default scheme
twoway scatter rep78 mpg
graph export abcd.png, width(1000) replace
//
local pwd = c(pwd) // pluck stata's working directory
//
!magick ///
convert ///
"`pwd'/abcd.png" -trim ///
"`pwd'/abcd_trim.png"
Replicating Stata’s Graph Combine feature
I’m not quite sure why you’d want to do this, but you can combine several figures without axis labels and use one overall label like specifying l1label and b1label in –graph combine–. This code makes 4 separate figures without labels then merges them together then generates text to go on the left side vertically and on the bottom horizontally. You get this figure in the end:

sysuse auto, clear
set scheme s1mono // I like this scheme
//
// Make 4 figures without labels
twoway scatter mpg weight if rep78==1 ///
, ///
xti("") ///
yti("")
//
graph export 1.png, width(1000) replace
//
twoway scatter mpg weight if rep78==2 ///
, ///
xti("") ///
yti("")
//
graph export 2.png, width(1000) replace
//
twoway scatter mpg weight if rep78==3 ///
, ///
xti("") ///
yti("")
//
graph export 3.png, width(1000) replace
//
twoway scatter mpg weight if rep78==4 ///
, ///
xti("") ///
yti("")
//
graph export 4.png, width(1000) replace
//
local pwd = c(pwd) // pluck stata's working directory
// now merge the 4 figures horizontally:
!magick ///
montage ///
-label "" "`pwd'/1.png" ///
-label "" "`pwd'/2.png" ///
-label "" "`pwd'/3.png" ///
-label "" "`pwd'/4.png" ///
-mode Concatenate -tile 4x1 ///
"`pwd'/1234_noaxislabel.png"
// now make a side label as a text block:
//
!magick ///
convert ///
-pointsize 50 label:"Side Label!" -rotate -90 ///
"`pwd'/1234sidelabel.png"
//
// ditto bottom label:
//
!magick ///
convert ///
-pointsize 50 label:"Bottom Label!" -rotate -0 ///
"`pwd'/1234bottomlabel.png"
//
// now combine them together:
!magick convert \( "`pwd'/1234sidelabel.png" "`pwd'/1234_noaxislabel.png" -gravity Center +append \) \( "`pwd'/1234bottomlabel.png" \) -append 1234_labeled.png