Download the PDF Fact Sheet Here!
Introduction
It is easy to ignore the thing beneath our feet, but floors are an important part of produce wash and pack areas that deserve special attention. They can impact efficiency, ergonomics, employee health, worker fatigue, personnel safety, and produce safety. There are also a number of design features involved with these seemingly simple structures that should be considered1,2.
No two wash-pack areas are the same. Every farm has different needs driven by different crops, scales of production, layout, existing infrastructure, and management approaches.
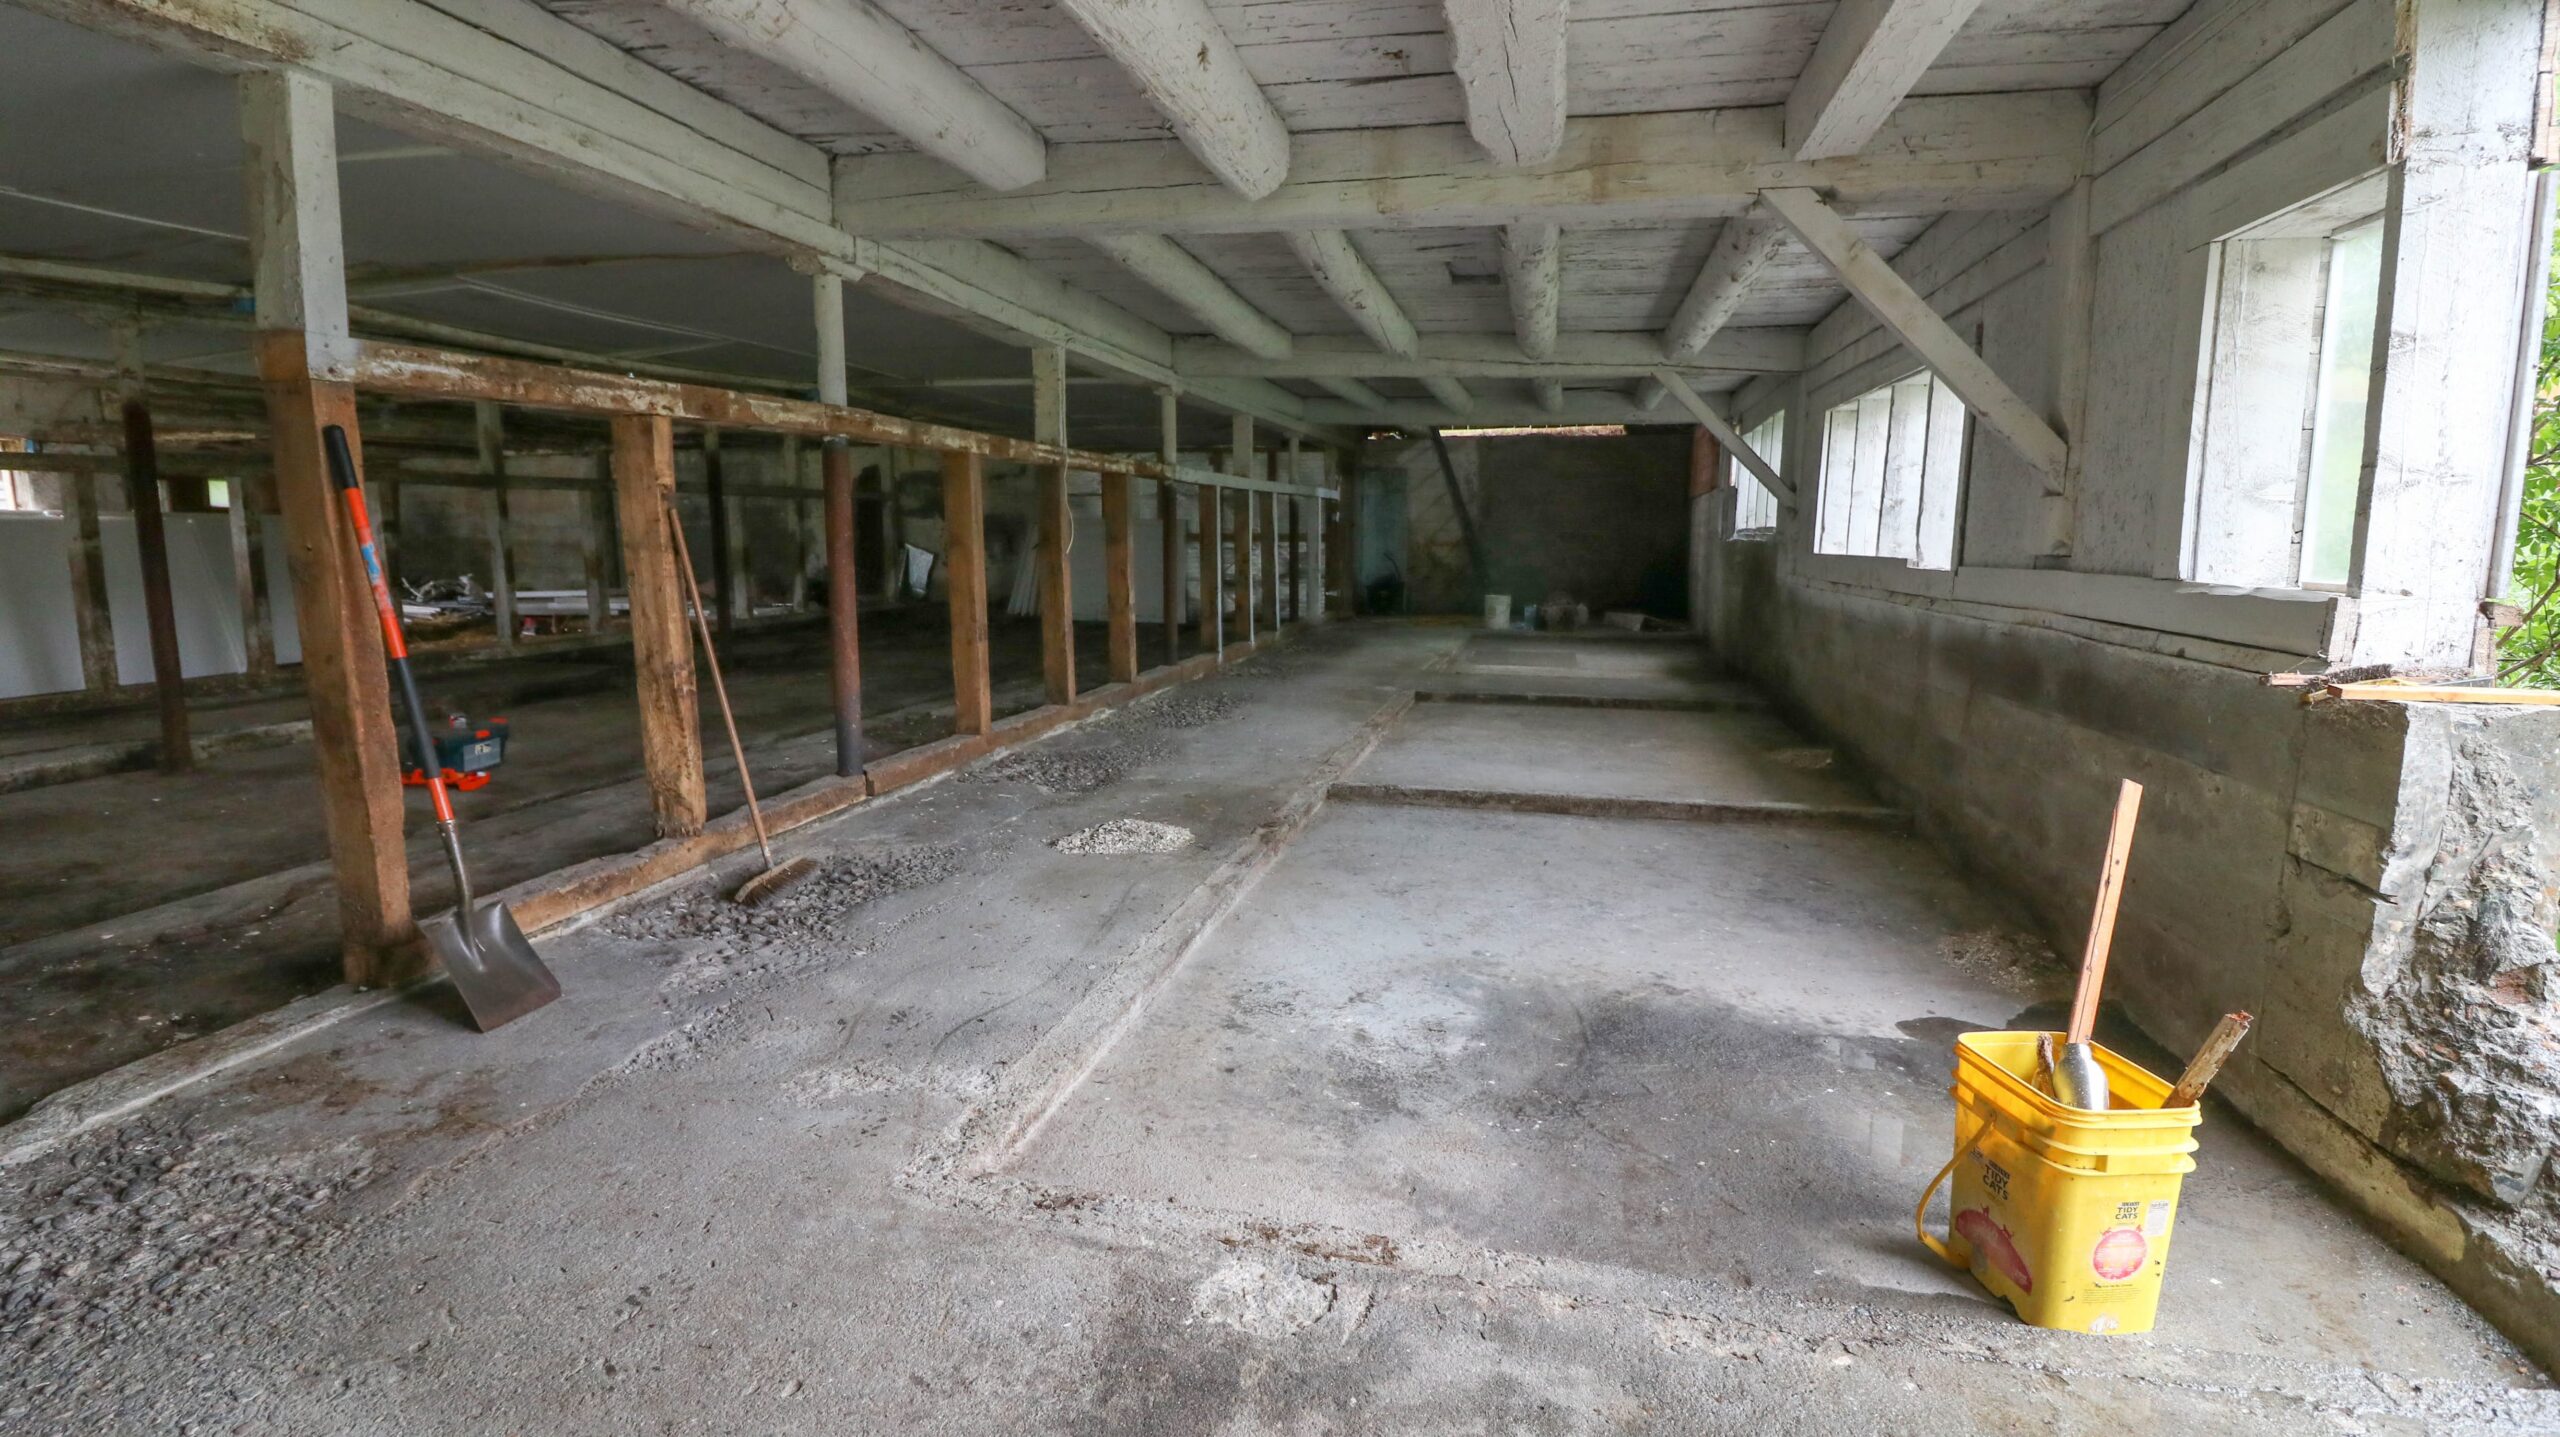
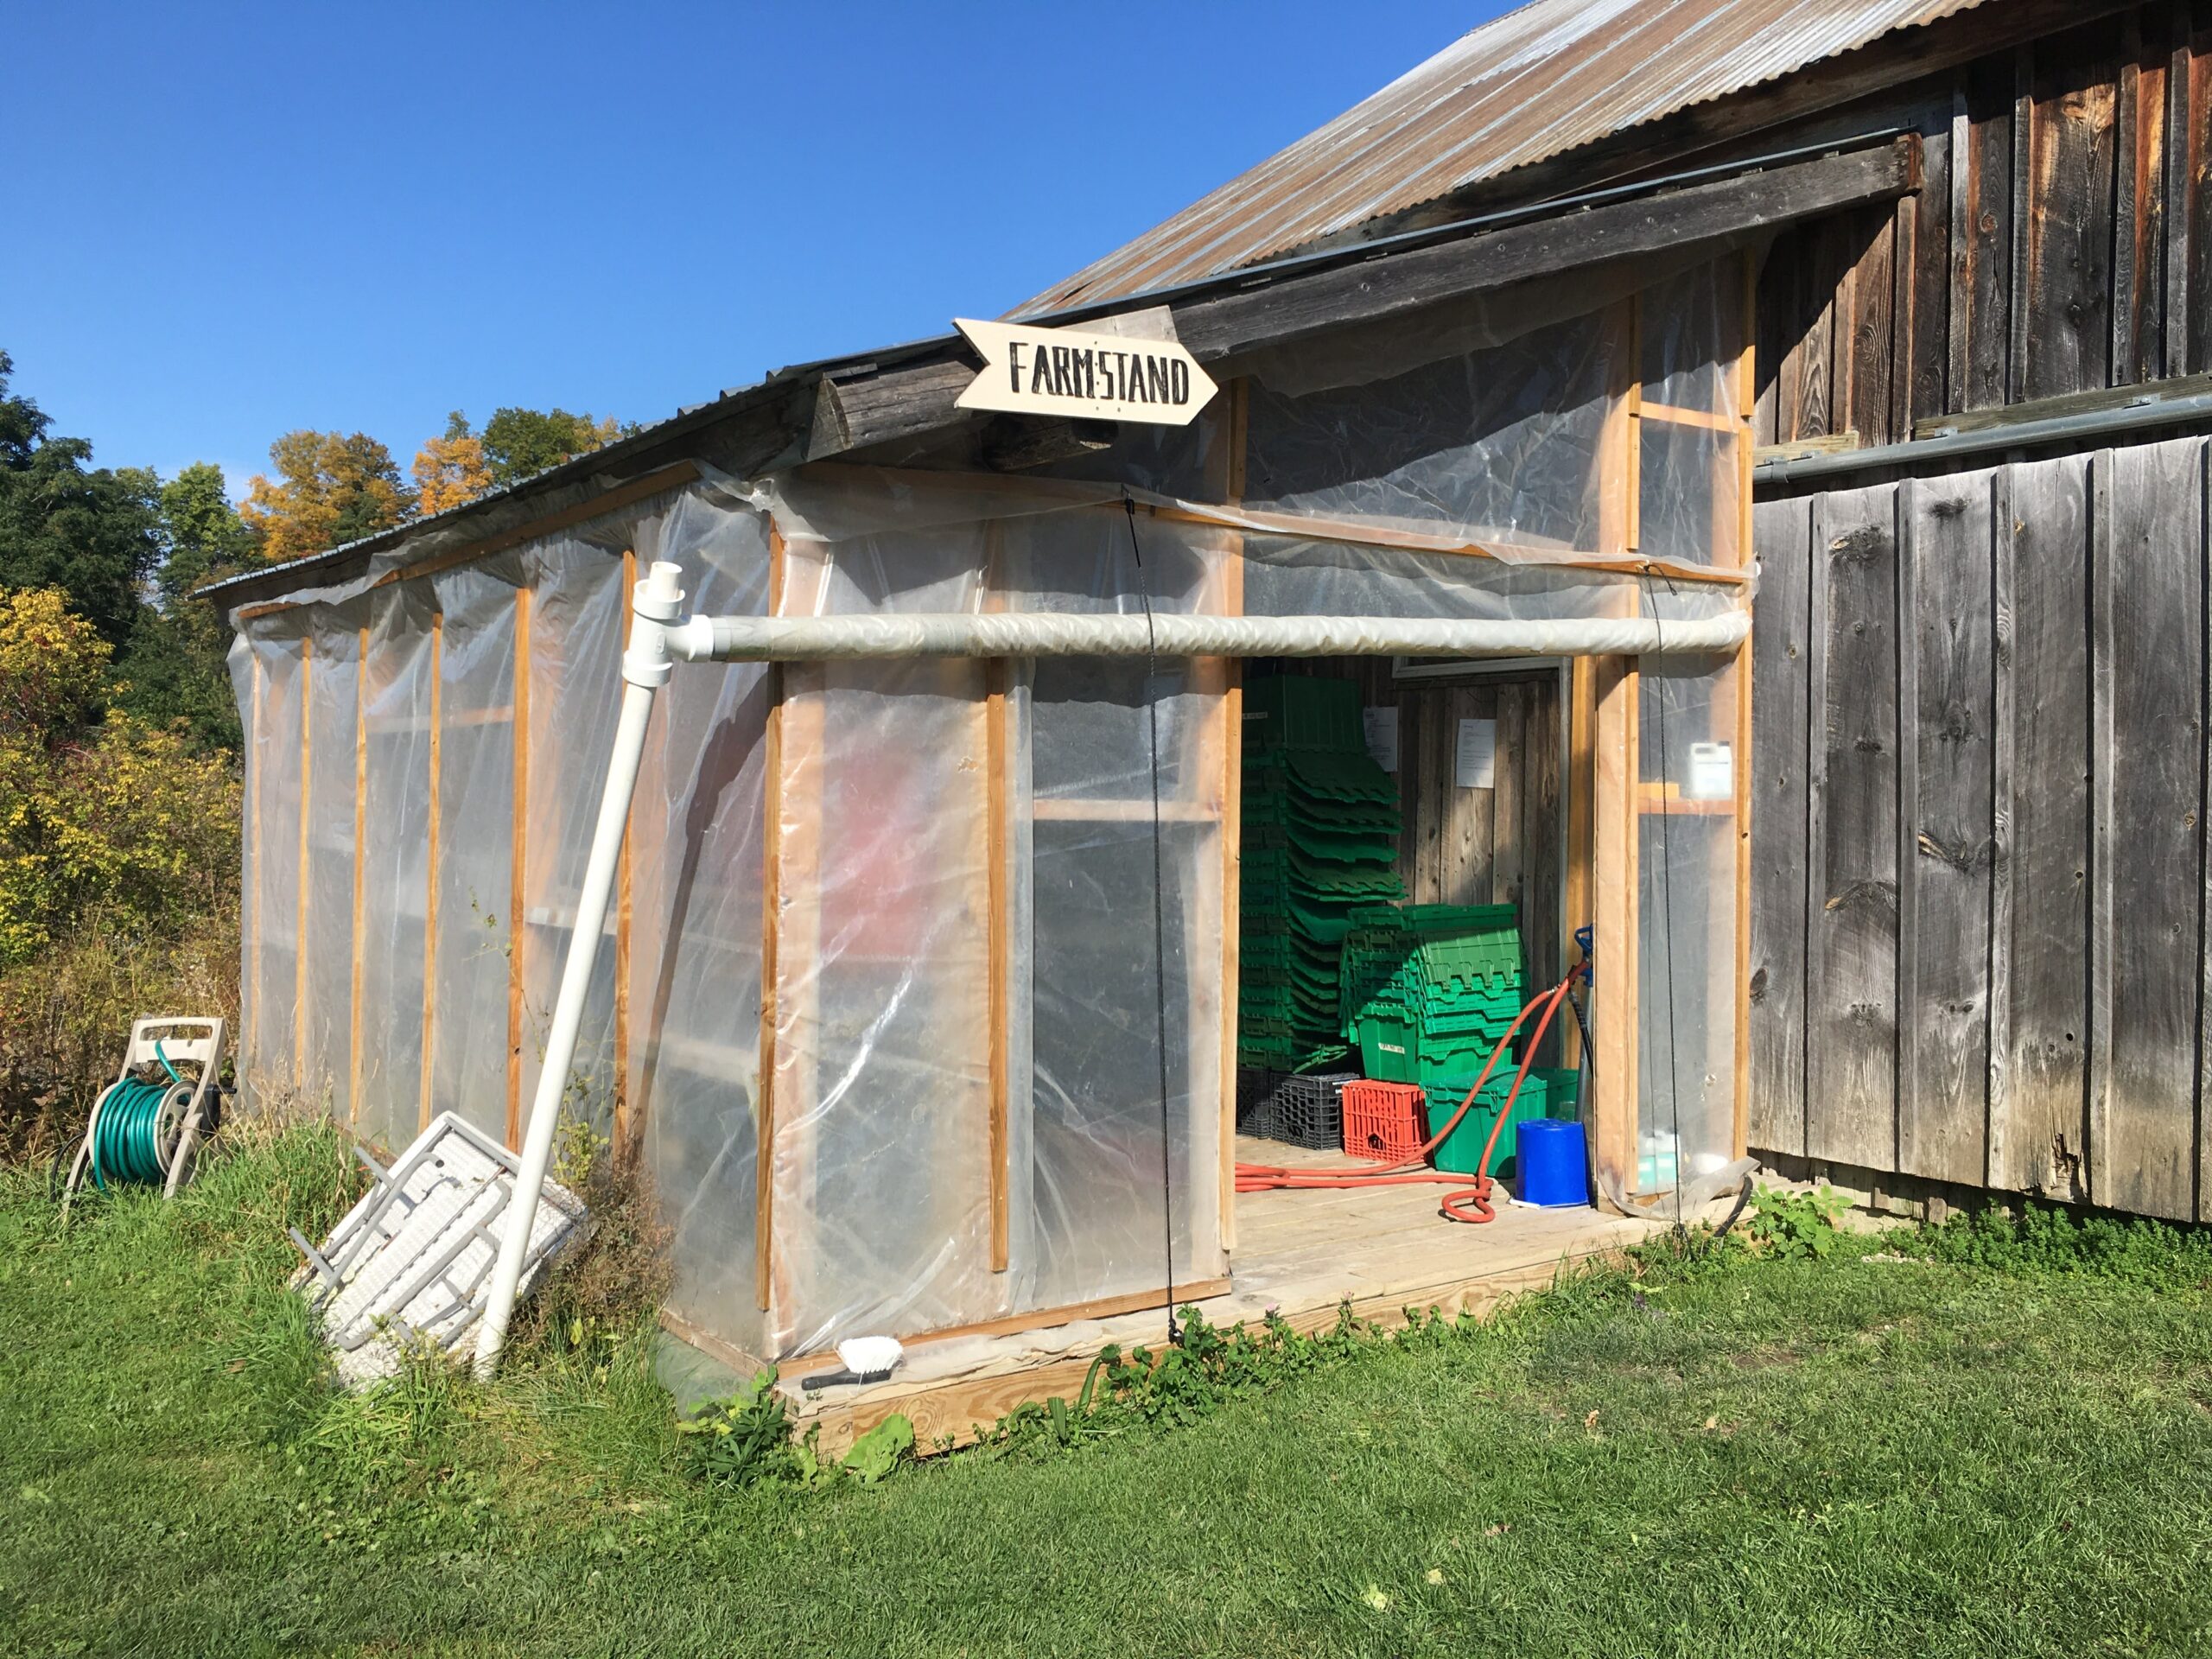
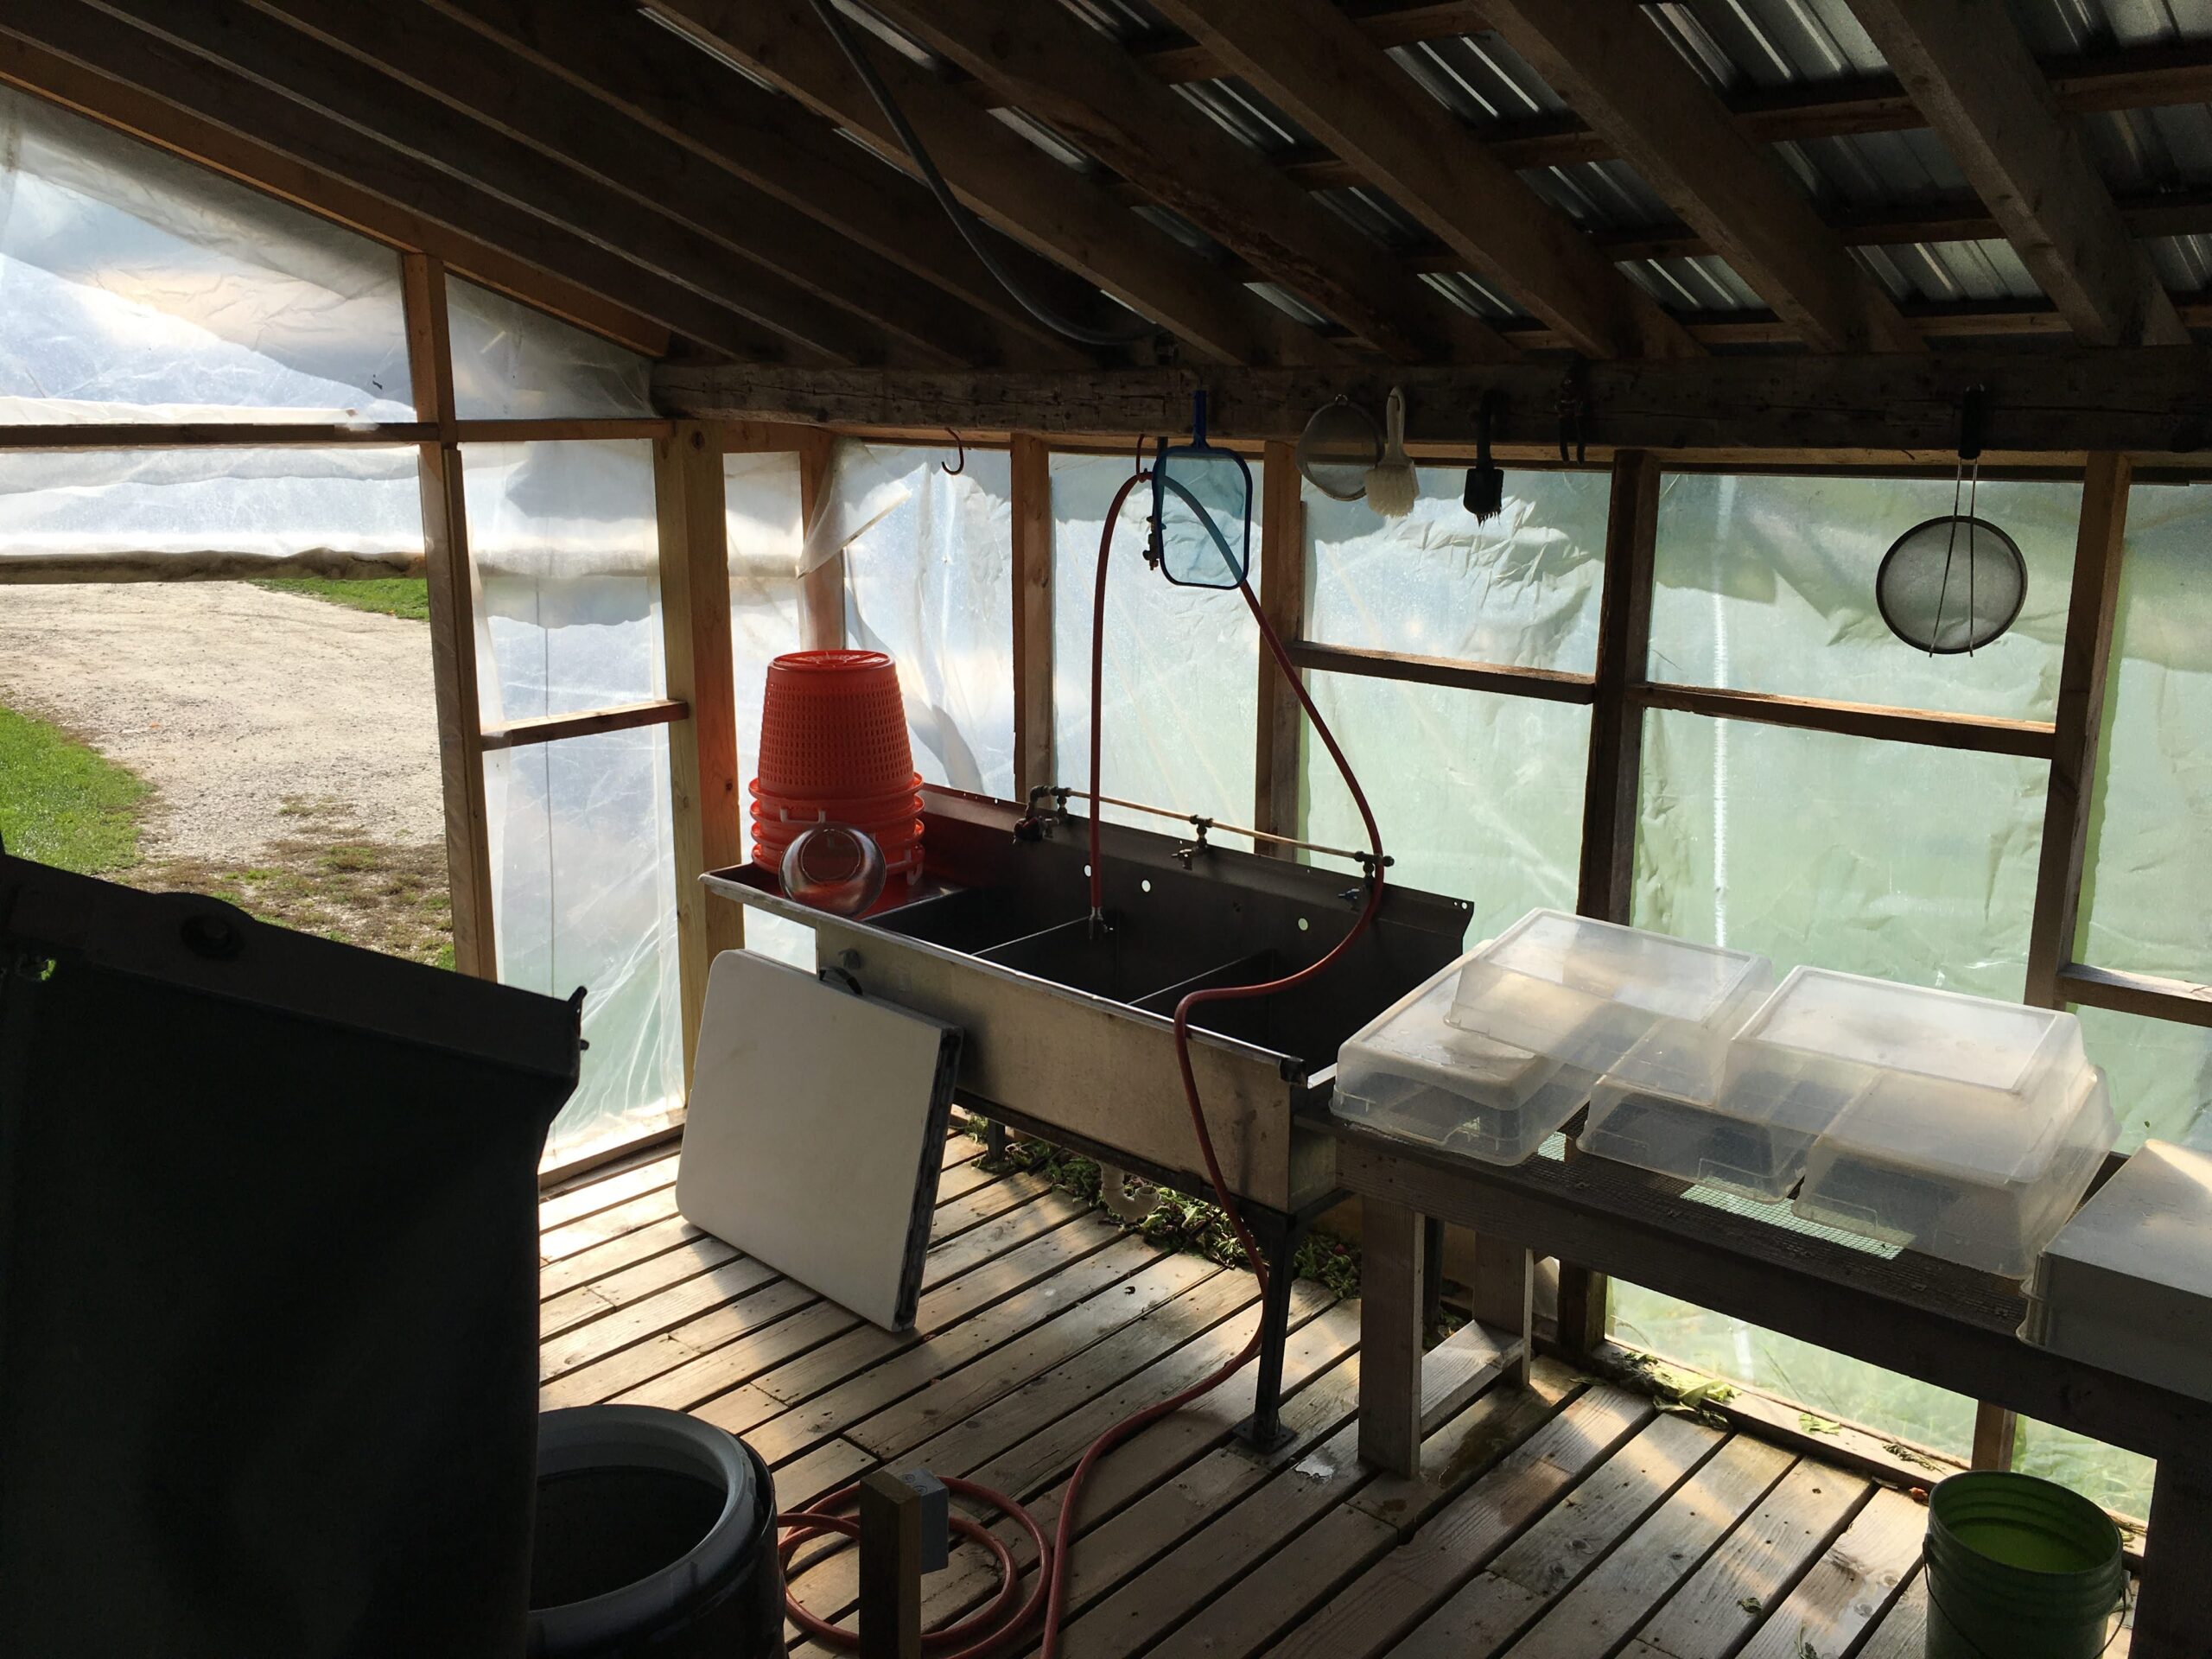
Smaller market farms may have a very simple, open packshed design consisting of “four sticks and a lid” used primarily during the summer months. The floor of these structures could be anything: a dirt floor, grass, or gravel surface. If you choose to have a dirt floor, consider laying down weed mat or landscape fabric to create a tidy work environment. It is helpful to consider drainage, specifically providing intentional drains from wash tanks and sinks that direct outflow away from the work area, production areas and bodies of water. The intent is to keep the surface underfoot relatively dry and free of standing water, prevent cross-contamination between drainage water and production areas and to prevent nutrient loading in bodies of water.
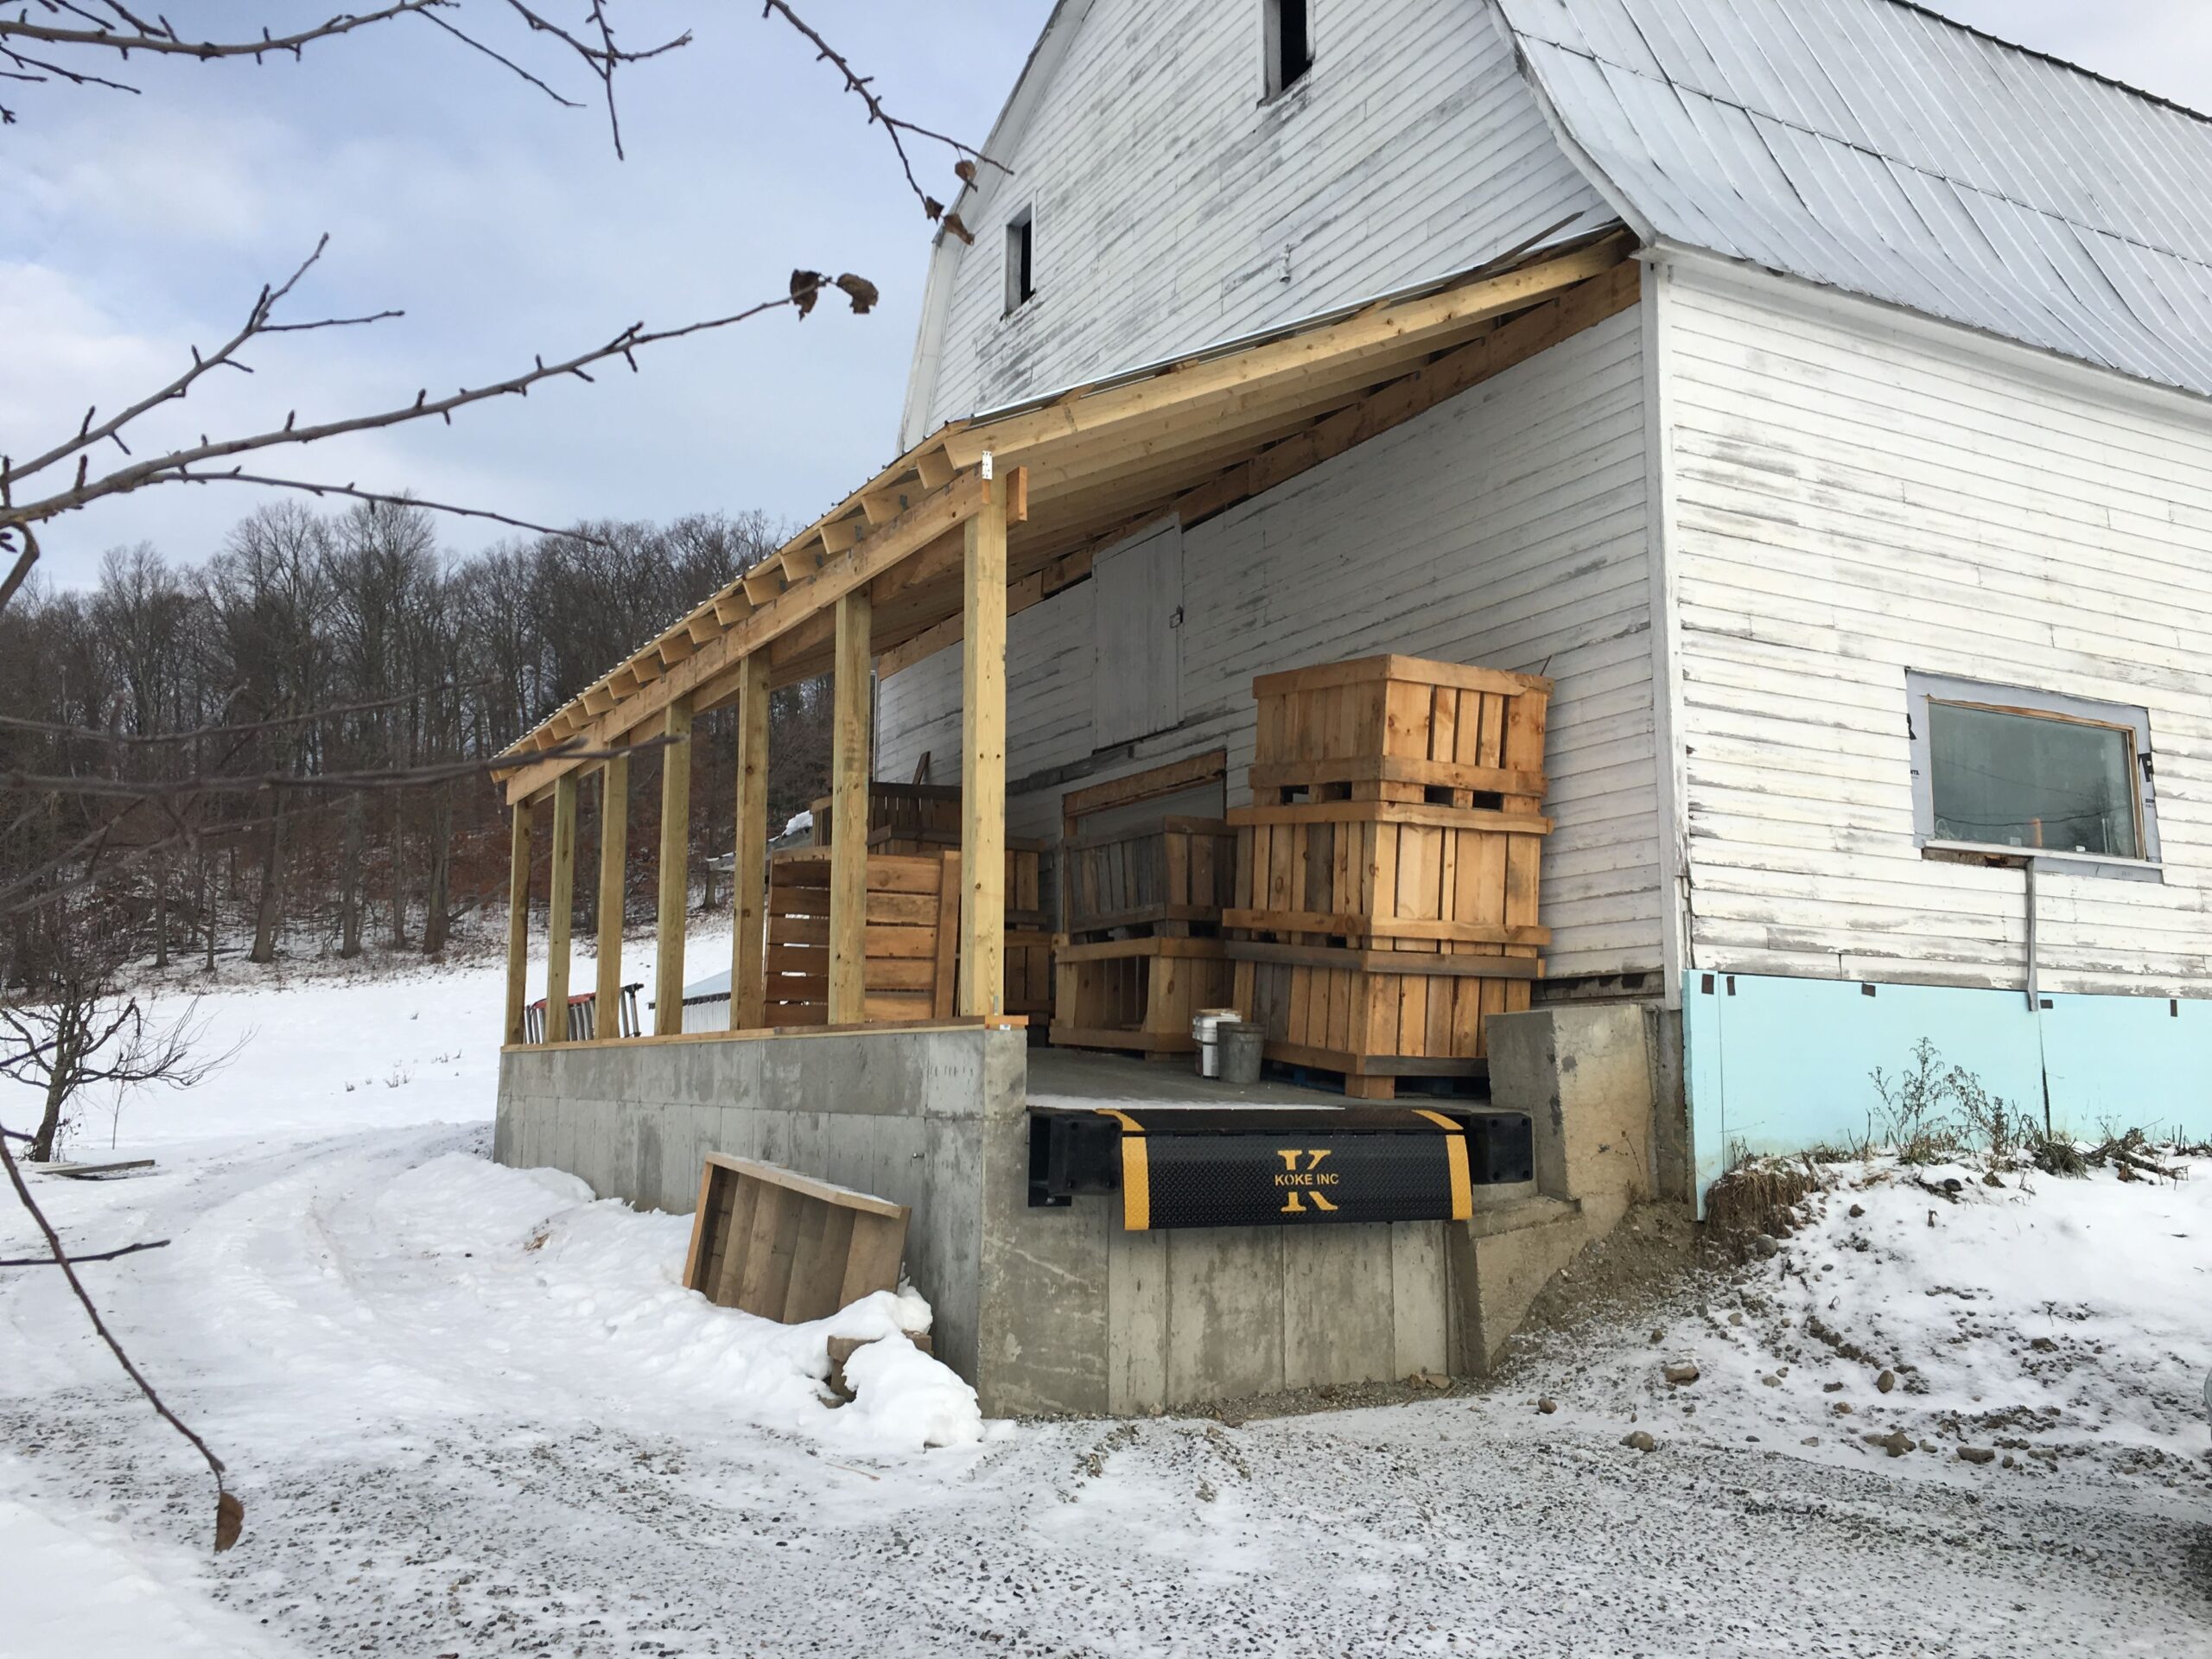
Larger farms and those engaged in season extension and winter markets may benefit from an improved floor, permanent roof and walls. When scaling up, consider the benefits of an enclosed packshed which can provide:
- Protection from the elements as you work further into the shoulder seasons. Cooler working environment in the summer for you, your crew, the produce, and your equipment or warmer (if heated) in the fall, winter, and spring.
- Cleaner environment for handling produce and storing containers. An enclosed space is more “cleanable” as it has doors and windows to keep dust, bugs, birds and other wildlife away from you and your produce.
There are several different key elements to a floor that you need to take into consideration when designing your new packshed.
Key Design Features
Solid Surface
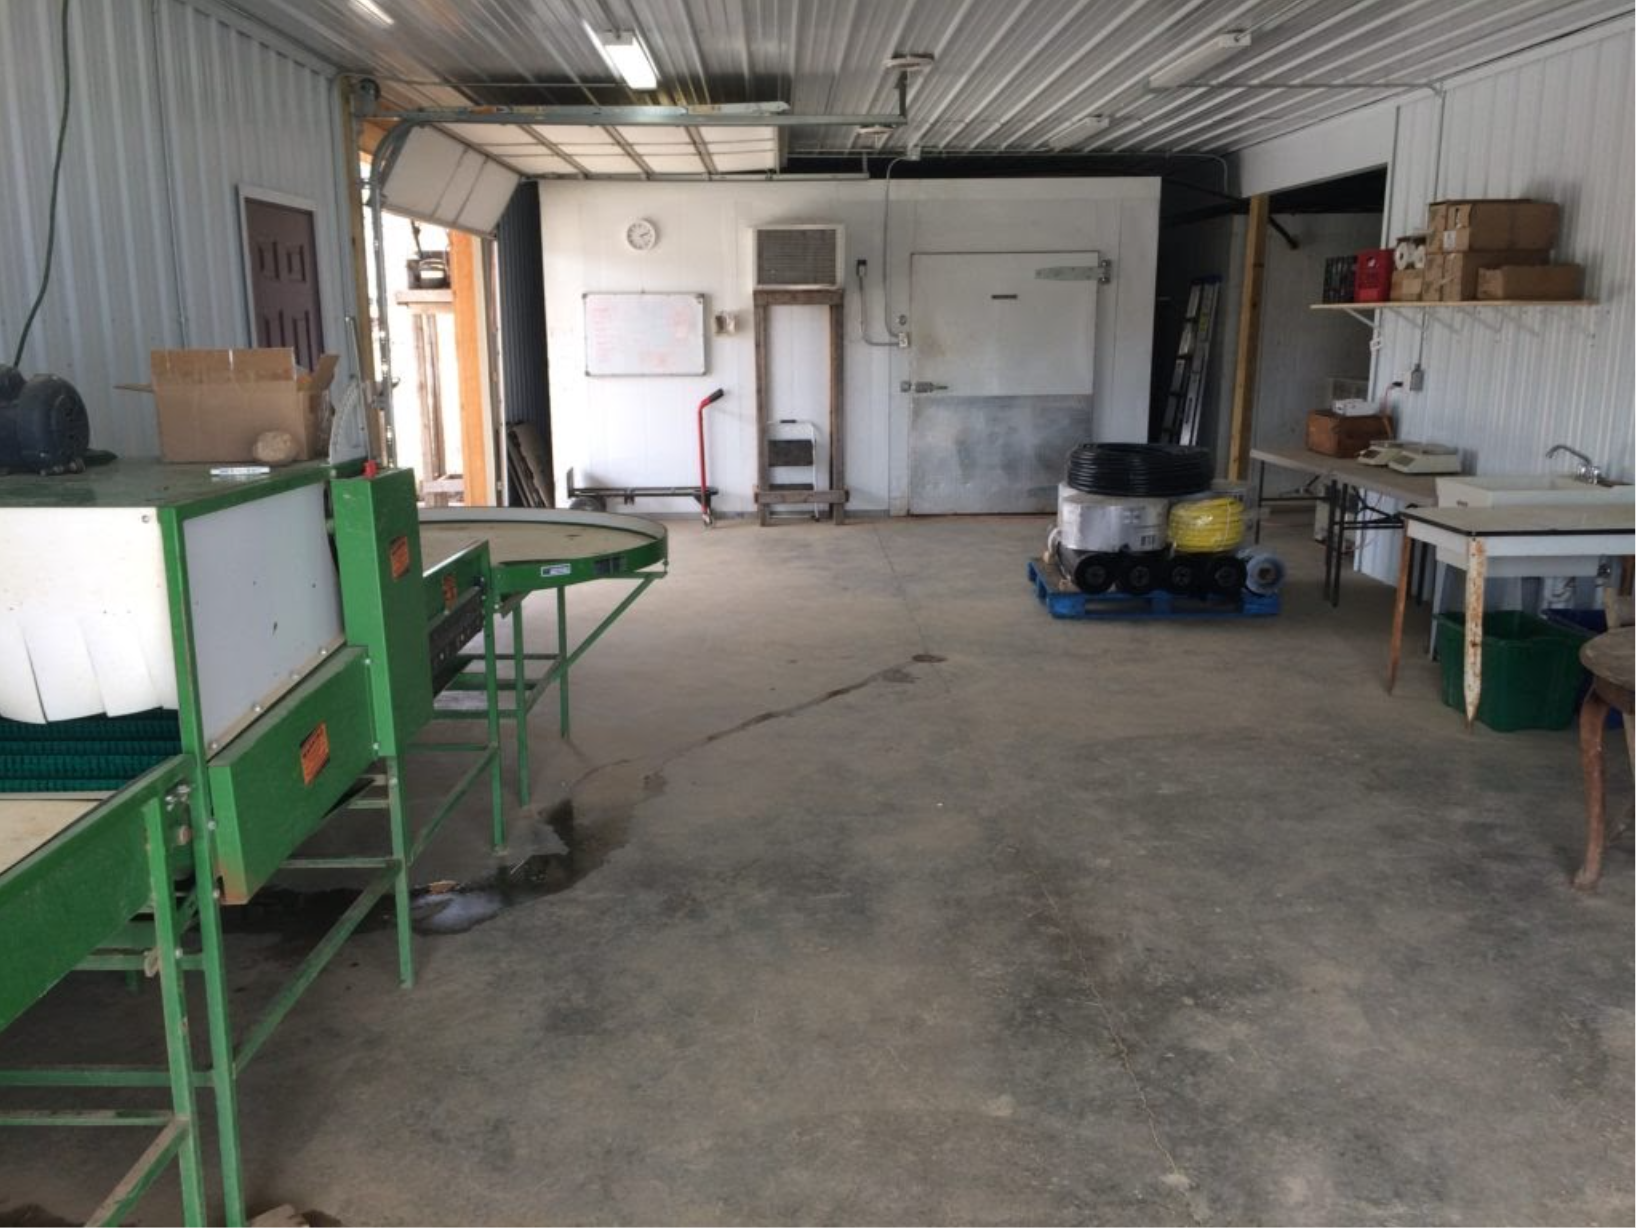
The main purpose of a floor is to have a solid, level place to work on. A floor needs to provide a good working surface for you to comfortably stand on, roll carts, and move equipment. The floor needs to be stable and sturdy enough to support these activities. Keep in mind the elevations of surrounding work areas or challenges with existing infrastructure. Minimizing steps and having everything on the same plane is both safe and efficient.

Smooth, but Not Slippery
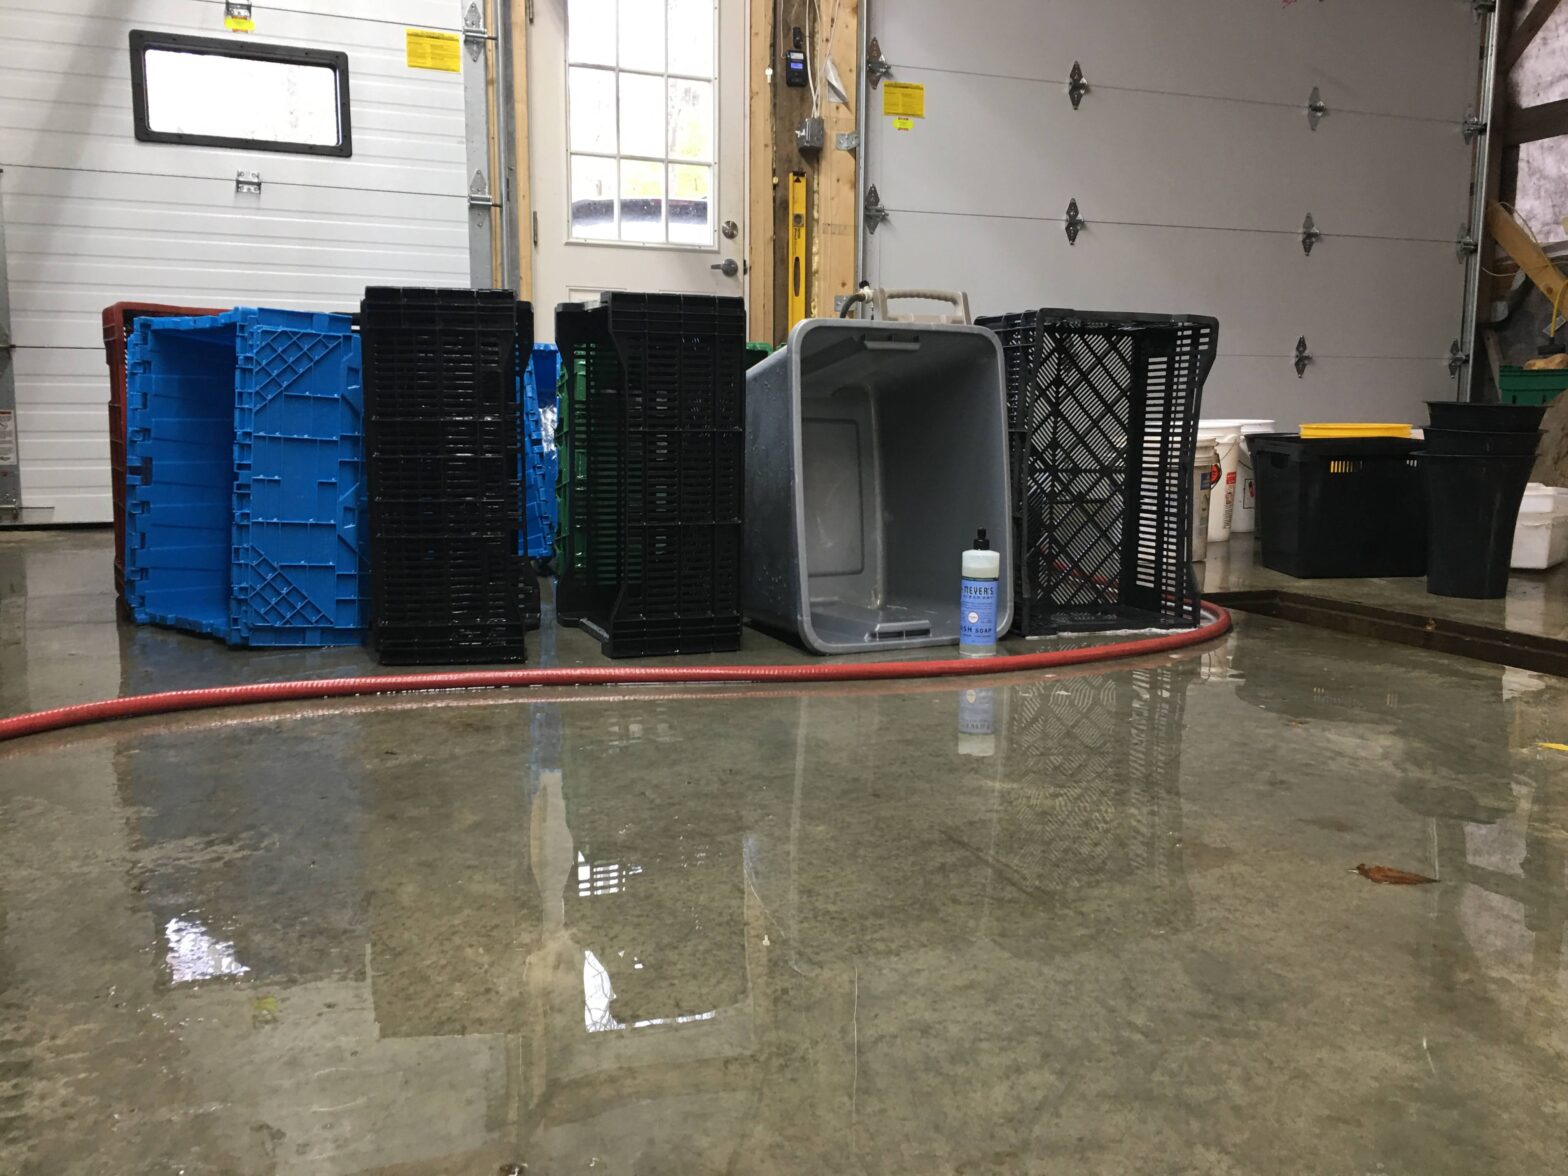
A smooth floor surface enhances cleanability, but it is important to make a distinction between smooth and slippery. This is a delicate balance, especially when the floor surface is wet. Your floors most likely will get wet since the space is used as a wash and pack area. The intent is to avoid having a floor that turns into a dangerous surface where personnel can slip, trip, or fall.
Intentional Water Movement
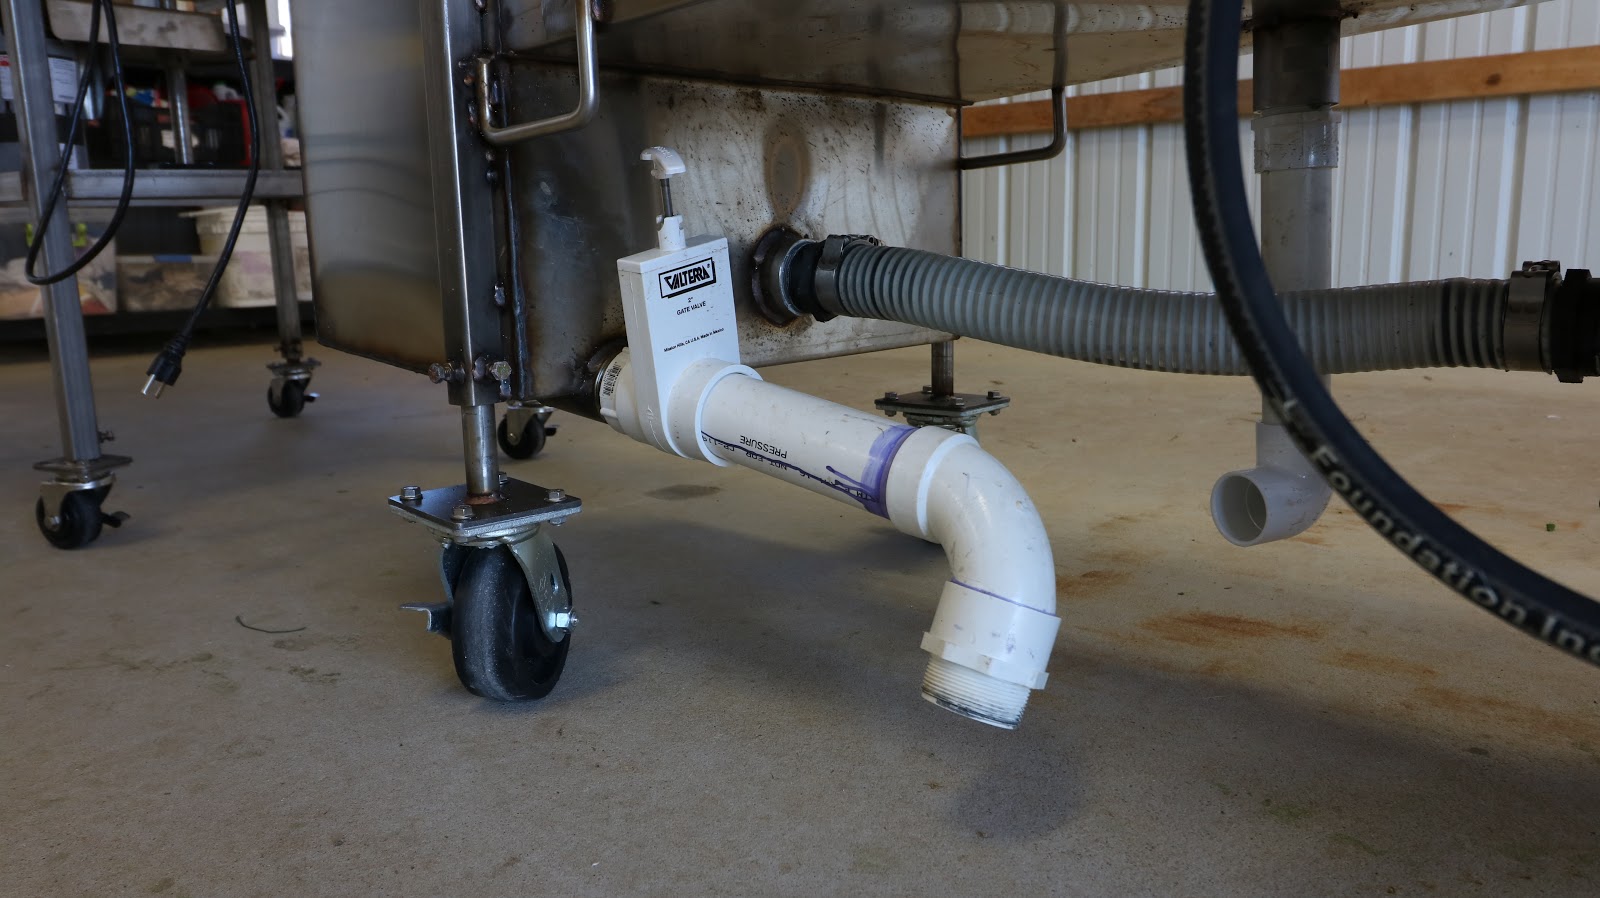
When designing a wash pack area, consider where the water is going to go once it gets on the floor if it even has to hit the floor. Plan for intentional drains from dunk tanks, spray tables, wash tubs, sinks, or wash lines to prevent standing water on the floor. Standing water is a personnel hazard and introduces a produce safety risk as well.
“The best way to drain a floor is to not put water on it” (Use dedicated drains for tanks, sinks etc, or wash roots outside on an apron.)
Chris Callahan
Humidity in Coolers “I hose down the floor to increase humidity in my cooler, is this bad?” Humidity in the cooler should be managed by other means if at all possible. Keeping a cooler floor wet promotes an environment for listeria to thrive. Many growers keep a humid environment for their crops via primarily packaging in bags or flip-top totes. Others invest in humidification systems for the entire cooler. If you are using traditional refrigeration (vs. a coolbot) make sure to discuss your target humidity with your AC contractor who can adjust the evaporator temp to limit the dehumidification of the space.
Pitch
One way that water removal can be accomplished passively is to pitch the floor. Plan on ⅛” – ¼” per foot (2%) to create a surface that will drain easily3,4 without requiring a need to push the water off with a squeegee, adding one more chore. Keep in mind more pitch isn’t always better, much steeper than 2% and it will feel like you are working on a ramp all day.
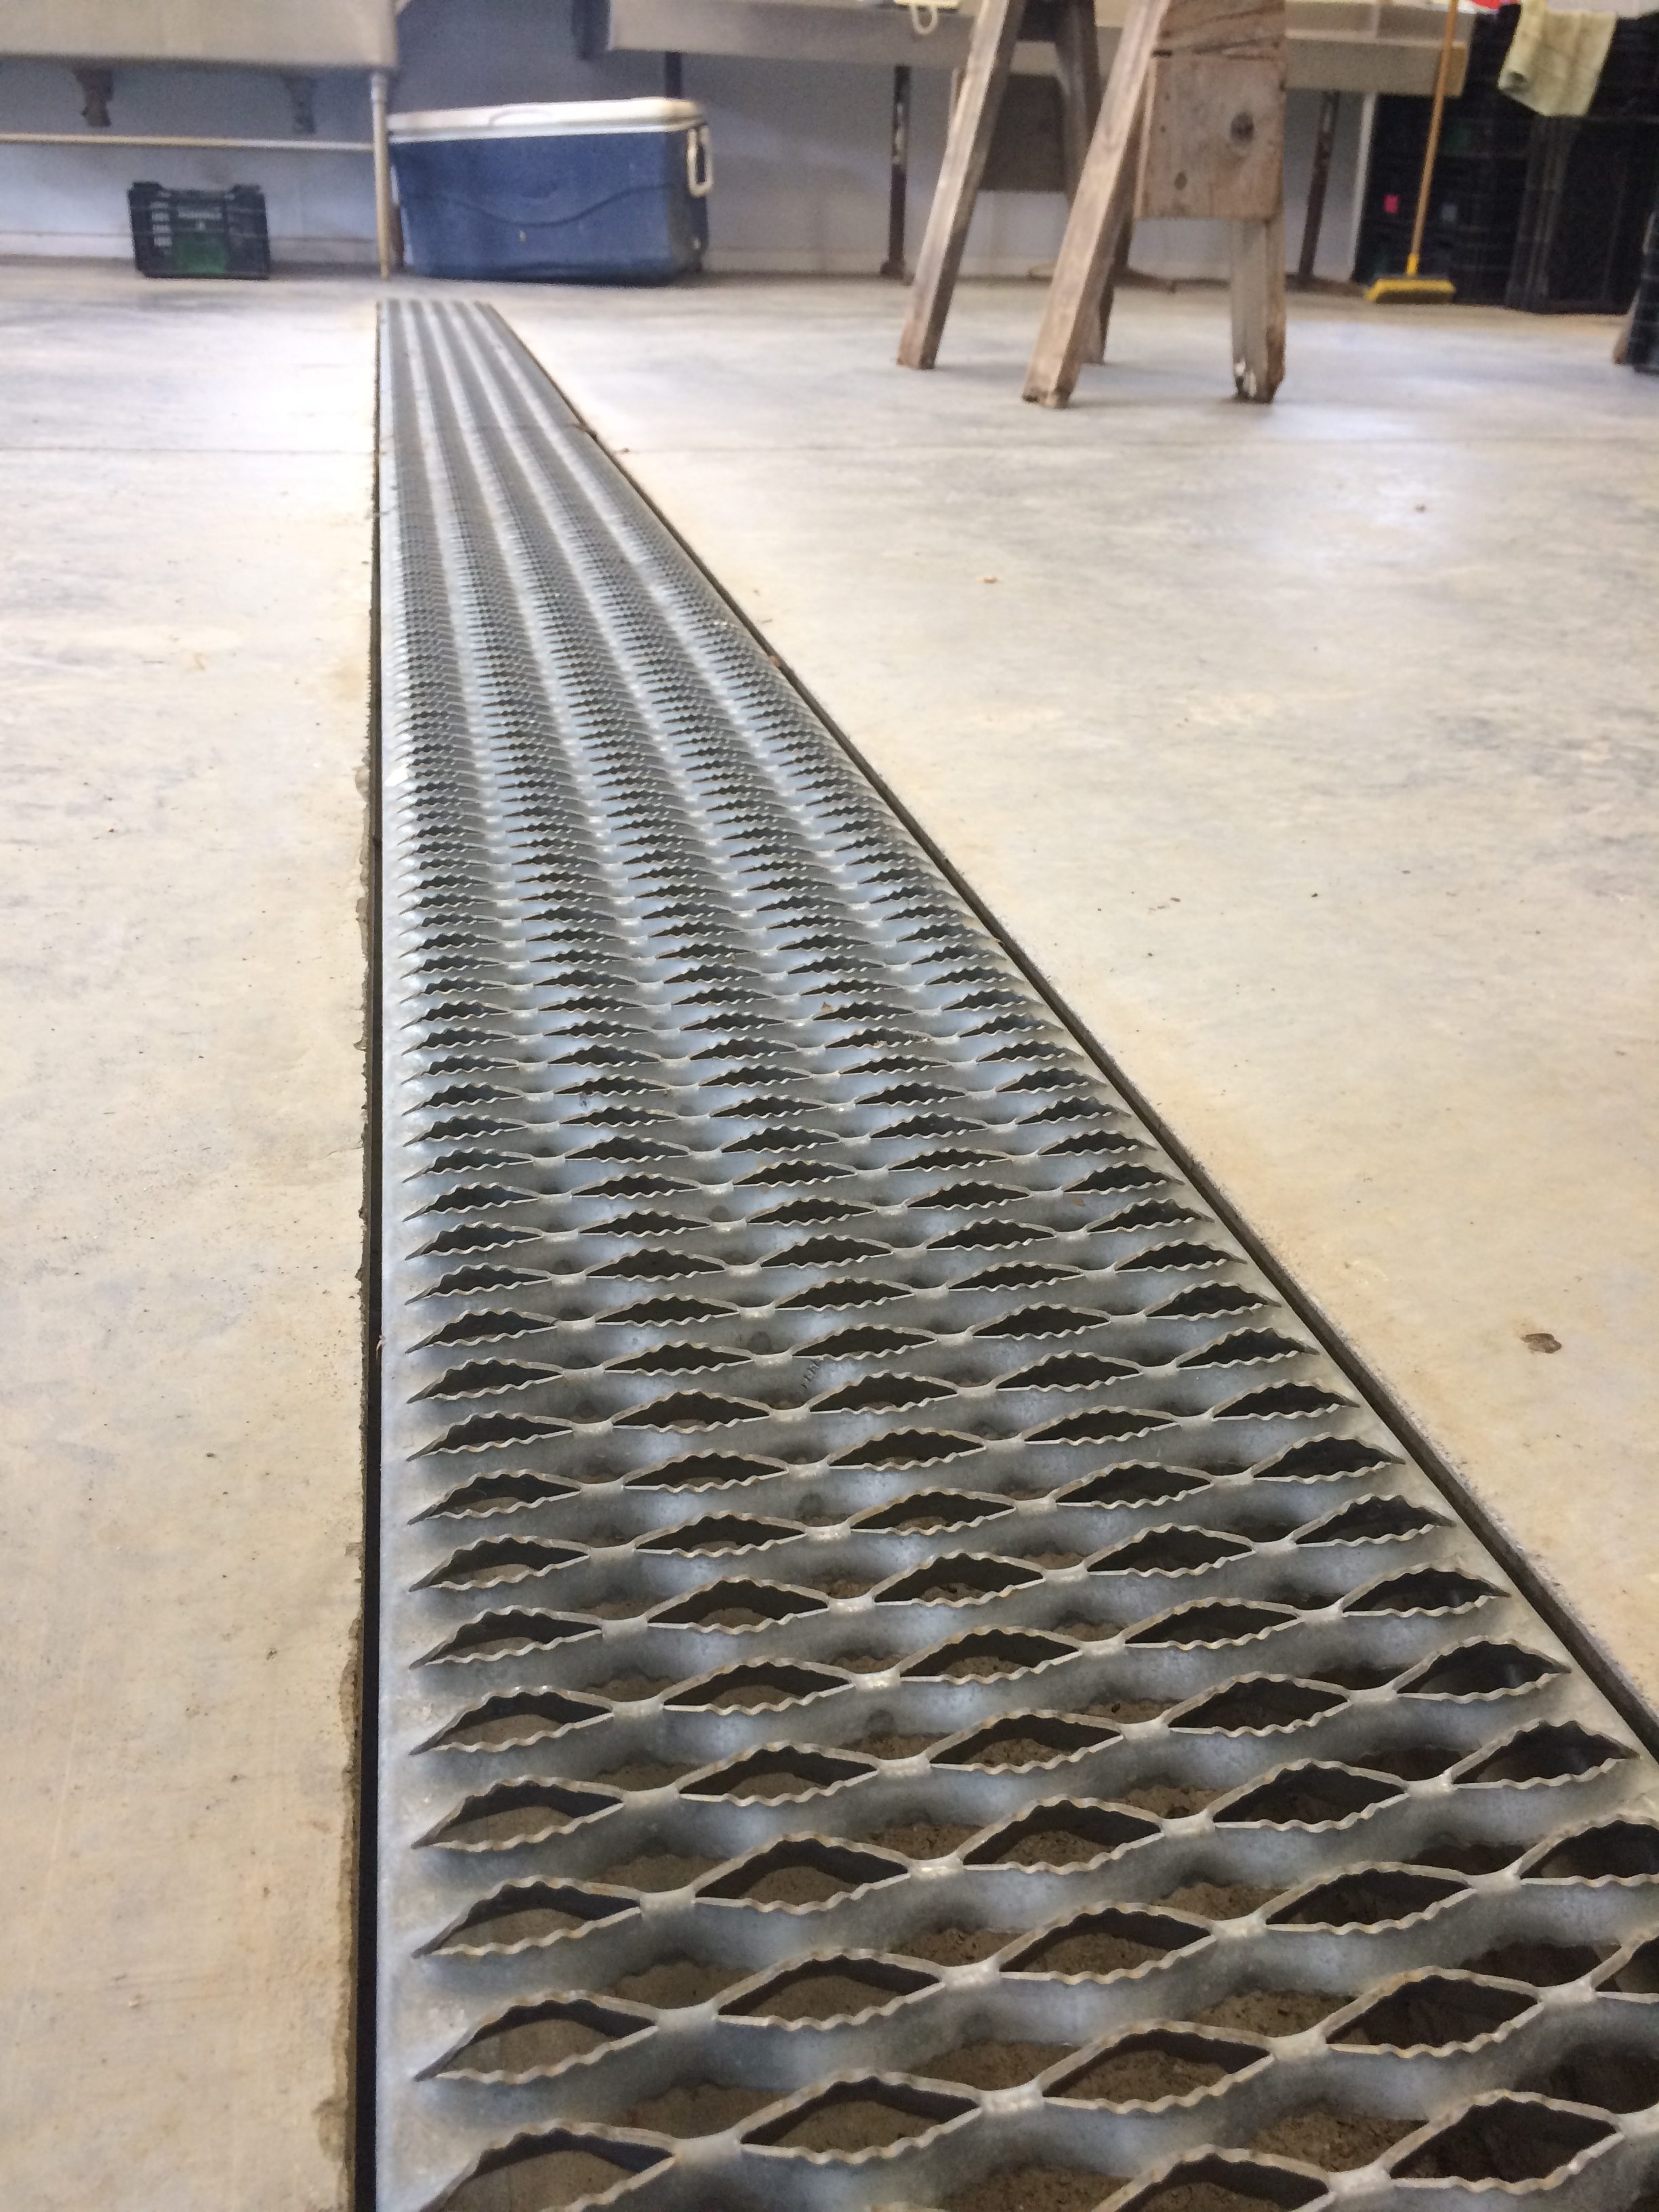
Drainage
Intentional drainage of water from the space can be accomplished by direct drains, trench drain, spot drains or a doorway out of the space. Drains should move water from inside the space to somewhere outside that is away from traffic, production areas, and bodies of water. This may be a municipal sewer system, septic system, a grassy or vegetative strip, or a rain garden that can accommodate the discharge. For more details on how to handle wash water refer to the VT Wash Water Discharge Guidance Document.
Cooler Drains – “Should I install a drain in my cooler?” Liquid water should be minimized in a cooler environment and having a drain can break the envelope for air sealing. Installing a drain can ease periodic cleaning of the cooler. Even if it is capped or covered the majority of the time and opened up for short term use.
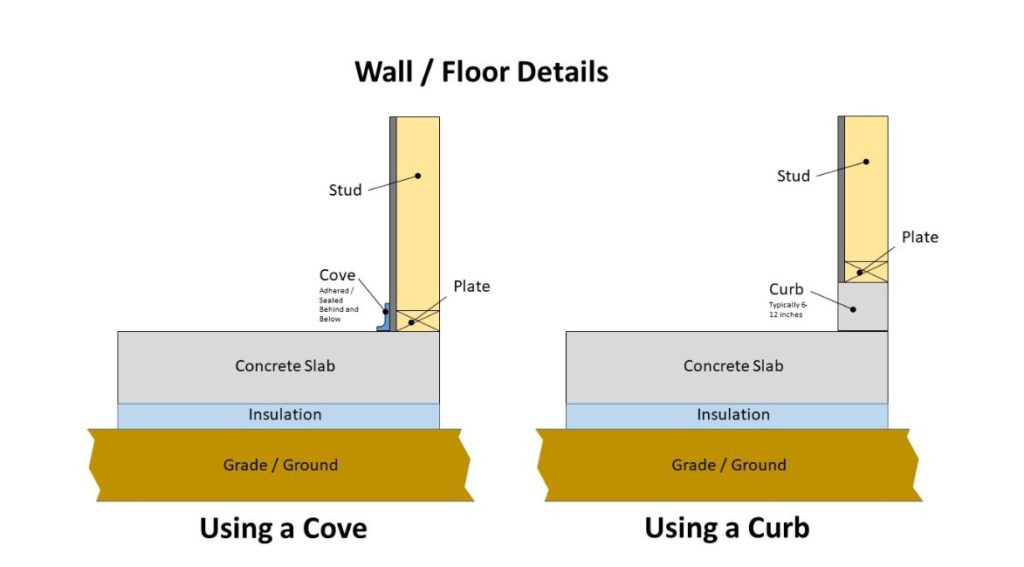
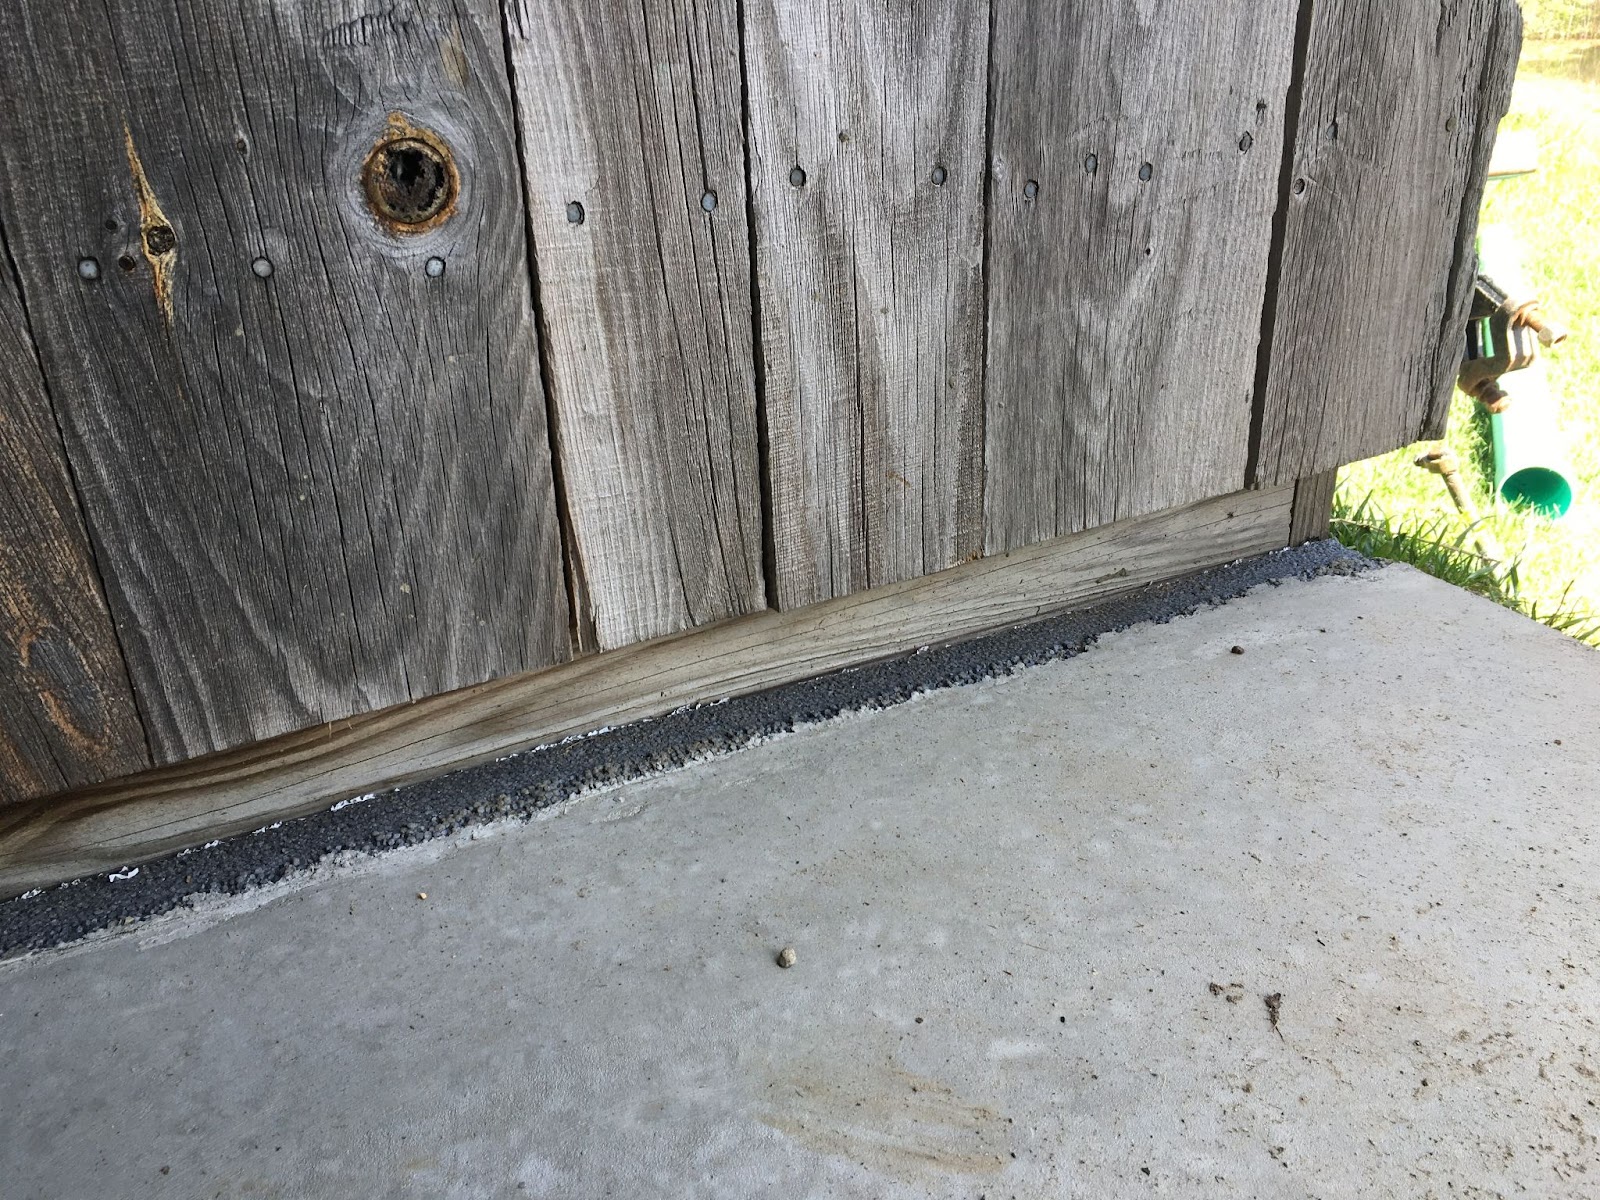
Curbing/Cove
Curbing and cove bases provide an intentional transition between walls and floor to allow for improved water drainage and cleanability. Concrete can be poured to provide “curbing” with a radius that walls can be built upon. Additionally, cove base (rubber or tile baseboard trim) can be installed to seal this corner and improve cleanability between the wall and the floor. This avoids the creation of an open seam which can be challenging to clean since it collects dirt and debris and can “harbor” or hold water and pathogens. “Harborage” sites are places where water and pathogens can enter and be protected from cleaning, and sanitizing, and drying. This can lead to cross-contamination and can also lead to premature rot of building materials.
Doorways, Thresholds, and Ramps
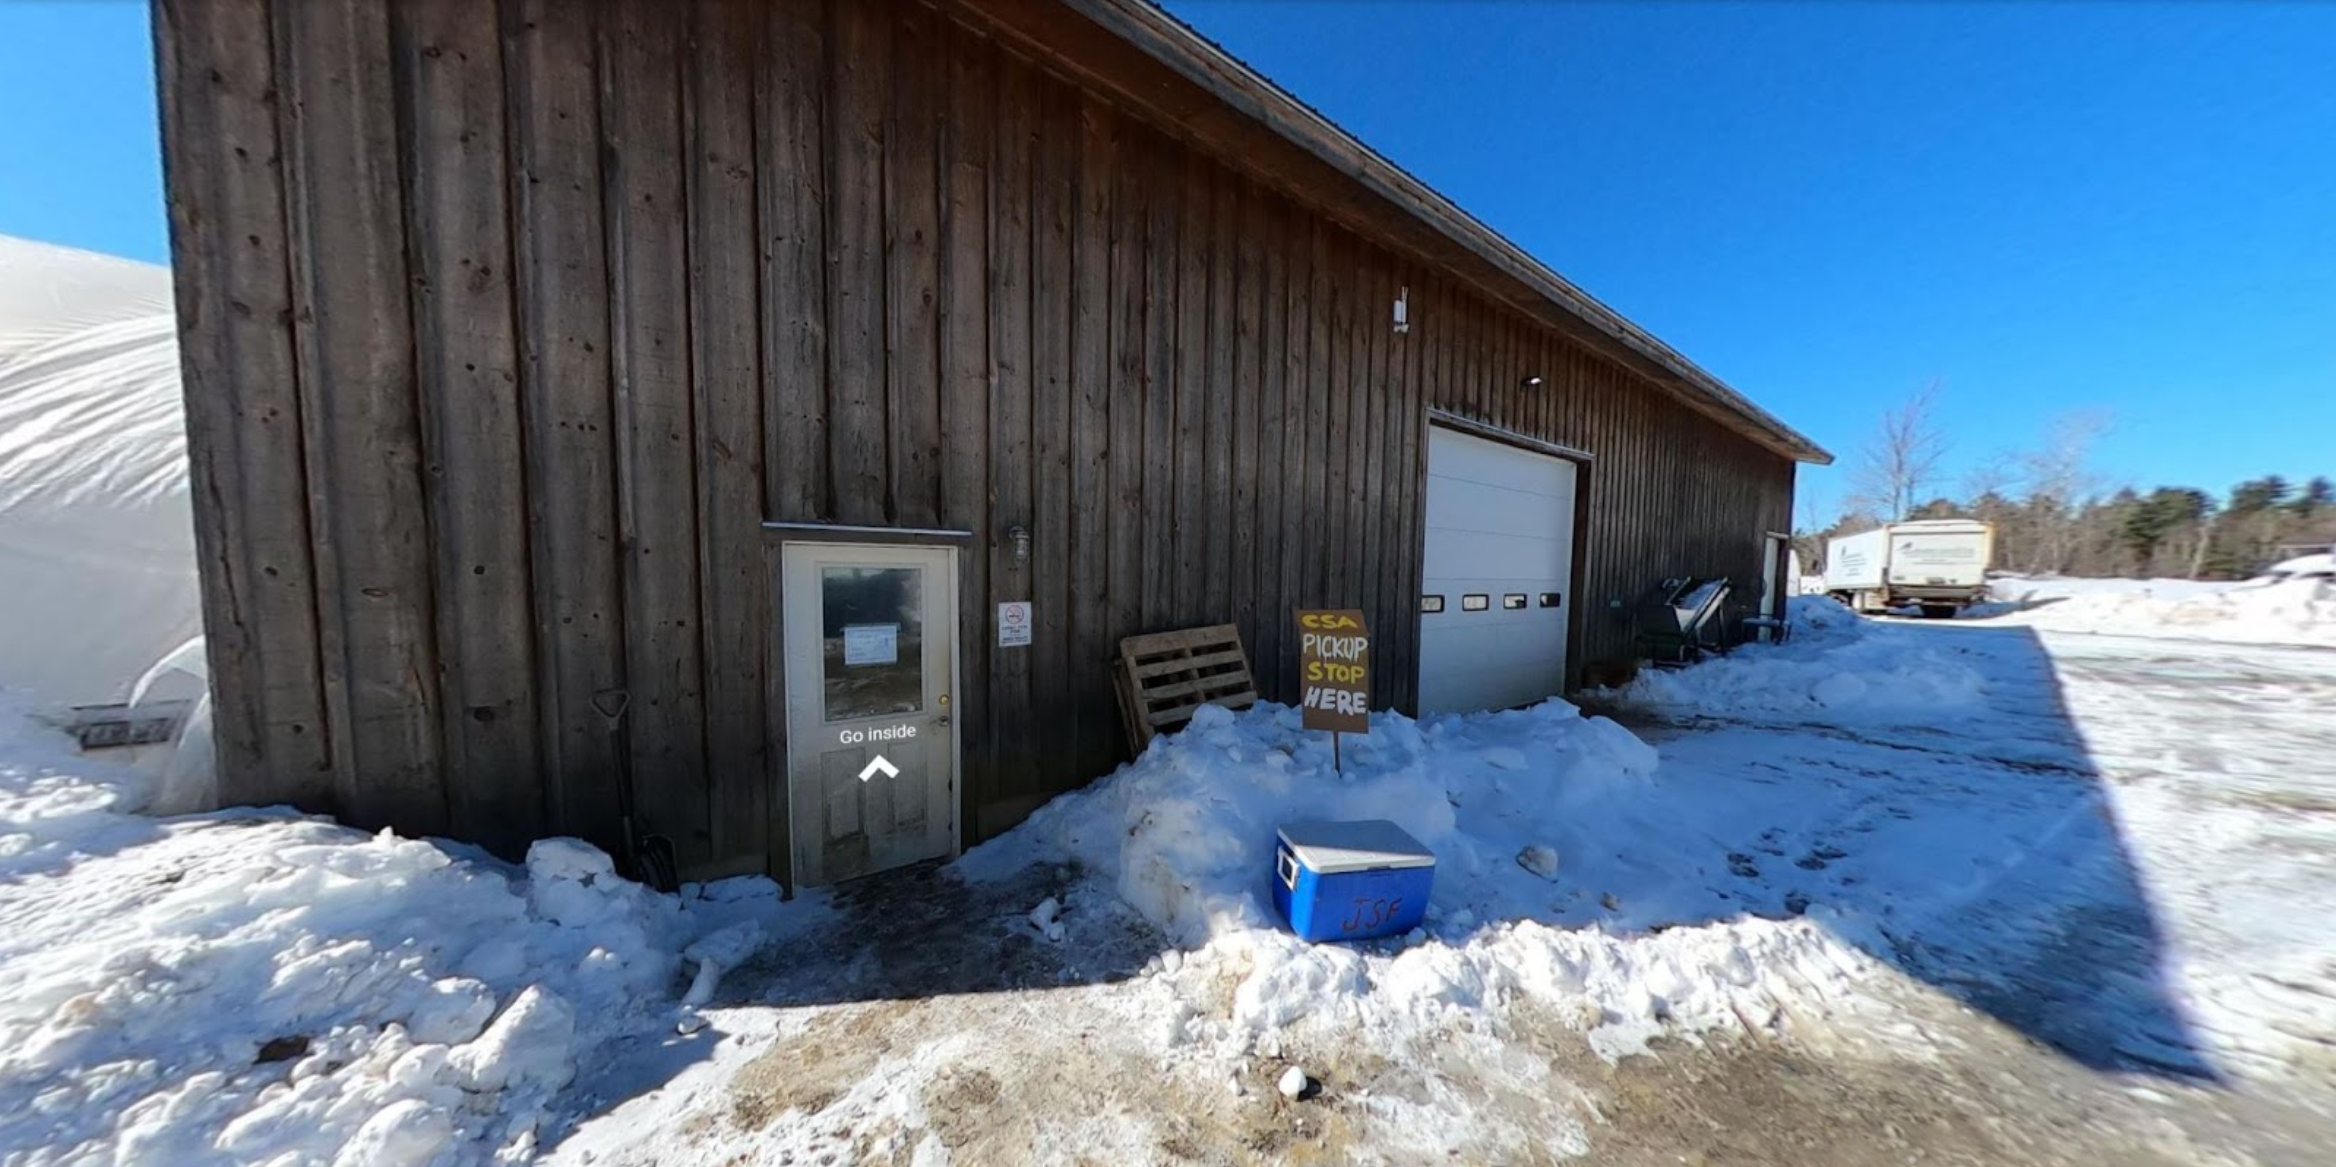
Specific attention should be given to doorways and other floor transitions. Doors may require thresholds for proper sealing (e.g. cooler doors). These thresholds should be well sealed below (between the threshold and floor) to prevent water intrusion and harborage. Additionally, the thresholds may need to provide a gradual transition for hand trucks and other rolling equipment. Sliding or roll-up doors may be preferred since they generally do not require thresholds for sealing, but rather are sealed with a gasket attached to the door.
Types of floors
There are several different types of floor surfaces to consider:
Gravel
One of the cheapest and easiest ways of a practical floor can include pea gravel to promote drainage and minimize a muddy mess. Some growers have had luck covering gravel with landscape fabric to create a more uniform work area. Using wheels is challenging, and water drainage needs to be considered to minimize puddling.
Decking
Decking offers a sturdy, durable, smooth, but open surface allowing flow through for drainage. This may be a simple and cost-effective improvement for an outside wash/pack area currently on bare ground or gravel. Decking is not ideal if the product is moved with rolling carts, dollies or pallet jacks. Bare wood should be avoided as decking. Consider composite decking materials or plan to seal the wood with stain or paint. Be sure to think through drainage beneath the deck to minimize stagnant water or vegetable debris.
Plywood
Plywood provides a more continuous, smooth option when compared to decking. This material is less durable when exposed to weather so providing a roof or other cover should be considered. Plywood offers a smooth surface which will make rolling product cartons, tools and equipment easier. Plywood can also be helpful when trying to cover up and level existing uneven floors. Plywood, inherently, has seams and they can require maintenance to keep watertight. It can also be challenging to clean unless it is sealed.
Paver or Patio Blocks
Paving blocks offer a pervious surface that is more solid underfoot than bare ground or gravel. This may be an option for an outside wash/pack area that is used seasonally or is undercover.
Asphalt or Pavement
Asphalt is a sturdy, waterproof, non-slip, seamless material that may be an option for some wash/pack areas. It may also already exist as a driveway, etc. Installation can be challenging and expensive, and it is not an ideal material for an indoor environment. A coarse-textured surface creates a cleaning challenge, but a fine, smooth surface is possible to achieve.
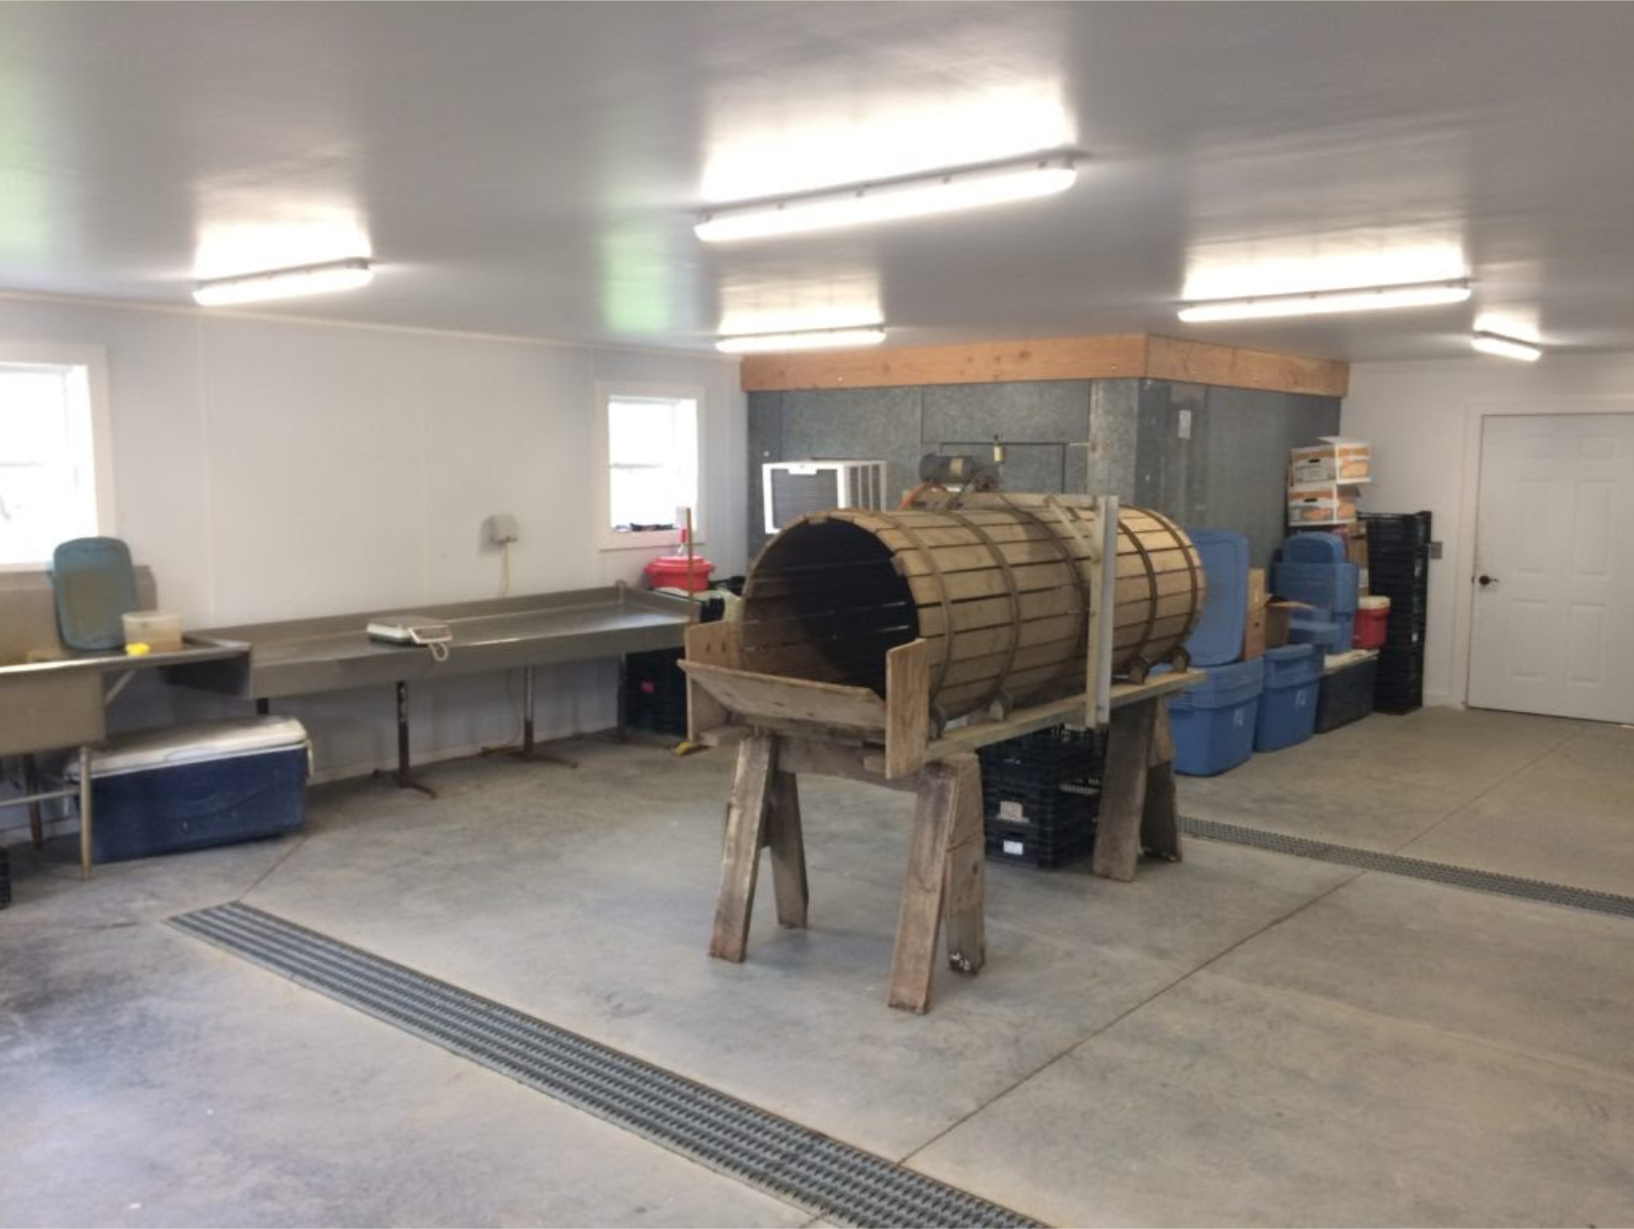
Bare Concrete
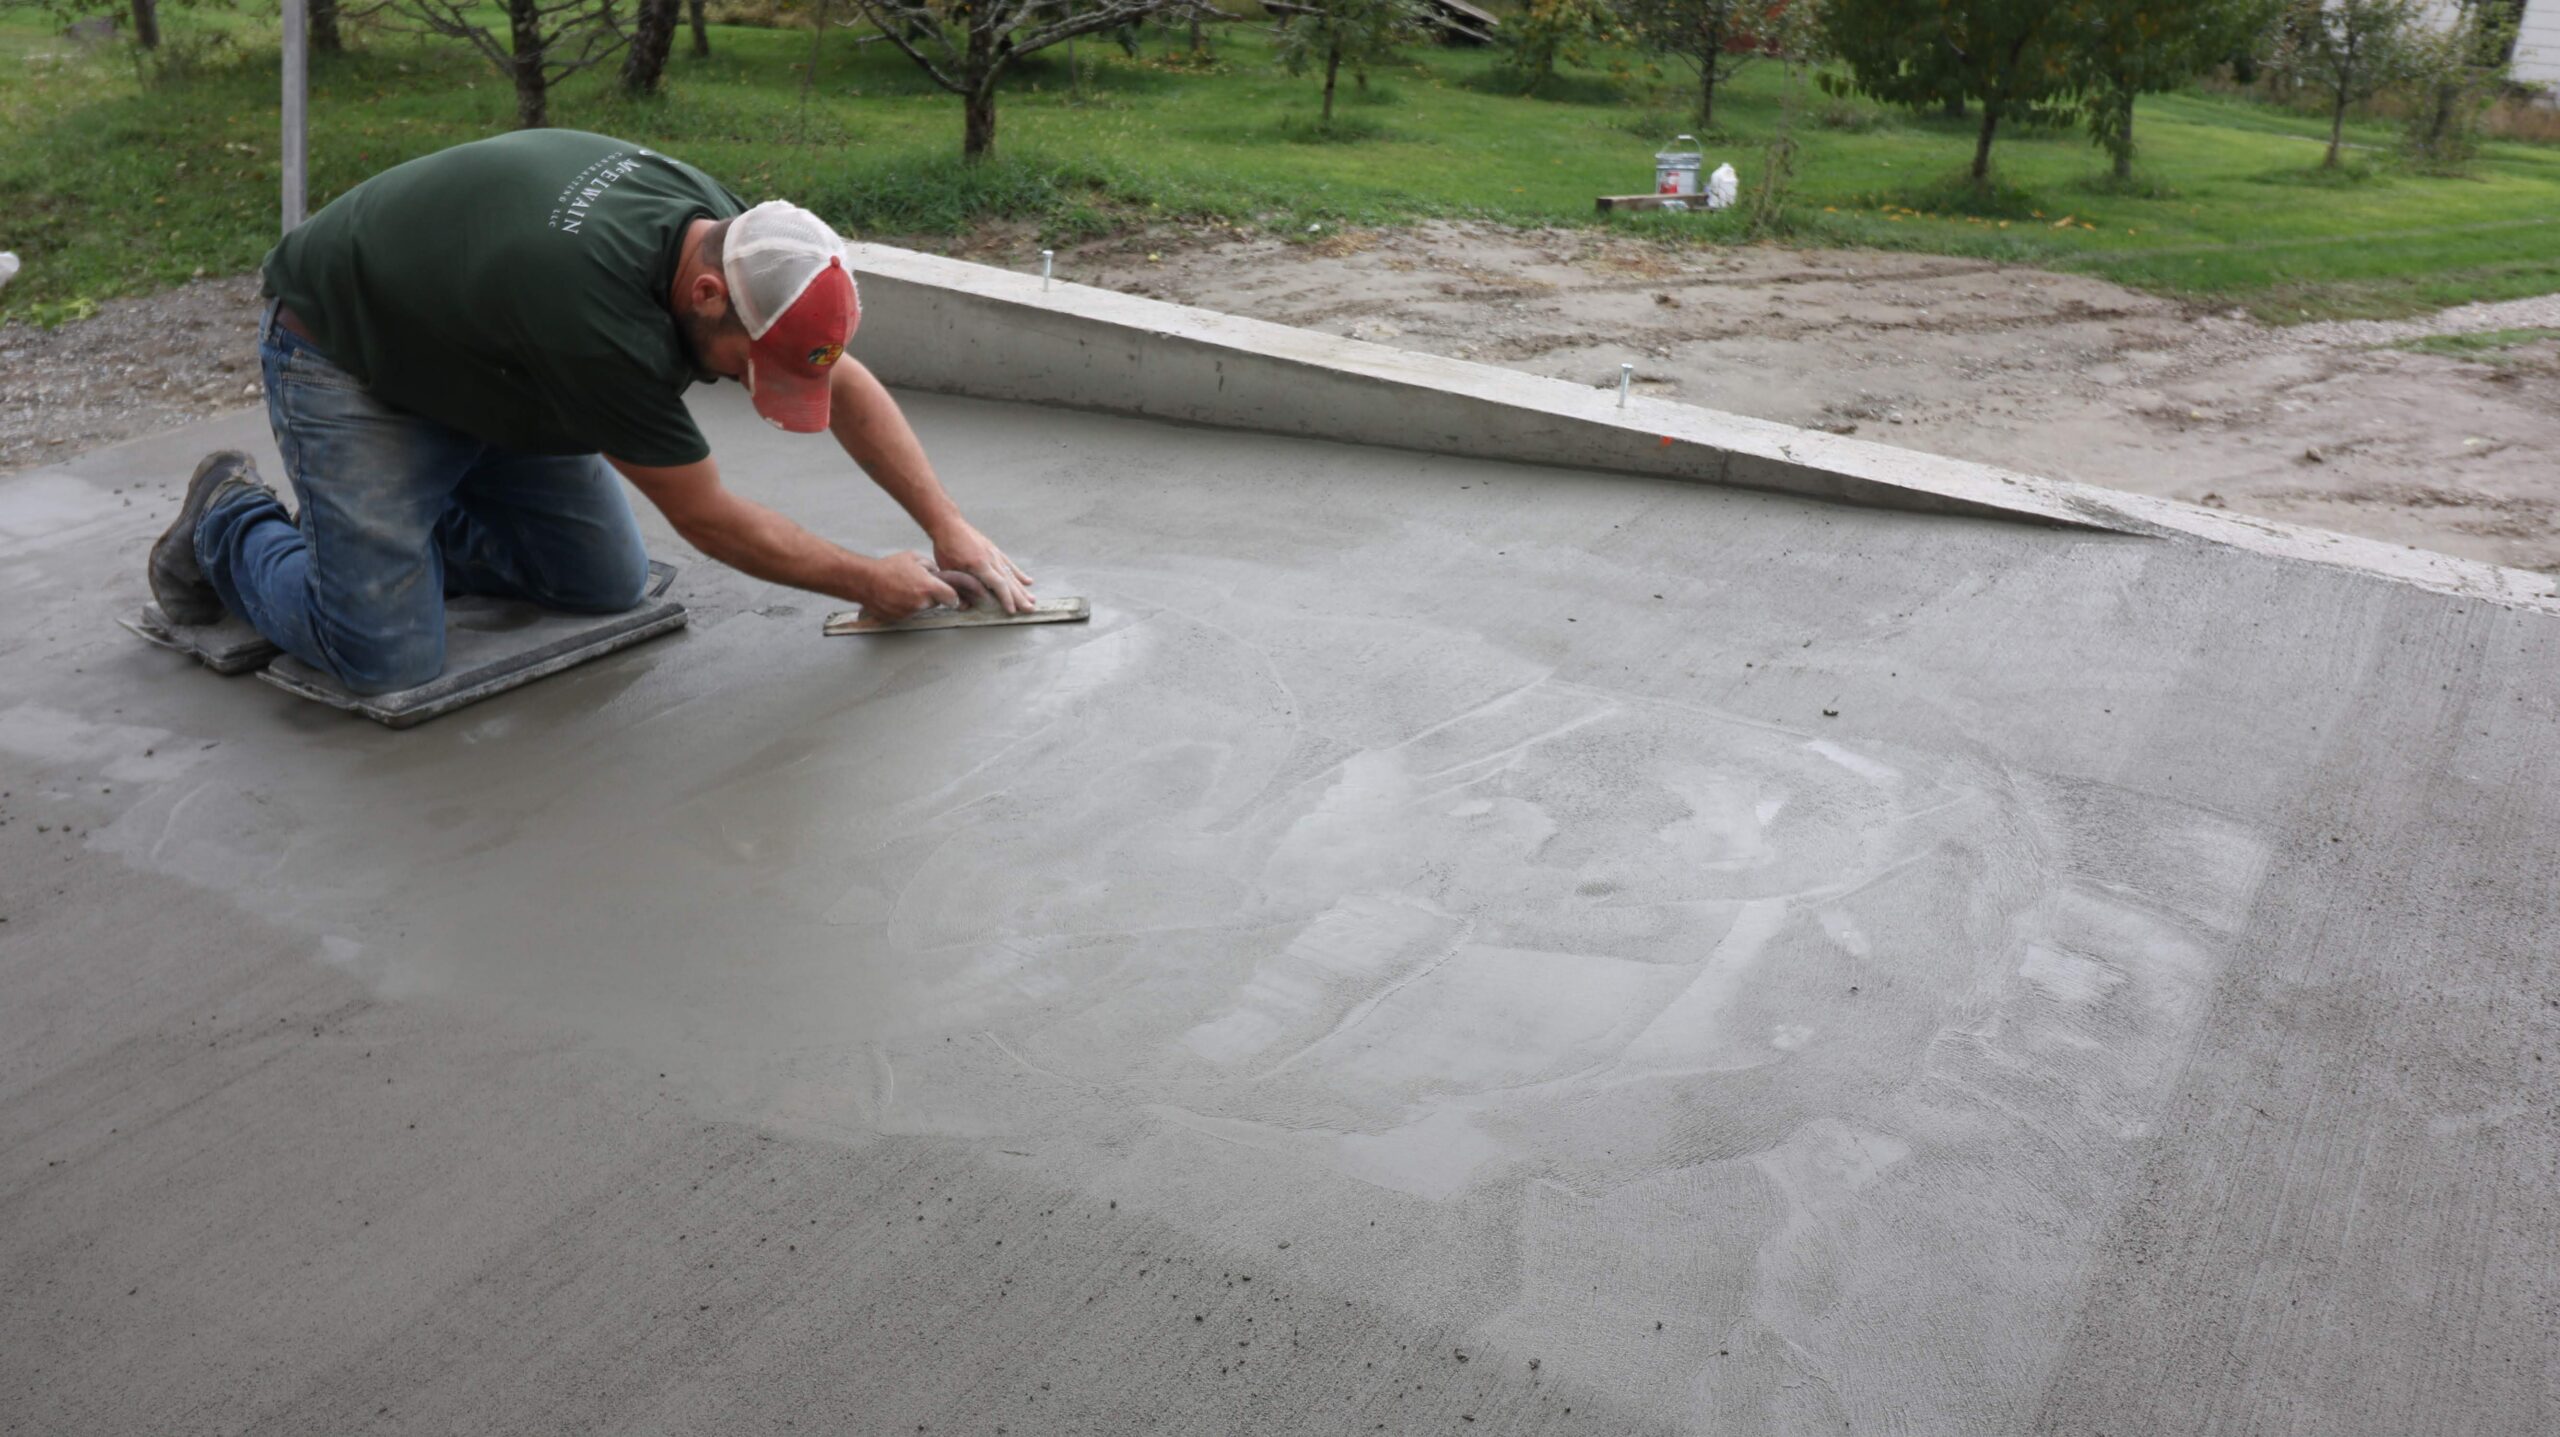
A concrete slab provides a durable, continuous, smooth surface good for moving heavy bins, equipment, or fork trucks. It can be smooth yet not slippery, not overly porous for cleanability, can be pitched for drainage, can be installed indoors. On the other hand, when unsealed, concrete can absorb moisture, is prone to staining, can be expensive, and once poured it is not easy to modify. Cost of bare concrete is $3-5 / sqft.
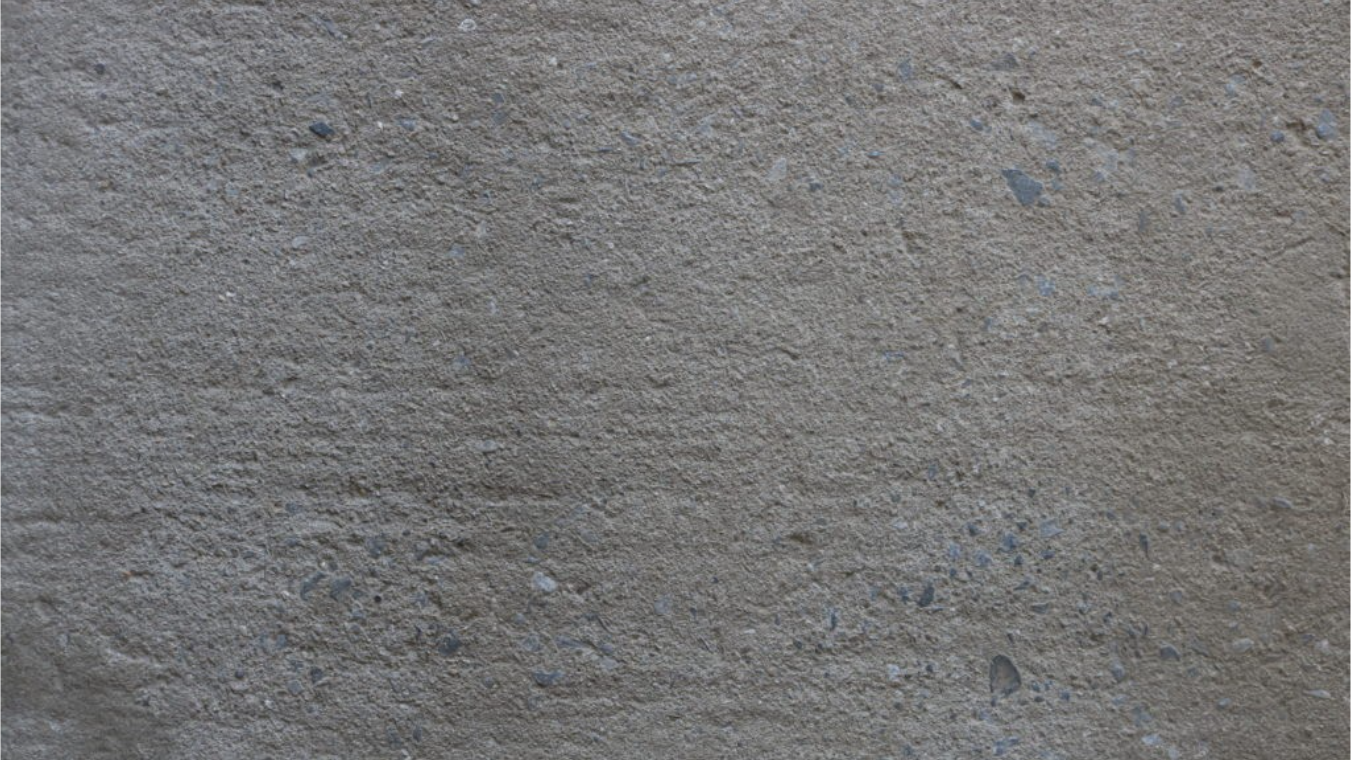
Concrete Finishing– The finishing of a concrete slab can include several steps that may improve the surface5. “Screeding” is drawing a straight-edge over the top of the floor while the concrete is just poured to either level it or to achieve the intended pitch (e.g. to drains). “Floating” with trowels smooths the top surface and reduces porosity. You can stop here if you’ve reached your desired surface finish or continue troweling as the concrete finishes setting to get a smoother finish. After floating, you could choose to “brush” the floor which can be done to improve traction instead of troweling. “Polishing” is another finishing option but may not be a good choice for a wash and pack area due to the slippery nature of this surface finish.
Bare concrete can be installed aesthetically. Five different finishes for concrete include7:
- Stamped concrete – Looks like stone brick or tile
- Trowel finish – Can be smooth or swirls/arcs.
- Brook finish- Used on sidewalks to be anti-slip
- Salt finish – Textured finish used around pools
- Stenciled concrete – Like stamped but works on already finished concrete.
Sealed Concrete
Sealed concrete offers all the benefits of bare concrete plus improved cleanability6. It is low maintenance, very durable, seamless, provides texture for a non-slip surface, and provides a continuous smooth surface for easy cleanability. This approach resists staining or adsorption of oils, salts, and water.

There are many options for coating and sealing concrete including different types of paint, epoxy or rubberized coatings5. Many of these can be found at your local building supply or hardware store and can be installed yourself. Floor preparation is important to achieve a durable seal. This includes cleaning (washing), etching (or sanding), and finally application of the sealant by either spraying or rolling. There are contractors out there that specialize in this as well if you want to outsource this task.
If you plan to hire out this task, a simple epoxy coating in a solid color with clear overlay on a good concrete base starts around $4 / sq ft pricing goes up to around $8 / sq ft when you add texture or color flakes. These prices also increase if concrete prep work is needed to address any issues ahead of the sealing. Moisture testing of the slab is required as there needs to be a vapor barrier beneath the floor or it will crack, bubble, and blister. There are different grades of epoxies that can be selected if needed to resist thermal shock if using hot water on a cold slab. Scheduling typically takes 4-6 weeks.
Future Floors Inc. is a distributor and installer of commercial epoxy coatings in the Vermont, New York, and New Hampshire areas.
Premium Waterproof Alternatives to Concrete
Flexible Epoxy Membrane
When speaking with John Kamencik, President of Future Flooring Inc. about a material that would work for wash/pack areas he suggested a flexible epoxy membrane.
“In the case of a wood structure, such as a 2nd floor barn, I would use a flexible epoxy membrane such as Rio Deck EB and Rio Deck TCA. This will allow for the movement of the structure as well as the expansion and contraction of the subfloor. Most likely an underlayment grade plywood will need to be installed first. You can not use regular plywood or Advantek chip board as they are not warranted for use under epoxy coatings or most flooring material for that matter. Underlayment grade simply means that the wood sheathing is warranted to NOT have voids in the core or plugs. Point loads can puncture through the finish material over regular plywood. The thickness of the underlayment is determined by how bad the existing wood decking is. You may also want to consider pitching/sloping the floor over the underlayment for positive drainage before applying the new floor. This material needs to be professionally installed and costs $4-8 / sq ft”
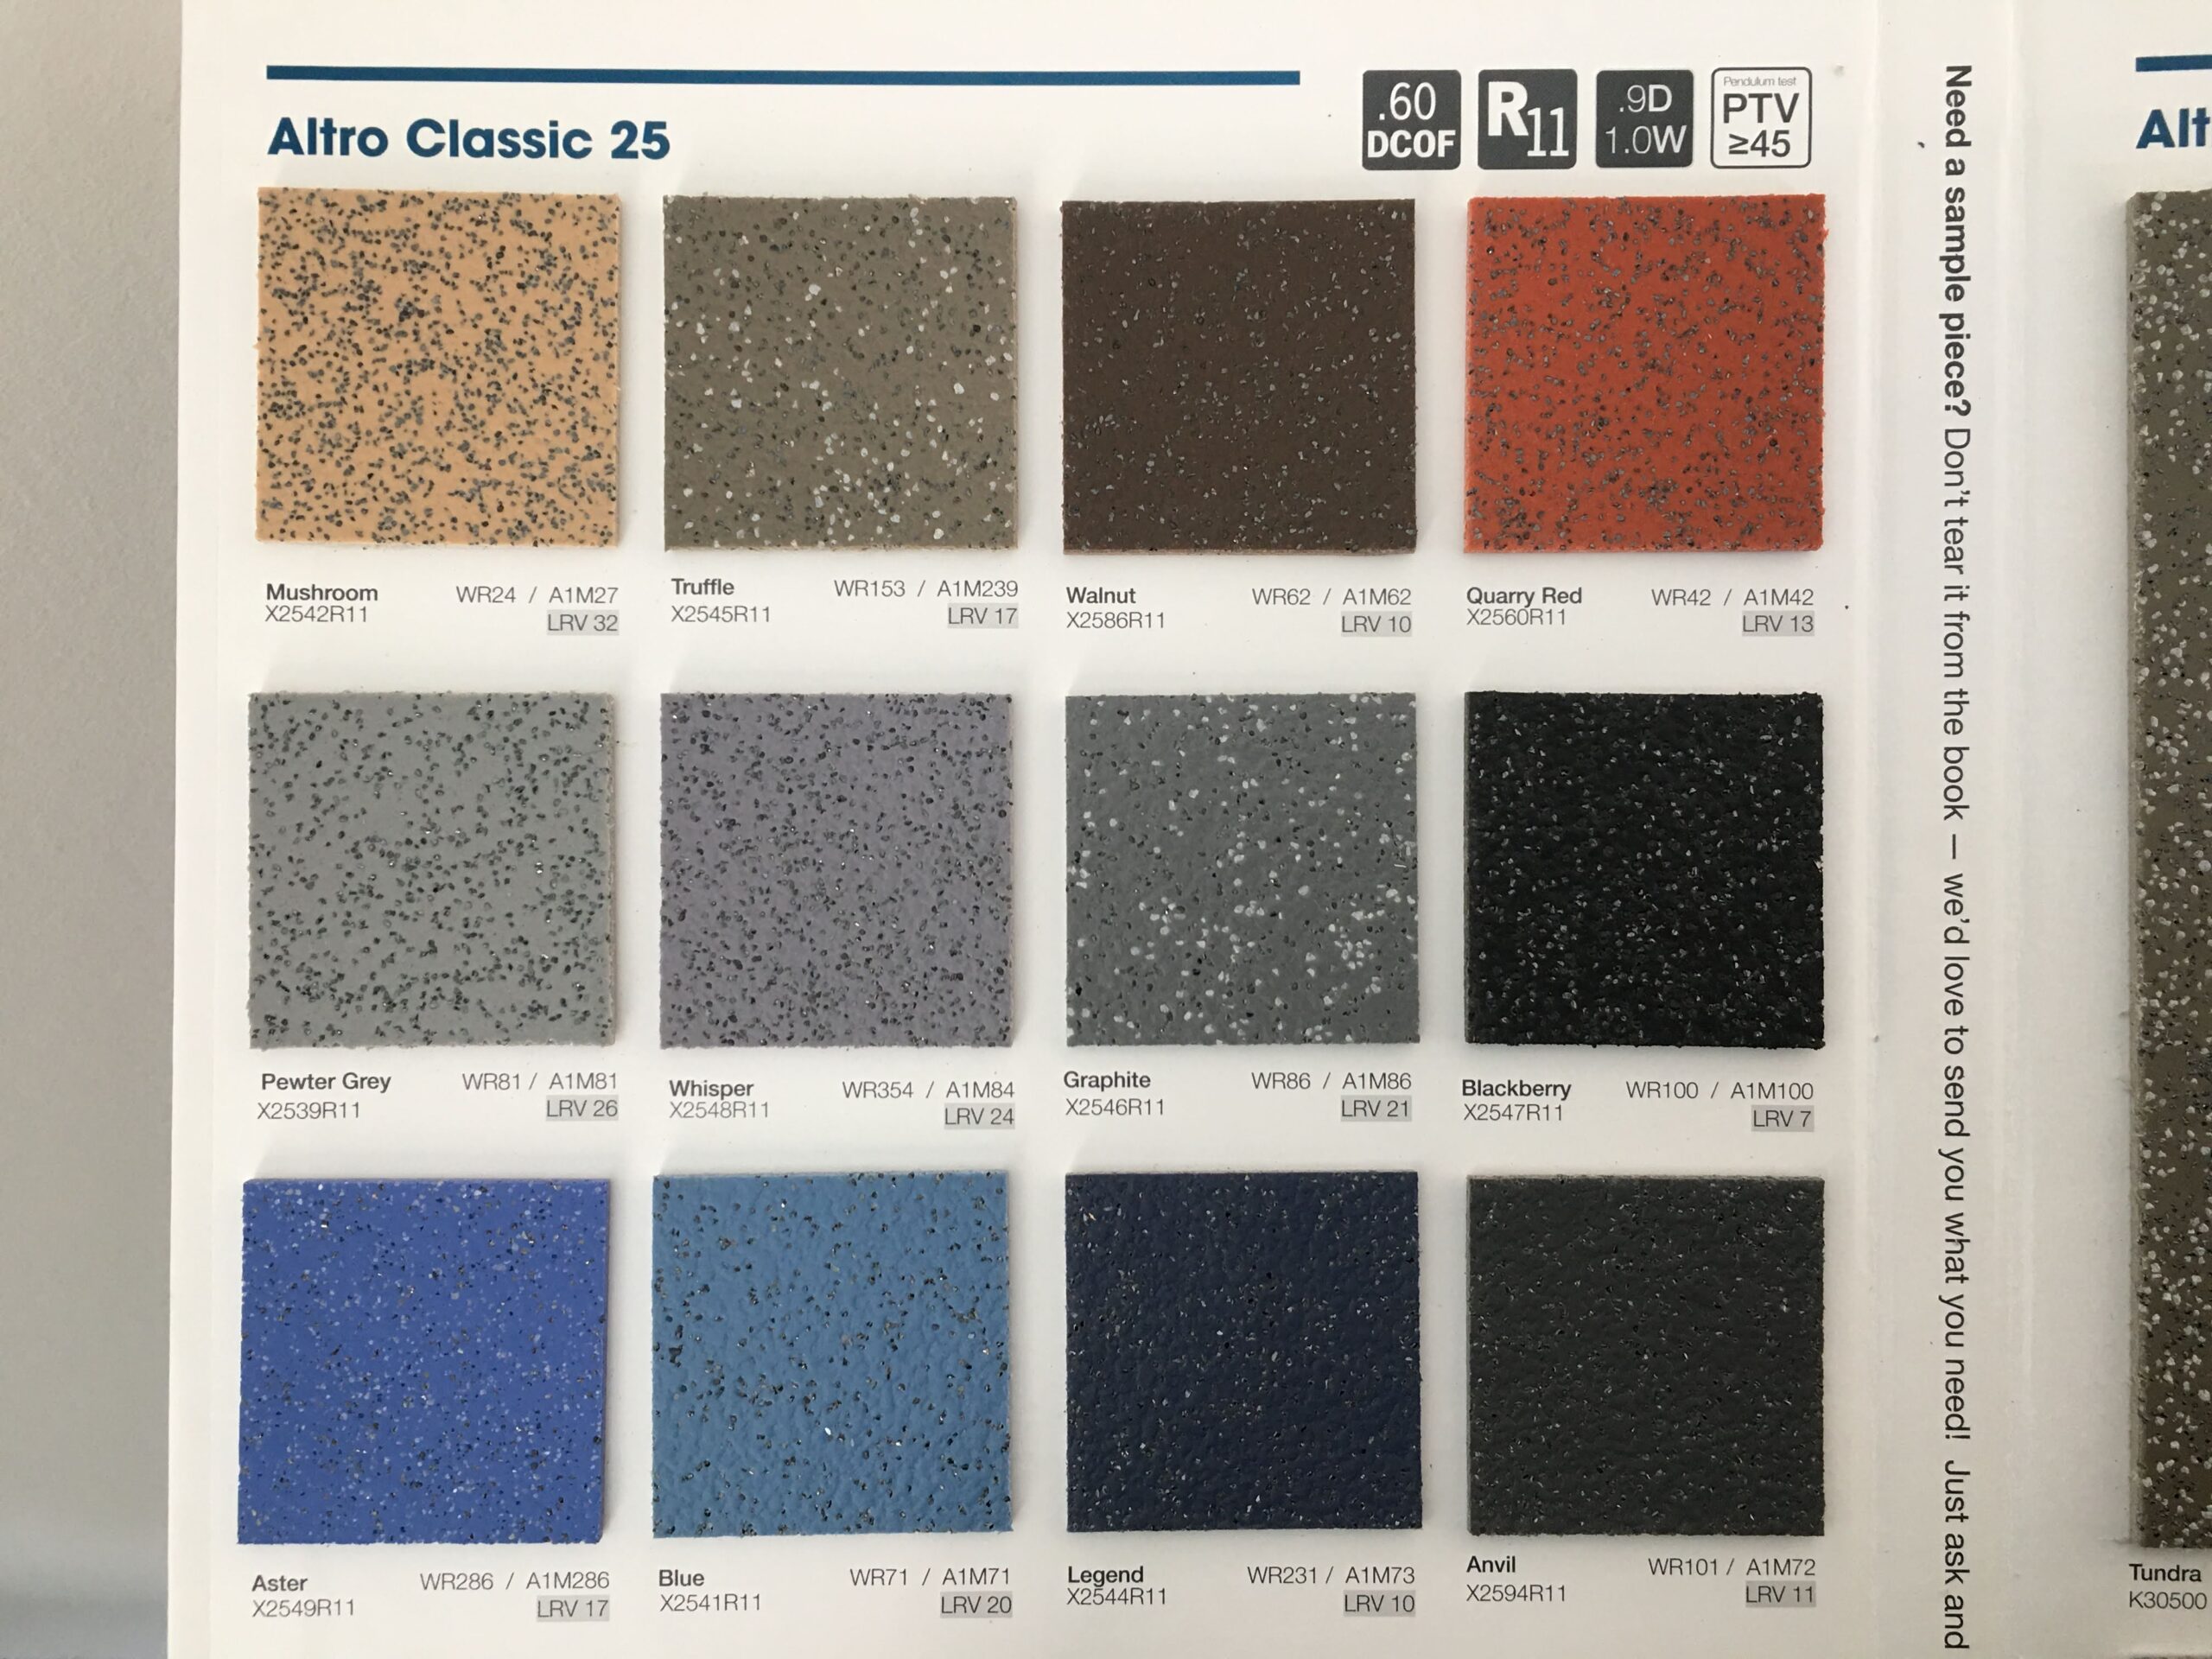
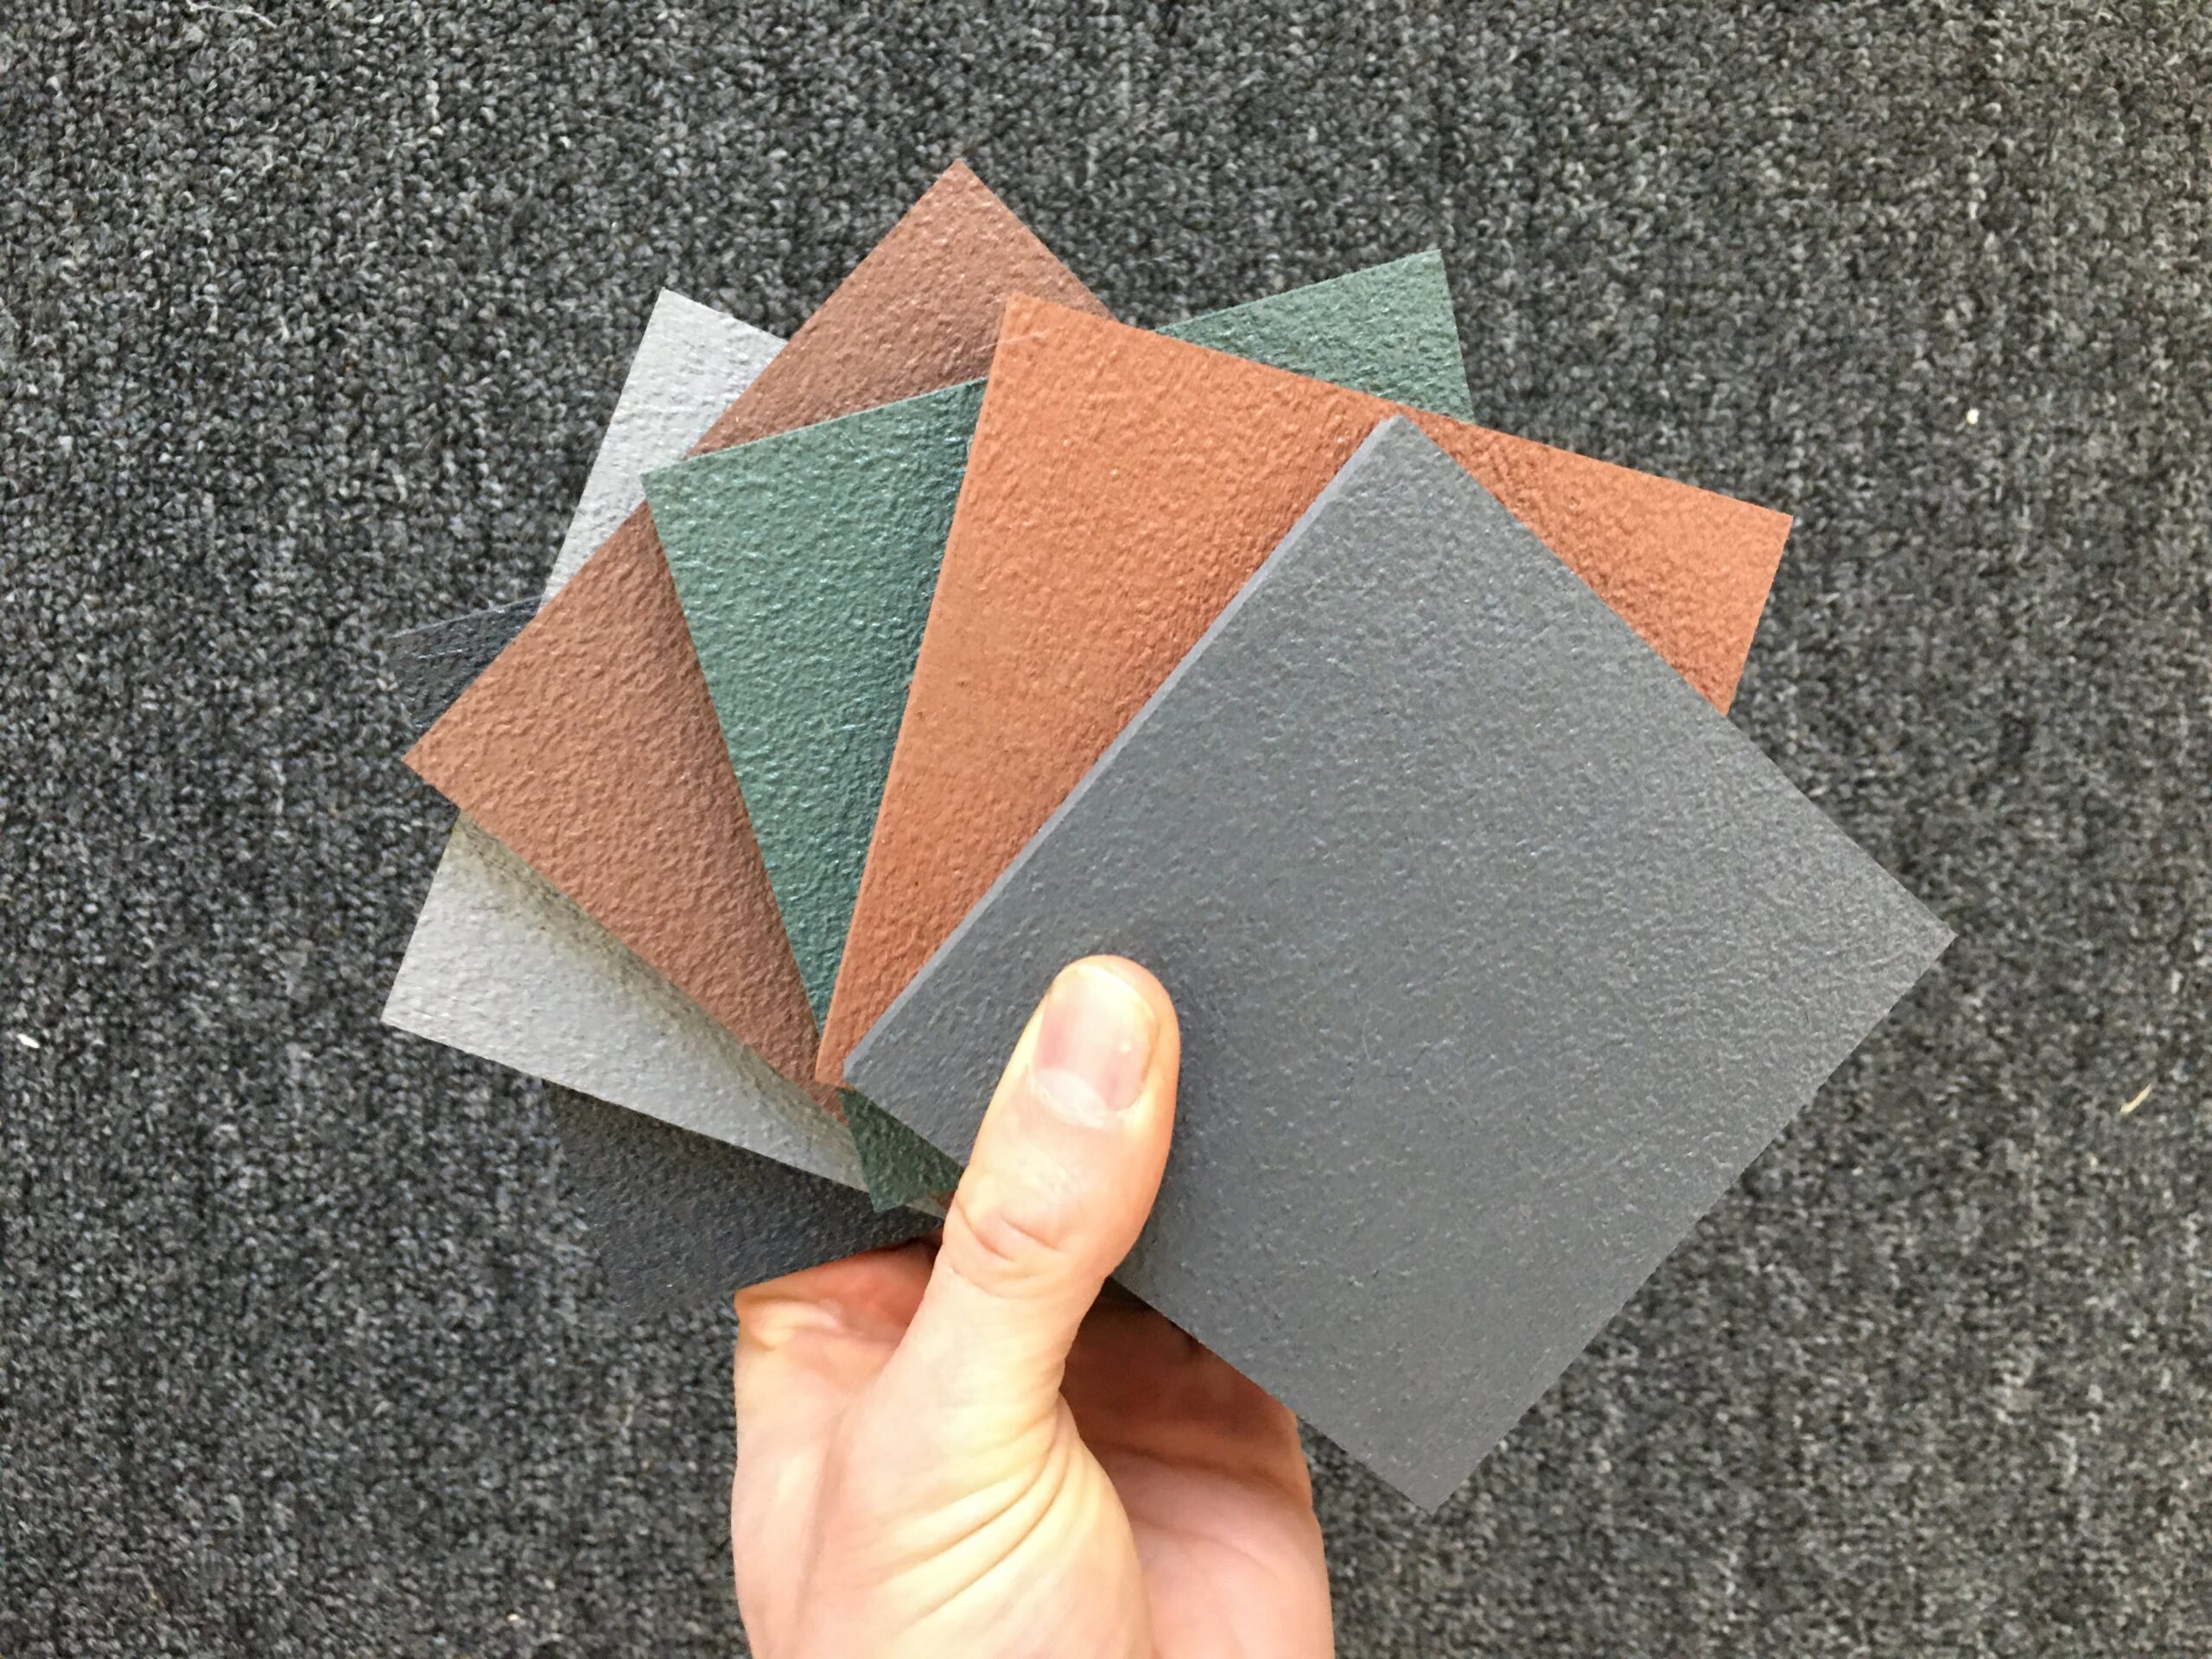
Commercial Sheet Vinyl
This material is upgraded from standard kitchen and bath flooring found in residential construction to what is found in commercial kitchens or restaurants. This material can be welded together for a 100% waterproof seal. Basic flat lay pricing starts at $8-12 / sq ft. Cost goes up if any sub flooring work is needed, pitching of the floor, installing drainage, or coving around the edges of the room. Safety, anti-slip flooring is available.
This option of safety sheet vinyl from Altro is designed for commercial kitchens
Future Floors Inc. is a distributor and installer of this material. It is common in modern indoor growing facilities.

Eco-Grip Flooring
Eco-Grip flooring is a premium sheet product that can be installed seamlessly over via welding on top of standard framing subflooring. It is 100% waterproof with floor drains and coving. It’s made with 98% recycled content, skid resistant, anti-fatigue (6.5mm thick) and warrantied for 10years against material failure. Full technical specs can be seen here.
Carter Gremp (646-295-8383 http://www.wcgremp.com) is the licensed installer in the Northeast region and can install 600sqft per day with a crew of 6. Lead times are typically 4-6 weeks. Pricing is $16-18/sq ft. Recent projects include the floor in the Starbucks near UVM and Williston, VT.

Construction Details of Concrete Flooring Systems
Concrete floors can be installed a few different ways.
- Floating slab – Slab on grade with no structural support
- Helical Piles – Large anchors screwed into the ground to secure the slab
- Footings – a foundation around the perimeter of the slab to resist heaving and cracking.
Each of these options involve the use of sand or crushed stone and a vapor barrier beneath the slab. If heating the slab or building a cooler insulation can be added between the stone and poly before pouring. Installing radiant tubing is never a bad idea even if you don’t plan to heat the space now, it gives you the option to hook up to in the future for minimal additional cost.
Can you install concrete on the 2nd floor of a building? Yes, it’s costly and requires engineering but it is possible by using steel decking and a special blend of concrete for the pour.
Read Drains for Produce Farms for specific design details for floor drains.

Contractor Selection
When looking for a concrete contractor or finisher make sure to get references or check out prior projects to make sure you are getting the finish you desire. Concrete is hard to fix after the fact, so clear communication upfront is important.
Concrete Repair
Sometimes floors can be repaired. Our blog post and video Repairing Cracks and Pitting in Concrete Floors discusses the process of how to do this yourself with basic hand tools readily available
Wash/Pack Floors | SCRUB Twilight Highlight
What are other Growers using?
Check out our Post Harvest Case Studies for more wash/pack examples.
Share this blog post!
Acknowledgments
Funding for this statement, publication, press release, etc. was made possible, in part, by the Food and Drug Administration through grant PAR-16-137 and by the USDA’s National Institute of Food and Agriculture through the Specialty Crops Research Initiative under award number 2016-51181-25402 and Food Safety Outreach Program award 2016-70020-25792 accession 1010528. The views expressed in the written materials or publications and by speakers and moderators do not necessarily reflect the official policies of the U.S. Department of Health and Human Services or the U.S. Department of Agriculture; nor does any mention of trade names, commercial practices, or organization imply endorsement by the United States Government.
References
- Schmidt, R. H., & Erickson, D. J. (2008, January). Sanitary Design and Construction of Food Processing and Handling Facilities (FSHN0408). University of Florida – IFAS Extension. Retrieved from http://edis.ifas.ufl.edu/fs120.
- Holah, J., & Lelieveld, H. L. M. (Eds.). (2011). Hygienic Design of Food Factories. Woodhead Publishing.
- Problem Clinic: Recommended Floor Slope and Tolerance. (1998, February 1). Concrete Construction. Retrieved from http://www.concreteconstruction.net/how-to/recommended-floor-slope-and-tolerance_o
- Sloping Floors to Drains. (n.d.). EP Floors Corporation. Retrieved from http://www.epfloors.com/industries-served/food-processing-floors/sloping-to-drains/
- Concrete Finishing Techniques. (n.d.). Retrieved April 30, 2018, from https://www.archtoolbox.com/materials-systems/concrete/concrete-finishing-techniques.html
- Riddle, D. (2006, August 30). Floors Fit for the Food Industry. Food Manufacturing. Retrieved from https://www.foodmanufacturing.com/article/2006/08/floors-fit-food-industry
- “Types of Concrete Finishes for Patios: Upgrade Your Outside Space.” J & R Chavez Landscaping LLC, 18 June 2020, https://www.chavez-landscapingllc.com/types-concrete-finishes-patios/.