Winding down the mowing season

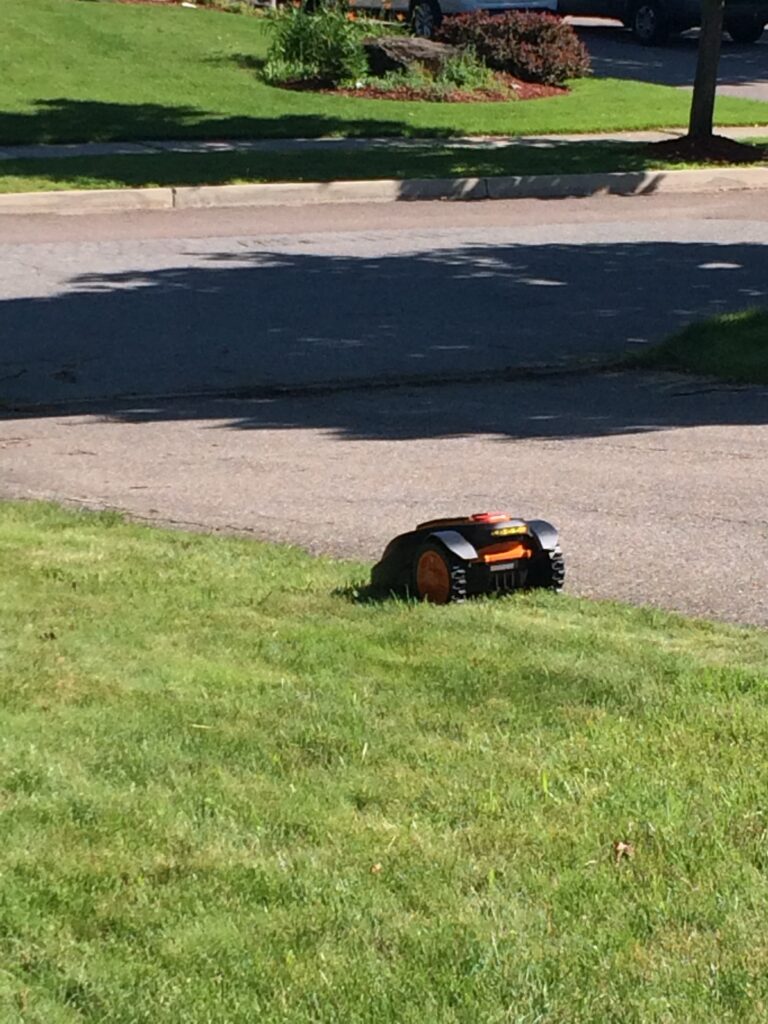
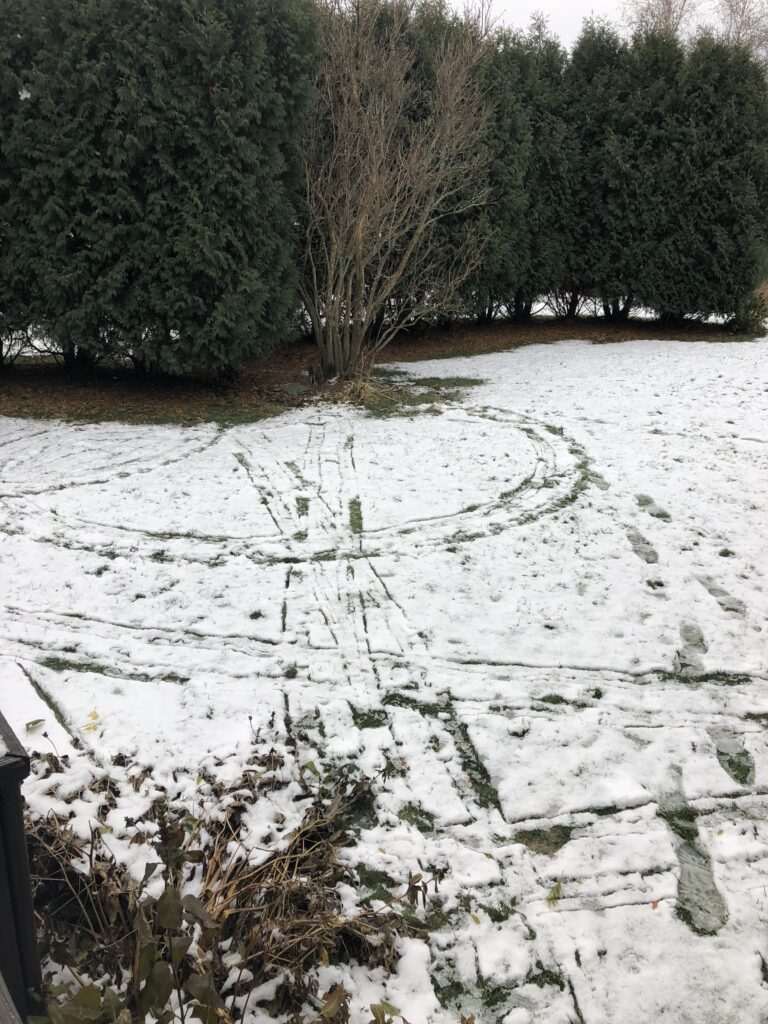
Later this week, there is snow in the forecast, which signals it is time for Mo to hibernate for the winter. There is usually a morning, like the one above, when we look out and see evidence that Mo has dutifully attempted to mow the lawn. In such cases, it seems that Mow has been hindered not so much in his movements, but in his ability to access the grass. Like with tracking animals, Mo leaves an interesting track story of past movements through the yard.

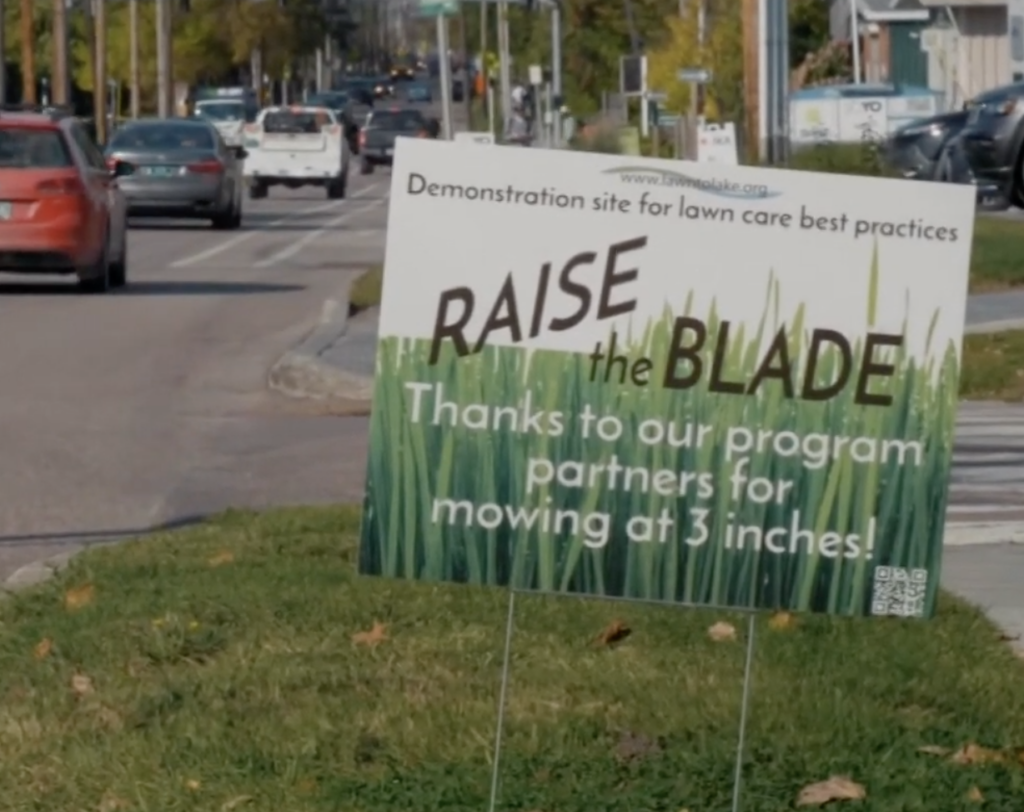
This has me thinking retrospectively—though over a longer time period—about the positives and negatives of owning a robotic mower and how that aligns with the #RaiseTheBlade outreach effort.

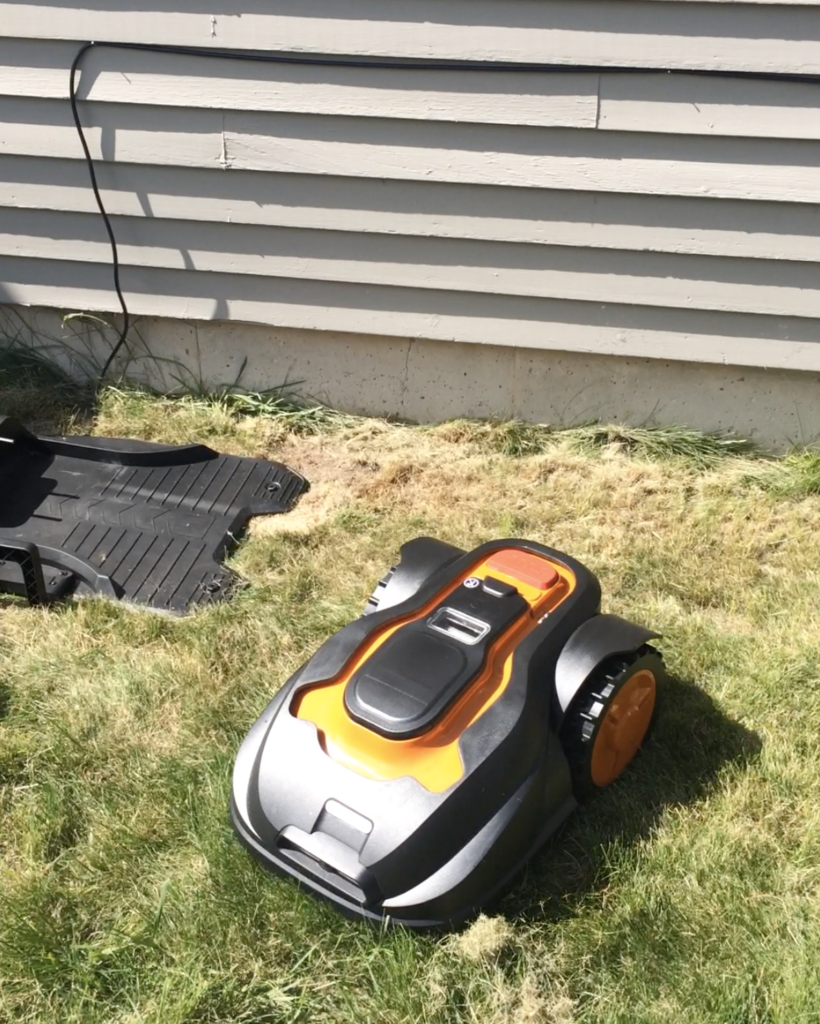
Positively, Mo reduces our time spent mowing, giving us more time to explore the Lake Champlain basin and beyond. Plus, Mo mows most areas of our yard decently and does so quietly while following all of the #RaiseTheBlade guidelines (3″ minimum length, no more than 1/3 of the blade at a time, and allowing the clippings to decompose in place). This is great for us and good for water quality.

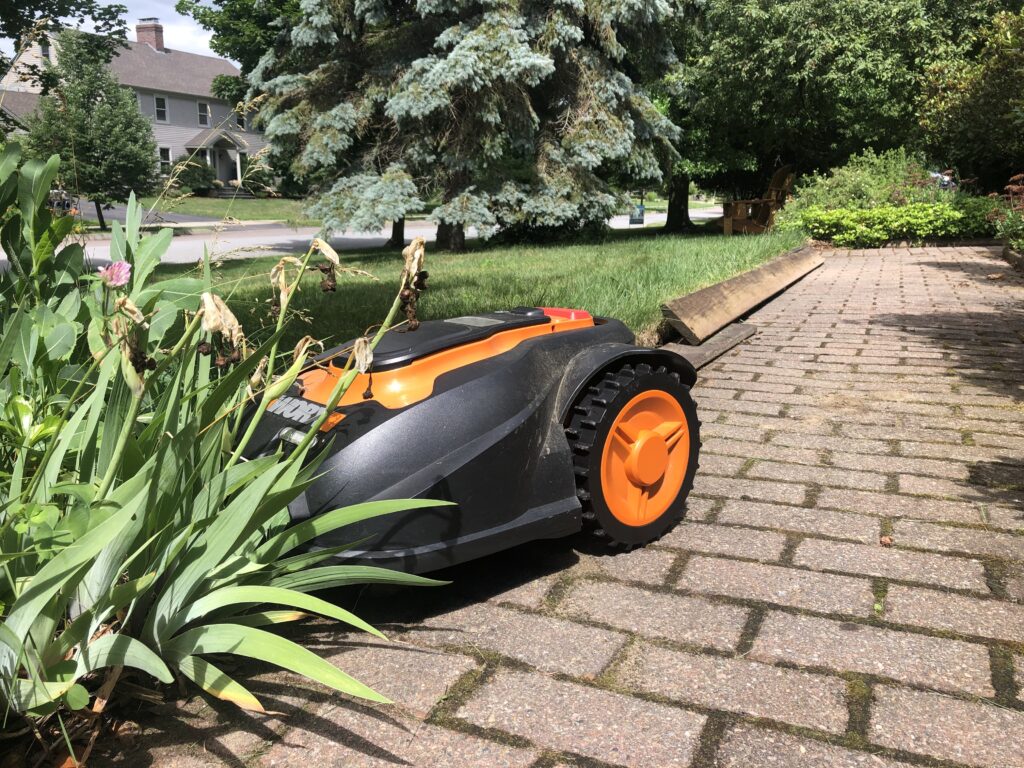
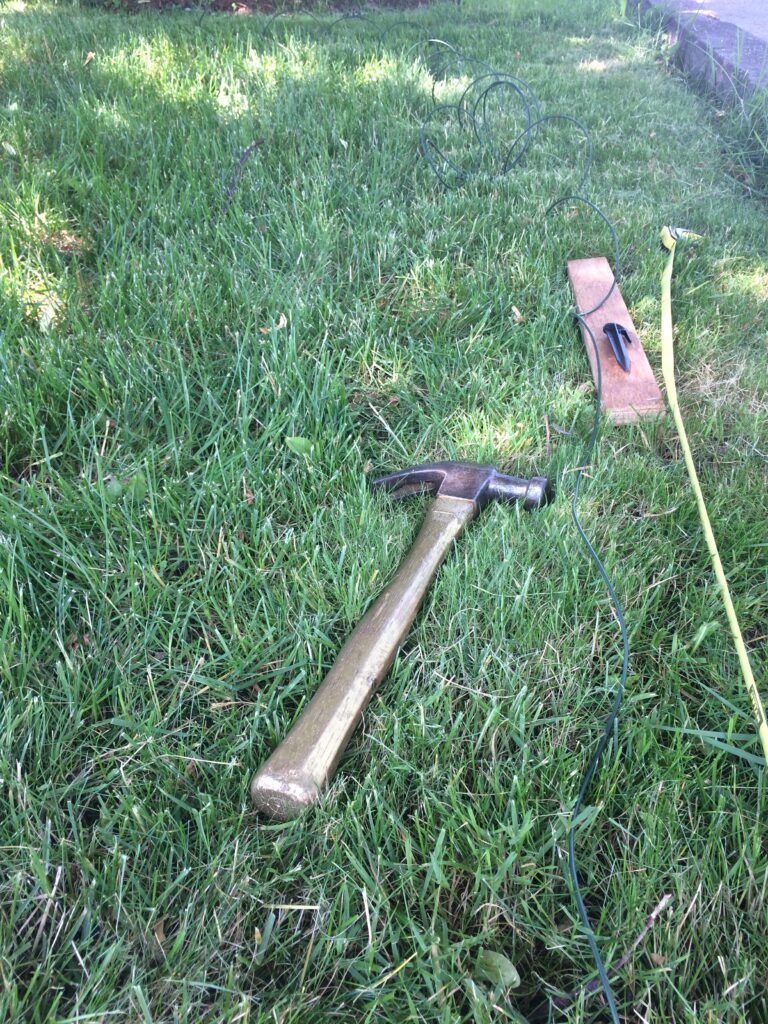
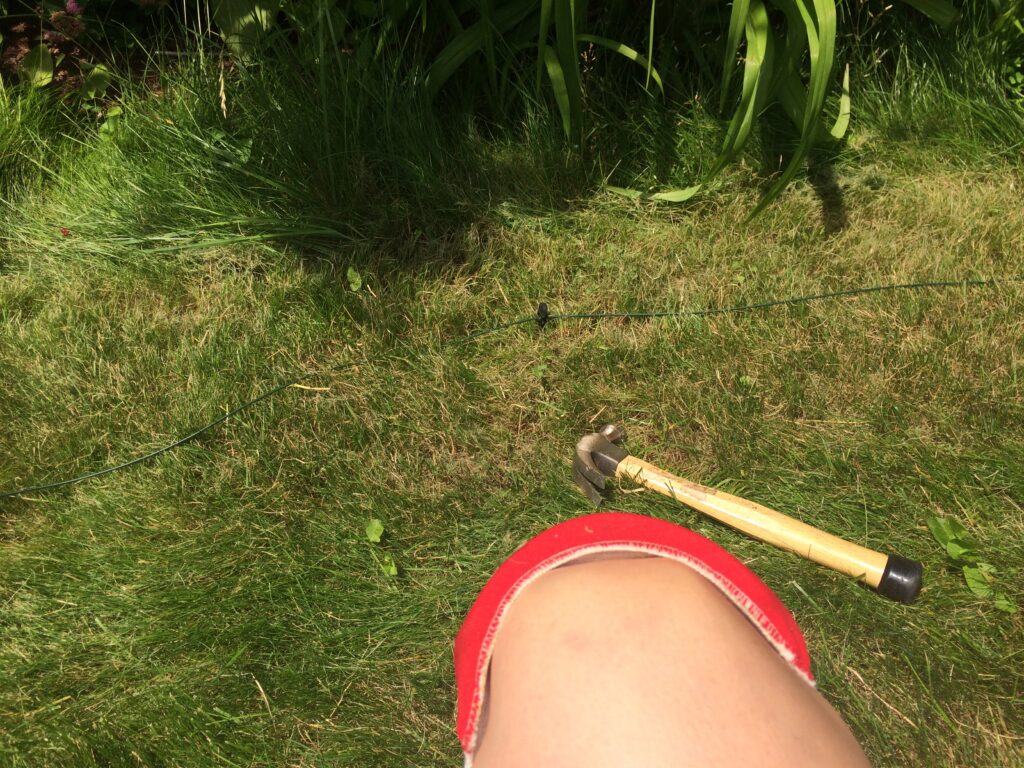
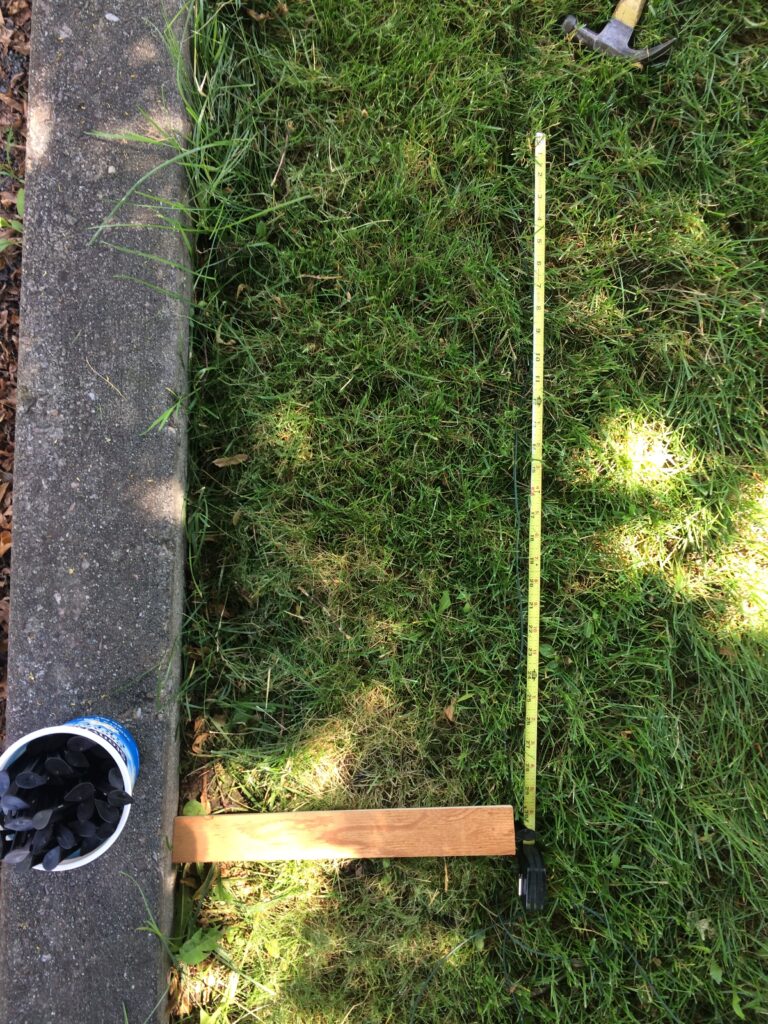
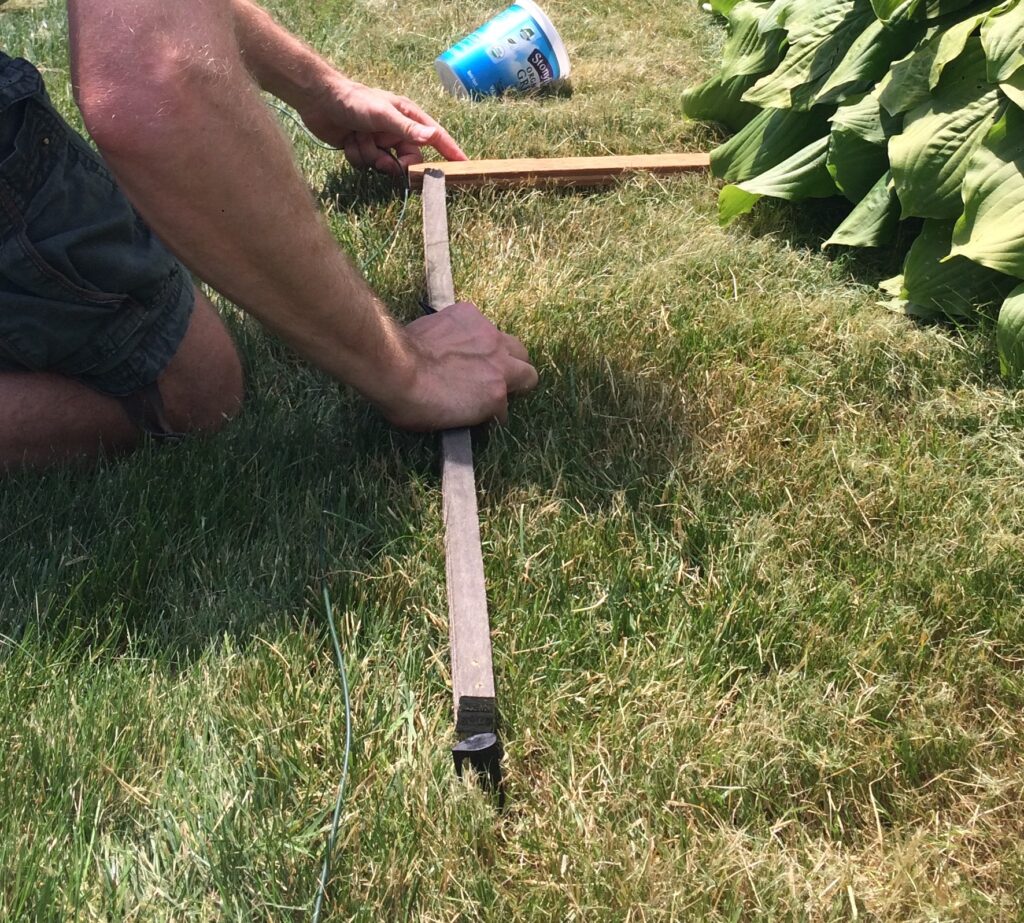
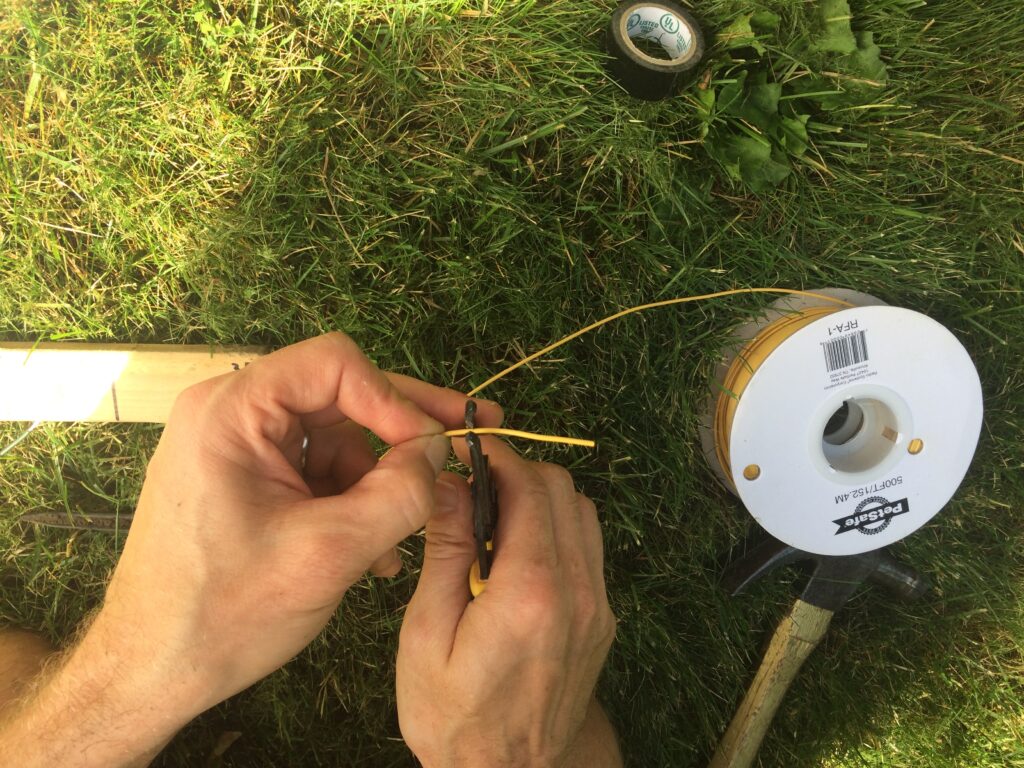
Mo’s challenges primarily have to do with the landscape. On average, Mo gets stuck once every few weeks. However, if we fail to manage Mo’s boundary wire path, Mo can get stuck every day. Lately, this happens in one corner of our yard where the grass is thin, bare soil is plentiful, and tree roots abound. The fix is simple—to reroute Mo’s boundary wire. As such, we only have ourselves to blame for having to go rescue Mo on a regular basis.

Mo the lawnmower stuck in the tree roots.
Mo gets stuck in this one spot on most days.

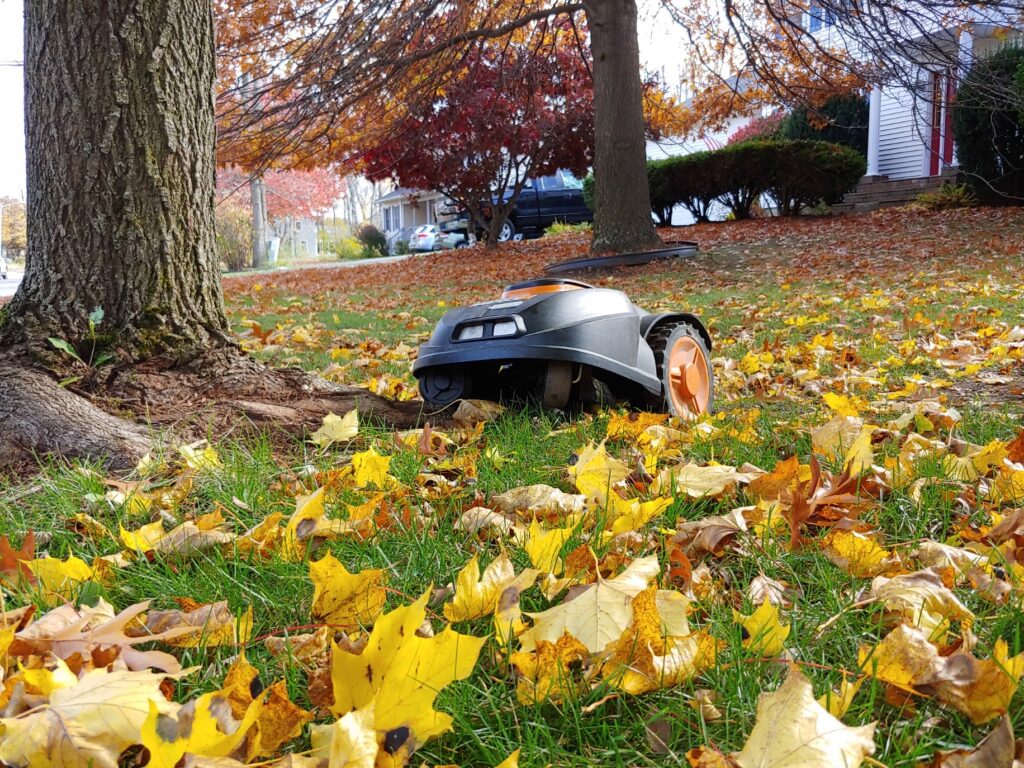
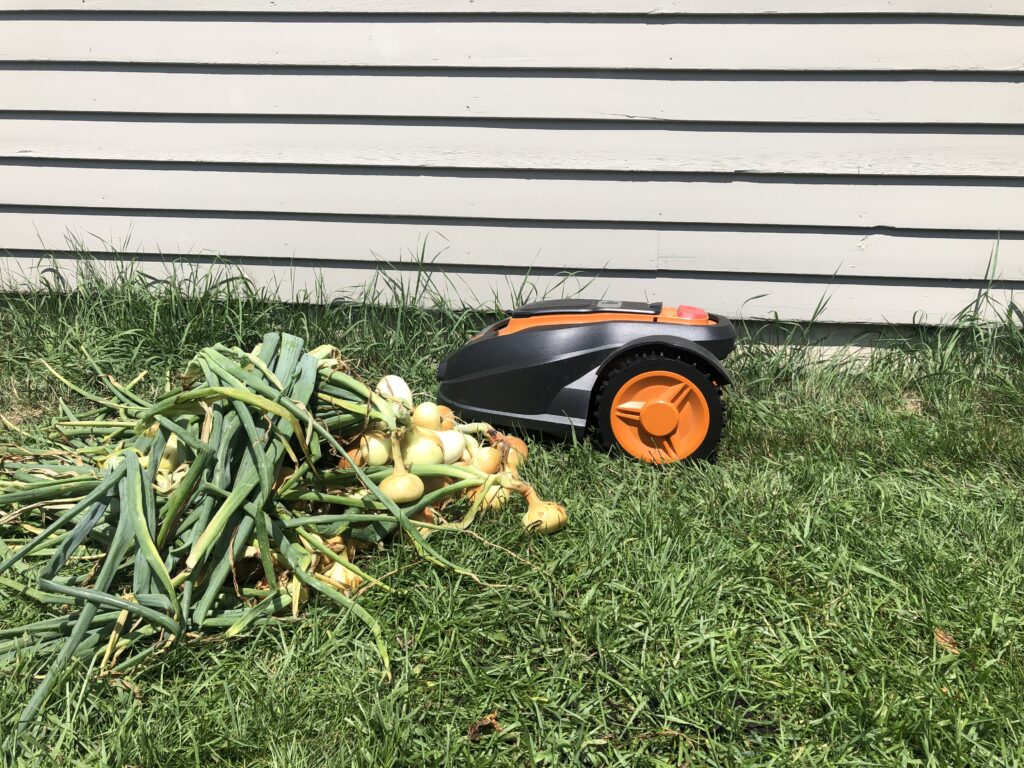
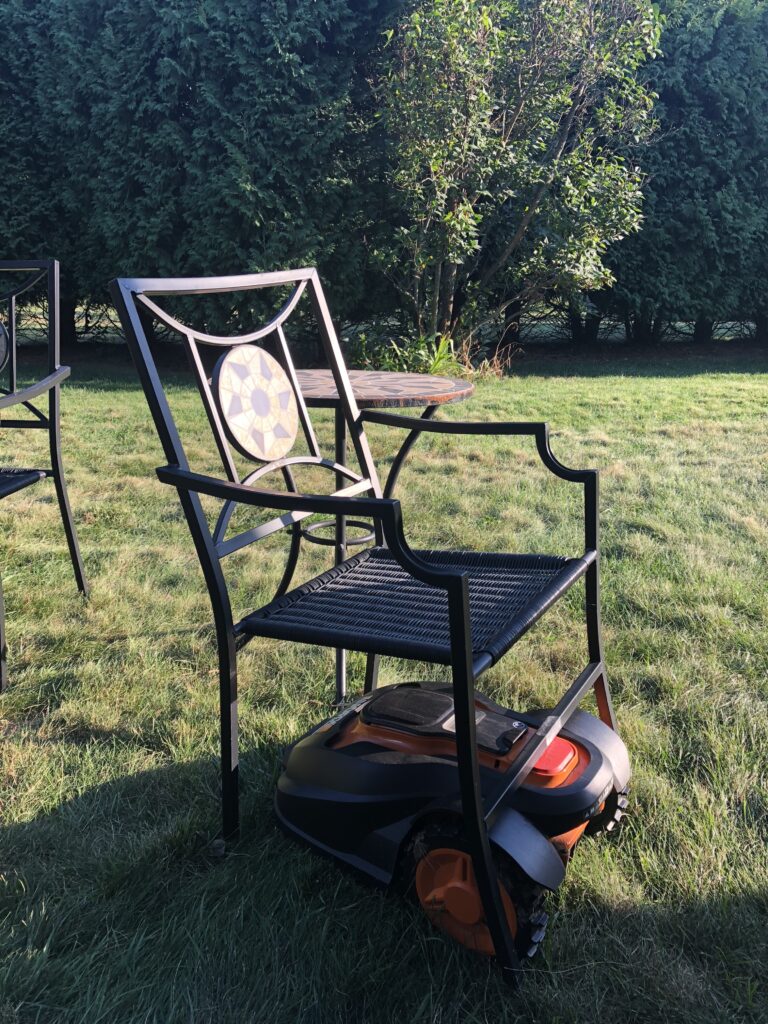
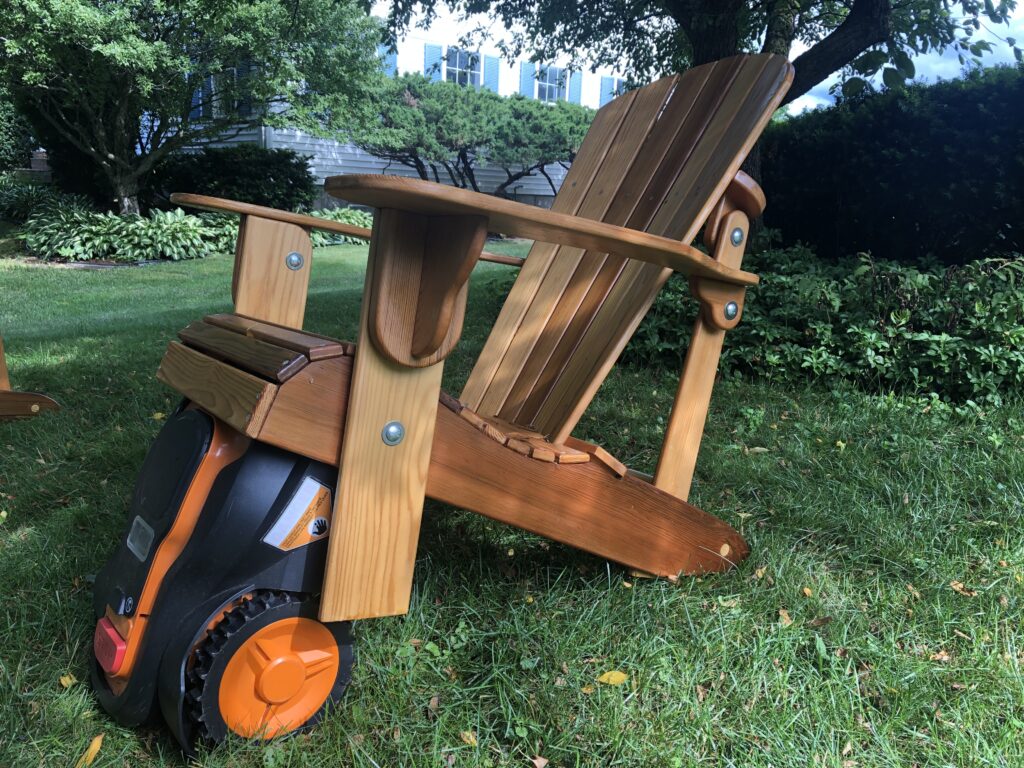
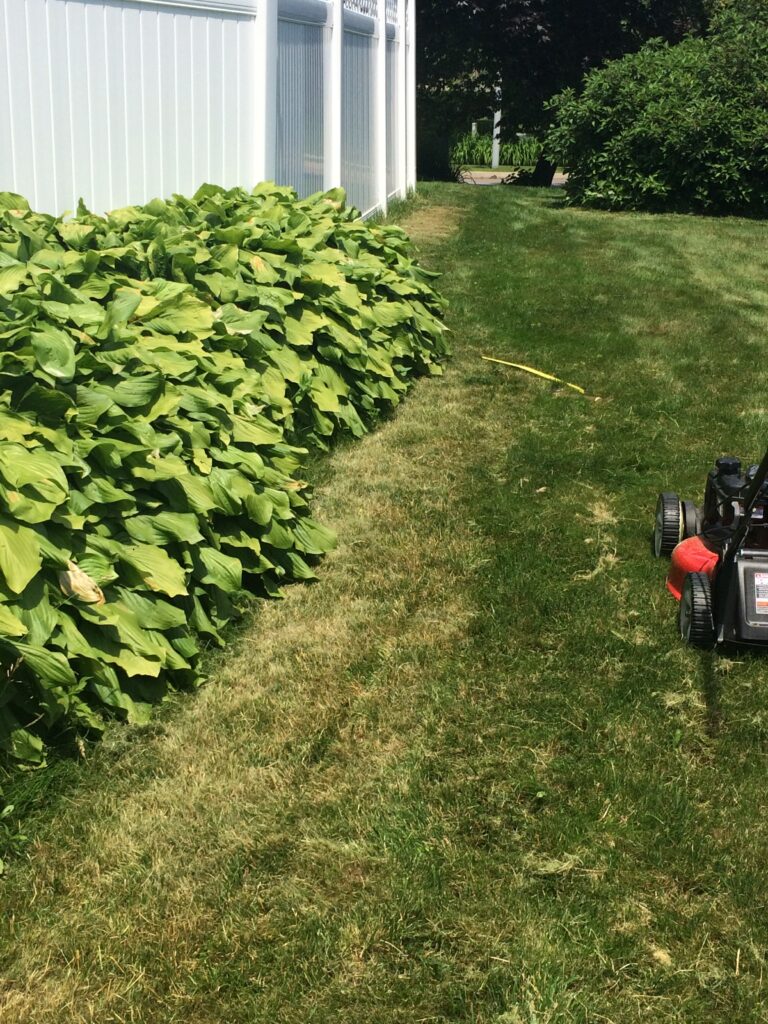
Mo’s other key challenge, as I shared throughout this mowing season, is that objects allowed to grow in Mo’s path (e.g., a large milkweed plant) or placed in Mo’s path (e.g., harvested onions, Adirondack chairs, lawn edging) make mowing particularly challenging.

The benefits of having Mo’s assistance with our yard work far outweigh the challenges though, and I’d do it all again if I had to make the decision to buy a robotic mower or not.

35 seconds of your time could win you a trip on Lake Champlain

Image of a lawnmower in front of a house with a waterbody in the background and a buffer planted with native vegetation between the yard and the water. The image serves as a link to a 35-second video about grass growth and best practices to help grass health and protect water quality.

Today, with just two more Mo Monday posts in 2020, I am excited to introduce a newly-released 35-second video that shares the key messages of — and reasons for — the #RaiseTheBlade campaign. Click on the image above to watch the video or access it through the Lawn to Lake website. (If you access it through the Lawn to Lake website, choose the “short version” of the two Benefits of Long Grass Growth videos available there.)

We purposefully left one small glitch in the video to see if viewers can spot it. If you find it, email us by October 30, 2020 at seagrant@uvm.edu with the subject line “Mo Monday.” We will randomly select one lucky winner from all email entries received to join a future public trip on Lake Champlain led by Lake Champlain Sea Grant and UVM Extension.

Photo of someone lowering a Secchi disc to assess water clarity off the stern of the R/V Melosira, the University of Vermont's research vessel.

The winner (age 18+) and one guest (minimum age 7) will be invited to come aboard the University of Vermont’s research vessel the Melosira in summer 2021 (pending a COVID-19 vaccine is available and our public trips are able to safely operate). Our public trips give participants an opportunity to learn about the history of the lake and its watershed (the area of land that drains to the lake), and to try their hand as limnologists by studying water quality in the lake.

Raise the Blade on “Across the Fence”

Recently, the Raise the Blade campaign was featured on the University of Vermont Extension’s weekday television program, Across the Fence. The Lake Champlain Basin Program partnered with Peregrine Productions, LLC to produce a series of short films to help people understand the efforts that are underway to help clean up Lake Champlain. The film from that series that is featured in this episode of Across the Fence describes actions individuals can take to help keep water clean. Raising the blade on lawnmowers to 3″ is one of those things.

Check out the video below from the episode as a refresher about #RaisetheBlade guidelines, and to learn about some other simple actions individuals can take to help reduce and clean stormwater runoff before it leaves their properties.

Another program that is featured in this episode of Across the Fence is called BLUE®. This property site assessment program provides landowners with a personalized assessment and recommendations of how to reduce stormwater runoff from their properties. Learn more about this program and register for a free assessment at: https://www.salix-solutions.com/blue.

For those who live in Burlington, VT, the video also shares an option to register to keep storm drains clean and free of debris, which helps keep pollutants out of Lake Champlain. Learn more and sign up to be a Drain Defender at: https://www.burlingtonvt.gov/DPW/ADOPT-A-DRAIN.

Getting stuck

It doesn’t happen all the time, but Mo does have run-ins with various things around the yard (as you’ve seen in some past Mo Monday blog posts). Mo usually gets caught up in something we moved or put in his way. Today, I’ll simply share a few more of the challenges he has faced while just trying to do his job.

Mo hitting a pile of onions.
A few weeks ago, I harvested our onions. As I was washing them, I saw him making his way to his robot house. He was clearly destined for failure with this heap of onions in his path. Wanting to save the onions from potential mowing, I grabbed a quick photo and helped Mo leap over the pile to get home.
 Mo stuck under a chair.
Another day we left this patio chair in the grass. Mo and chairs…they just don’t always get along.
Then there was that one time, in the front yard when I removed the wooden edge along the grass. Mo fell out of his mowing area, and got stuck in this plant trying to get back to work.
While working in the front yard, we had used our edging tool to create a nice edge along our sidewalk. However, something like 30 years of sedimentation resulted in creating quite a drop off between the grass and the sidewalk. We have discovered that, when Mo hits it straight on, it can be very challenging.
To be fair, Mo generally has success with the edge–so long as he takes it at a slight angle. This video is from soon after we did the edging.

Don’t forget! The Raise The Blade planning team is looking for people (ages 18+ who live in the Lake Champlain basin) to share #RaiseTheBlade photos and stories via social media, and to enter for a chance to win an electric mulching mower. The drawing will take place on Labor Day 2020! Learn more at lawntolake.org.

Win a mulching mower, and more Mo antics

Mo meets an adirondack chair
Yes, this did actually happen.

This Mo Monday, we’d like to mention a very important topic! That is, the Raise the Blade team is running a contest this summer. People over 18 who live in the Lake Champlain basin can enter for a chance to win a mulching mower! The idea is to help one lucky winner implement the recommended Raise the Blade lawn care practices, while getting to see many people’s ongoing actions to Raise The Blade.

You might wonder how a mulching mower could help someone to implement the Raise the Blade best practices. Since a mulching mower cuts lawn clippings into very small pieces and leaves them in place to decompose, they are easily broken down by soil microorganisms and add nutrients right back to the soil. This adds organic matter to the soil, which helps it to hold more water. Soils that can hold more water help limit the amount of stormwater runoff that leaves a yard, and that’s the ultimate goal of the Raise the Blade campaign.

To enter the contest, simply enter your contact information here, and share a photo of you or someone else following Raise the Blade recommended practices, or showing your grass cut to 3″ in height. You can share your photo via email by sending it to seagrant@uvm.edu or via social media by posting it to Twitter and tagging @lakechamp or to Instagram, tagging @lakechamplainbasinprogram and using the hashtag #RaiseTheBlade. The drawing will be held on Labor Day 2020.

Now, about Mo and that Adirondack chair…my husband finished building this and another chair a few weeks ago, and we placed them in the yard in a nice shady spot for some summertime reading and relaxation. We knew Mo would bump into the chairs, but watched him carefully the first time he approached them. I even recorded it, not knowing what might result. Things went perfectly smoothly, which you can see in the video below.

Mo meets the Adirondack chair – the first time.

However, as you can see from the photo at the top, Mo’s second meeting with one of the chairs didn’t go as smoothly. That, or maybe he was trying his hand at being Atlas?

Installation day!

Mo (the lawnmower's) components for installation (e.g., instruction book, stakes)
Mo’s stakes needed to be prepared for installing.

It took us about 3 hours (including a break and a trip to the store for more wire) to install Mo’s boundary wire in our 1/3 acre yard. It was a fairly simple process, aided significantly by a measuring tool my husband crafted part way through the installation. We also got into a rhythm with assigned roles between the two of us. So, it went more quickly as the time passed.

The boundary wire is like an invisible dog fence. Mo follows it to get “home” when it’s time for a recharge (more about this another time), and he uses it to know where he should and shouldn’t mow.

If you will be doing this, the main things to know to install the wire are to:

This shows the grass burnt where it was cut short to ease the wire installation.
  • ignore Raise the Blade lawn mowing best practices for the day, and cut the grass quite short with a regular mower along the path where you will lay the wire. This eases the wire installation process.
Mower with two wheels on the driveway
  • plan to place the wire 14″ from edges you want the mower to avoid, and place the wire closer to edges where the mower can safely operate off of the grass. For instance, Mo can happily move along with two wheels on our driveway and two in the grass. That saves us time weed whacking along the driveway.)
  • plan to make corners into curves with the wire, as Mo (and his cousins) cannot make 90 degree turns.
  • Position the base so the mower can enter it in a counter-clockwise direction (that is, it will be moving from right to left to enter the base).
Tools for the installation include a hammer or rubber mallet, wire, stakes, and some way to measure 14" and 24".

Here is what was needed for the wire installation:

  • a hammer or rubber mallet
  • the stakes
  • wire
  • a way to measure 14″ and 24″ (the recommended distance between stakes)
Shows a person's knee with a knee pad, plus a hammer, a stake and the wire.

I found that wearing knee pads really helped my ability to crawl along the ground for the time it took to do the installation.

Overhead picture of a piece of wood and a measuring tape measuring 14" and 24" , respectively.

We originally used a measuring tape and a piece of wood to measure the 14″ and 24″, respectively. That was slow and cumbersome, however.

Shows a measuring tool in the shape of an L, with one length cut to 14" and the other to 24". This is used for positioning the wire.

At some point in the process, we advanced like ancient peoples discovering the wheel when my husband invented a tool specific to the task at hand. It measured 14″ inches wide and 24″ in length.

Shows a person's arms positioning the measuring tool on the grass with the wire aligned and one stake int he foreground.

Its size and L-shape allowed for the wire to be easily lined up at the correct distance from the edge of the grass, and for stakes to be placed 24″ apart.

Shows a person joining two wires.

Since we wanted Mo to do his job in both the front and back yards, we had to supplement the supplied wire with some from the local hardware store. We used wire cutters to strip the wire.

Shows a person twisting two wires together.

Then we simply twisted the two together, and sealed the connection point with electrical tape. (Note: We have had no issues with this junction or any others we have had to make for various reasons over the last few years. …Knock on wood I have not just blown our luck by saying that.)


Old dryer vent in house was where we ran the wire for the mower.

After the wire was installed, the installation was nearly complete! The last step was to install Mo’s home base where he returns to charge. The two ends of the wire simply connect to the base at provided connection points. Then the power cable on the base plugs into a standard outlet. We had an existing hole in our house from an old dryer vent, so we ran the power cable through that to reach an indoor outlet, and then sealed up around it.

Image from Mo Farah's Official website at http://www.mofarah.com/#images

That’s all there was to it! Below (if you click on the photo) is a link to a video of Mo’s maiden mowing expedition (which followed him taking one victory lap around the entire boundary wire in Sir Mo Farah-style). We didn’t see him doing the Mobot in celebration like Sir Mo in this photo I found on his official website, but we will keep our eyes peeled for that!

Click on the image above to view a video of Mo’s maiden voyage.