It took us about 3 hours (including a break and a trip to the store for more wire) to install Mo’s boundary wire in our 1/3 acre yard. It was a fairly simple process, aided significantly by a measuring tool my husband crafted part way through the installation. We also got into a rhythm with assigned roles between the two of us. So, it went more quickly as the time passed.
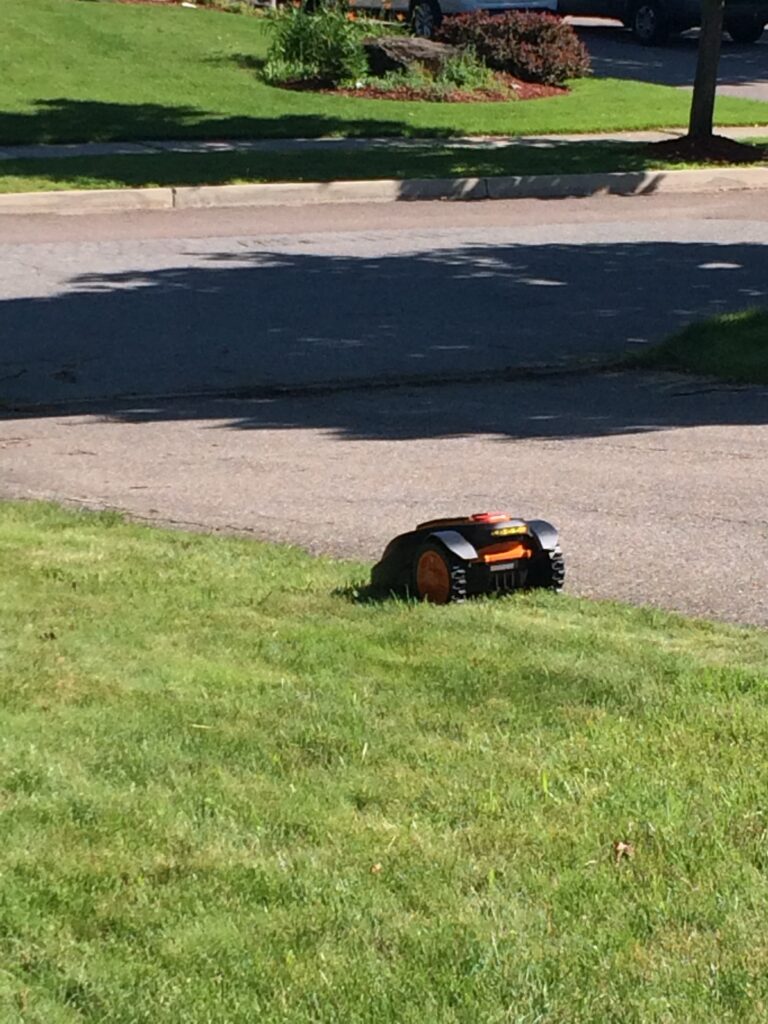
The boundary wire is like an invisible dog fence. Mo follows it to get “home” when it’s time for a recharge (more about this another time), and he uses it to know where he should and shouldn’t mow.
If you will be doing this, the main things to know to install the wire are to:
- ignore Raise the Blade lawn mowing best practices for the day, and cut the grass quite short with a regular mower along the path where you will lay the wire. This eases the wire installation process.
- plan to place the wire 14″ from edges you want the mower to avoid, and place the wire closer to edges where the mower can safely operate off of the grass. For instance, Mo can happily move along with two wheels on our driveway and two in the grass. That saves us time weed whacking along the driveway.)
- plan to make corners into curves with the wire, as Mo (and his cousins) cannot make 90 degree turns.
- Position the base so the mower can enter it in a counter-clockwise direction (that is, it will be moving from right to left to enter the base).
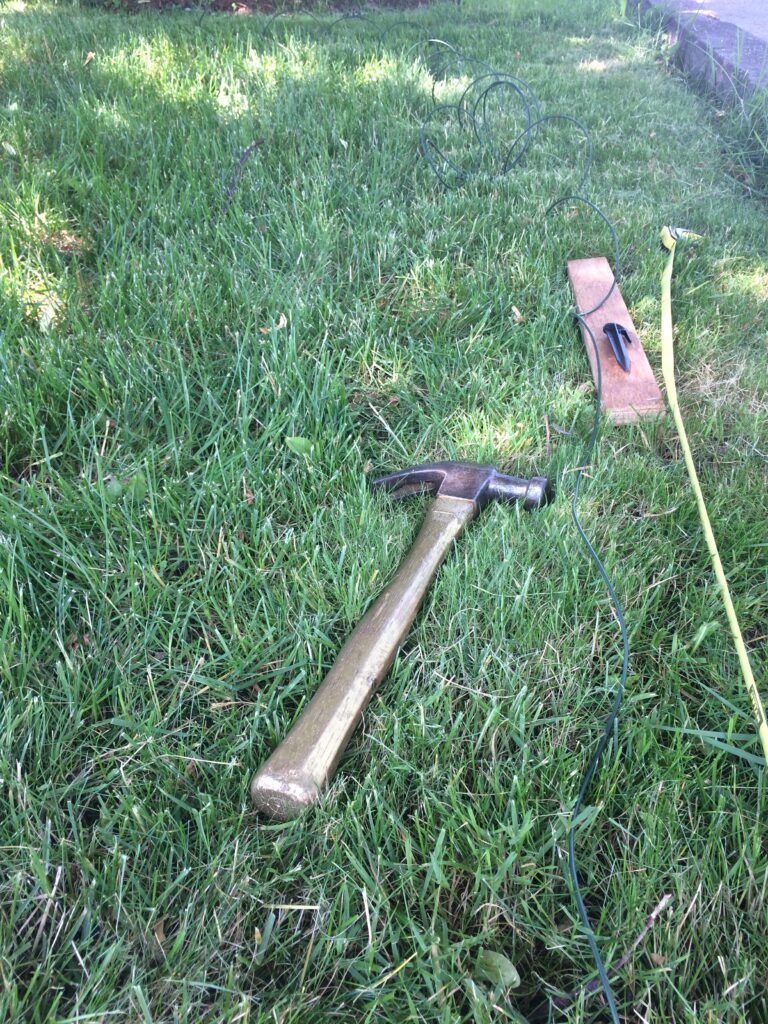
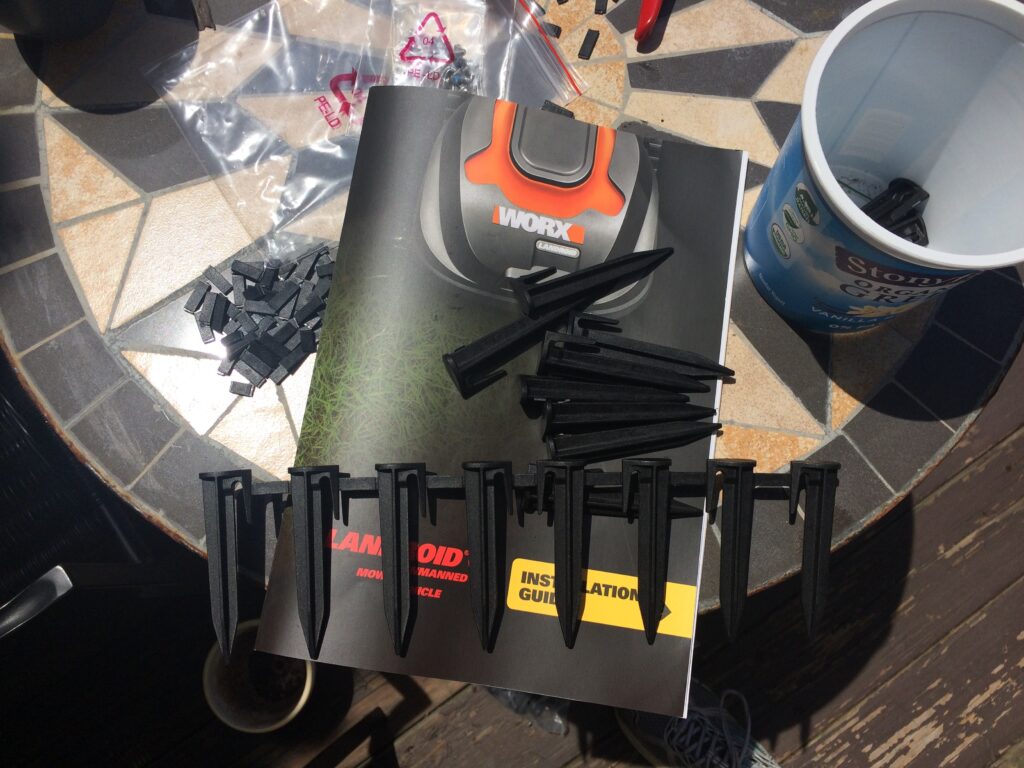
Here is what was needed for the wire installation:
- a hammer or rubber mallet
- the stakes
- wire
- a way to measure 14″ and 24″ (the recommended distance between stakes)
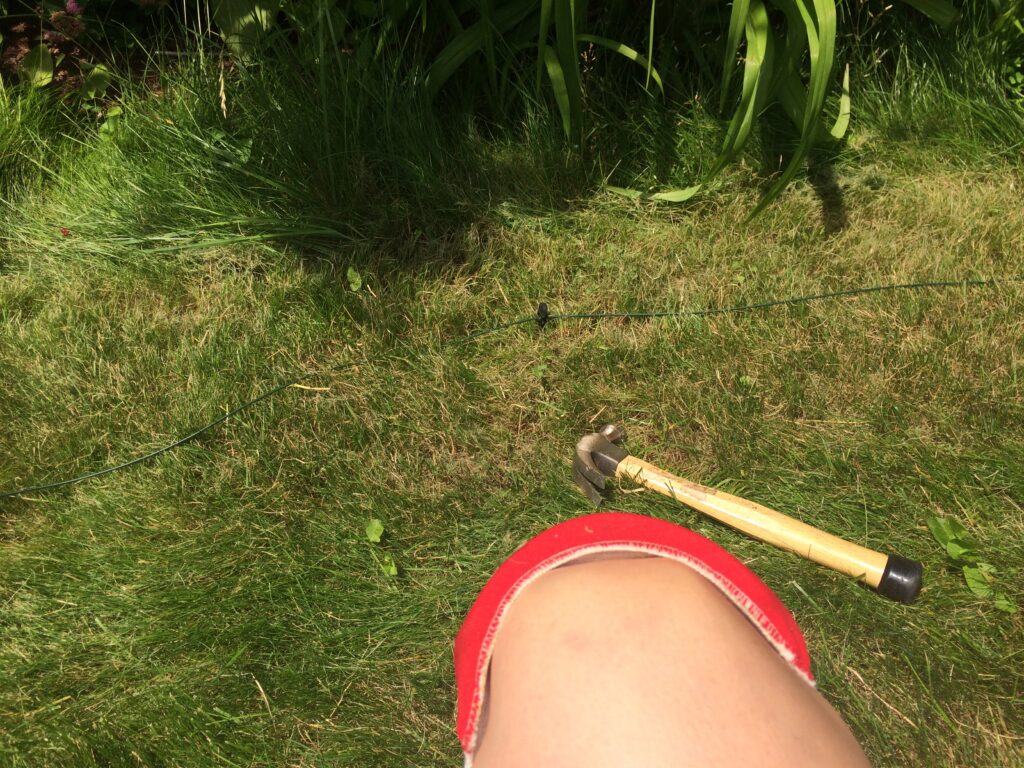
I found that wearing knee pads really helped my ability to crawl along the ground for the time it took to do the installation.
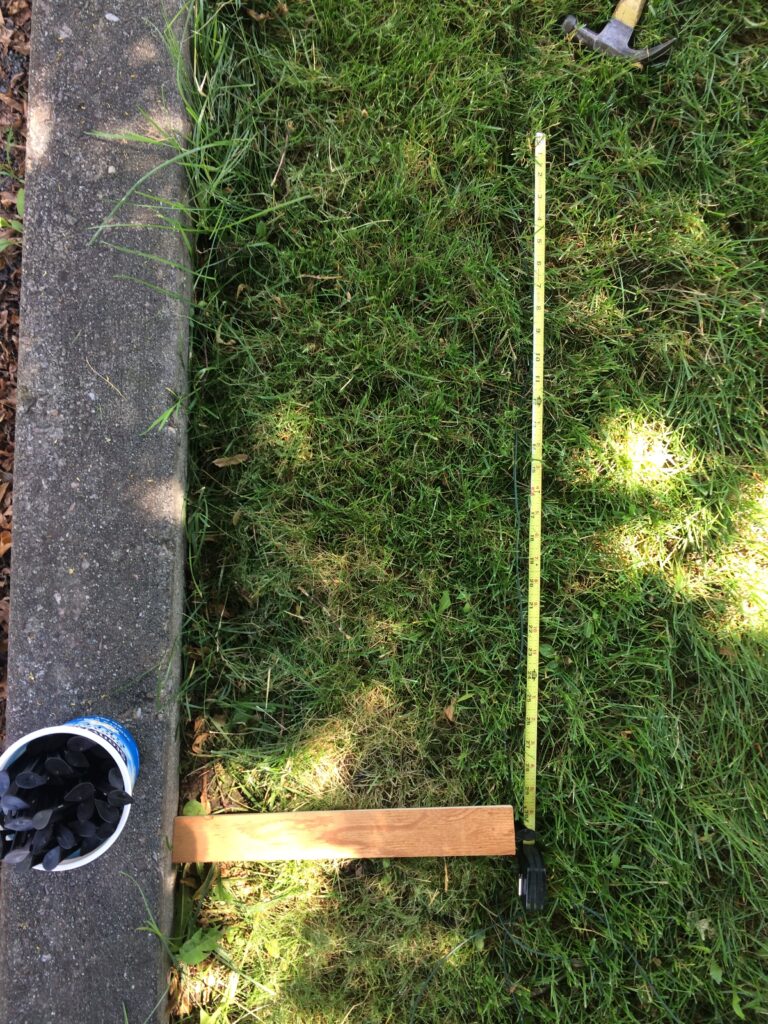
We originally used a measuring tape and a piece of wood to measure the 14″ and 24″, respectively. That was slow and cumbersome, however.

At some point in the process, we advanced like ancient peoples discovering the wheel when my husband invented a tool specific to the task at hand. It measured 14″ inches wide and 24″ in length.
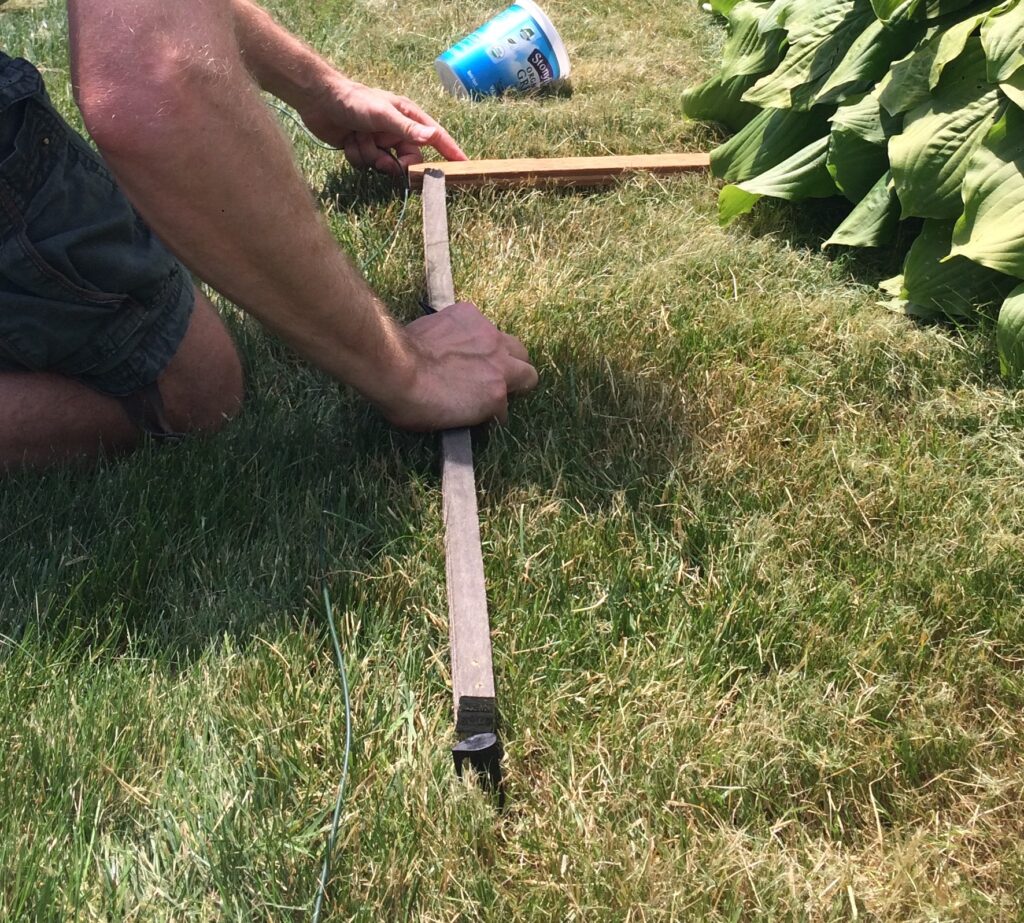
Its size and L-shape allowed for the wire to be easily lined up at the correct distance from the edge of the grass, and for stakes to be placed 24″ apart.
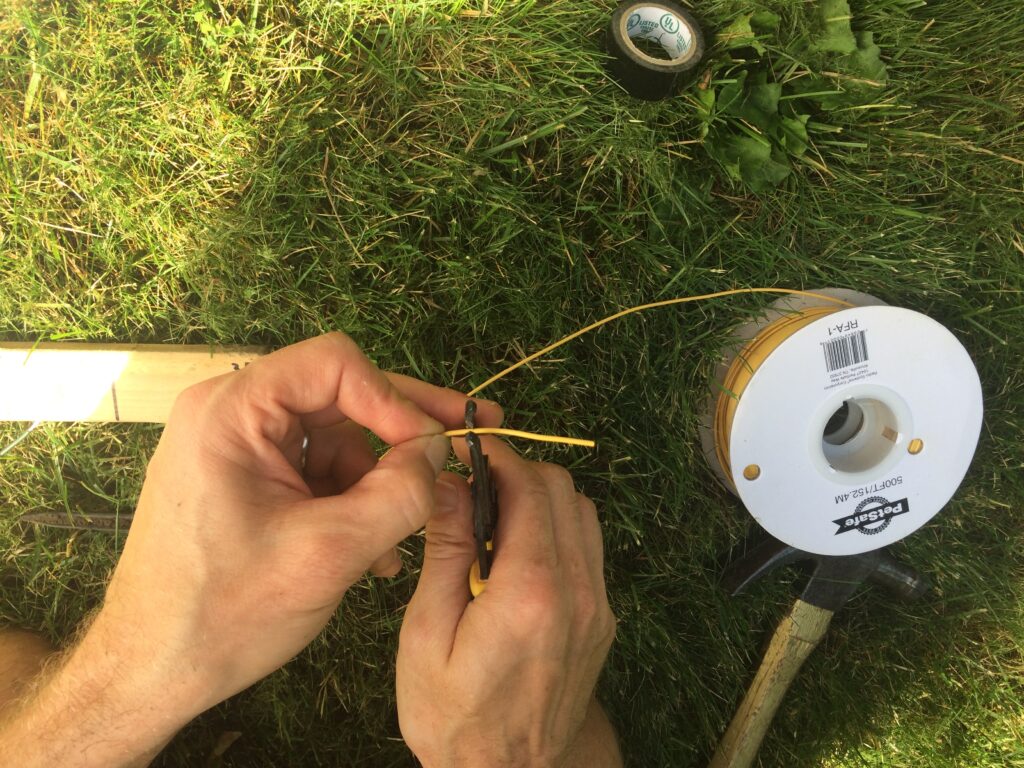
Since we wanted Mo to do his job in both the front and back yards, we had to supplement the supplied wire with some from the local hardware store. We used wire cutters to strip the wire.
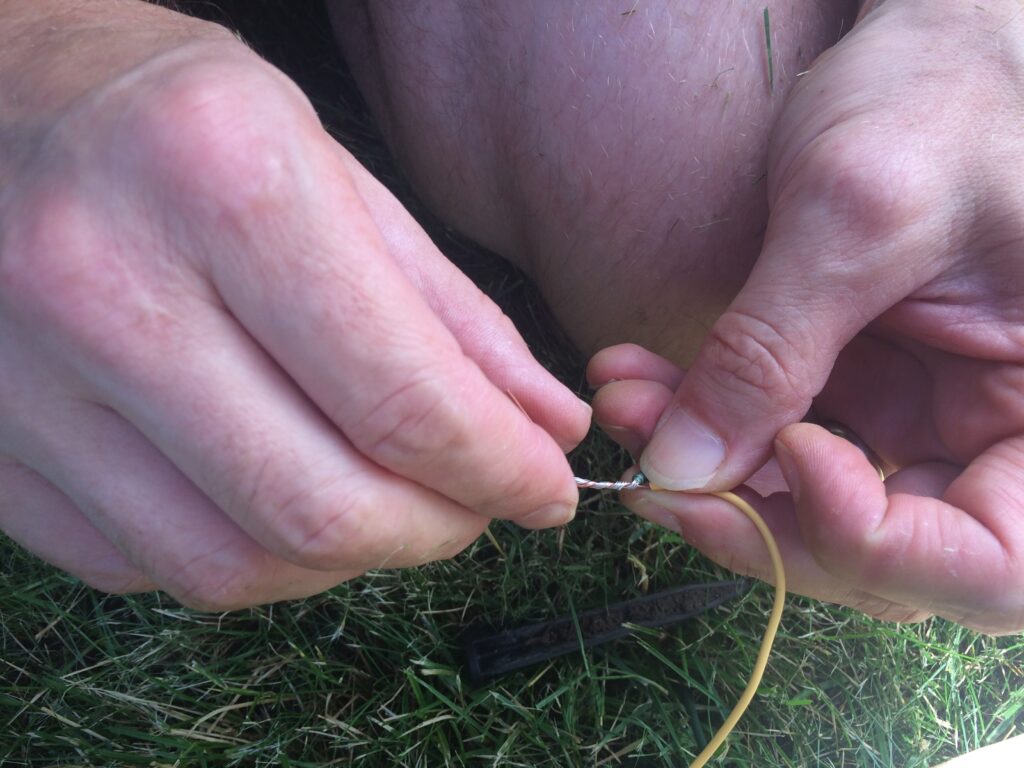
Then we simply twisted the two together, and sealed the connection point with electrical tape. (Note: We have had no issues with this junction or any others we have had to make for various reasons over the last few years. …Knock on wood I have not just blown our luck by saying that.)
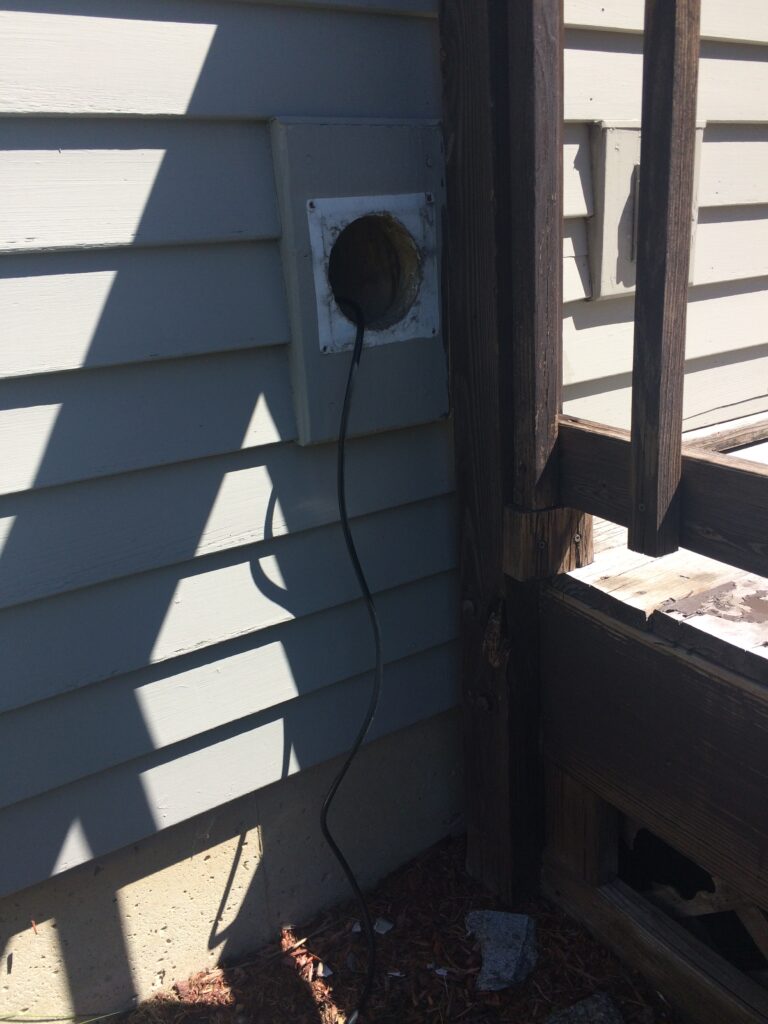
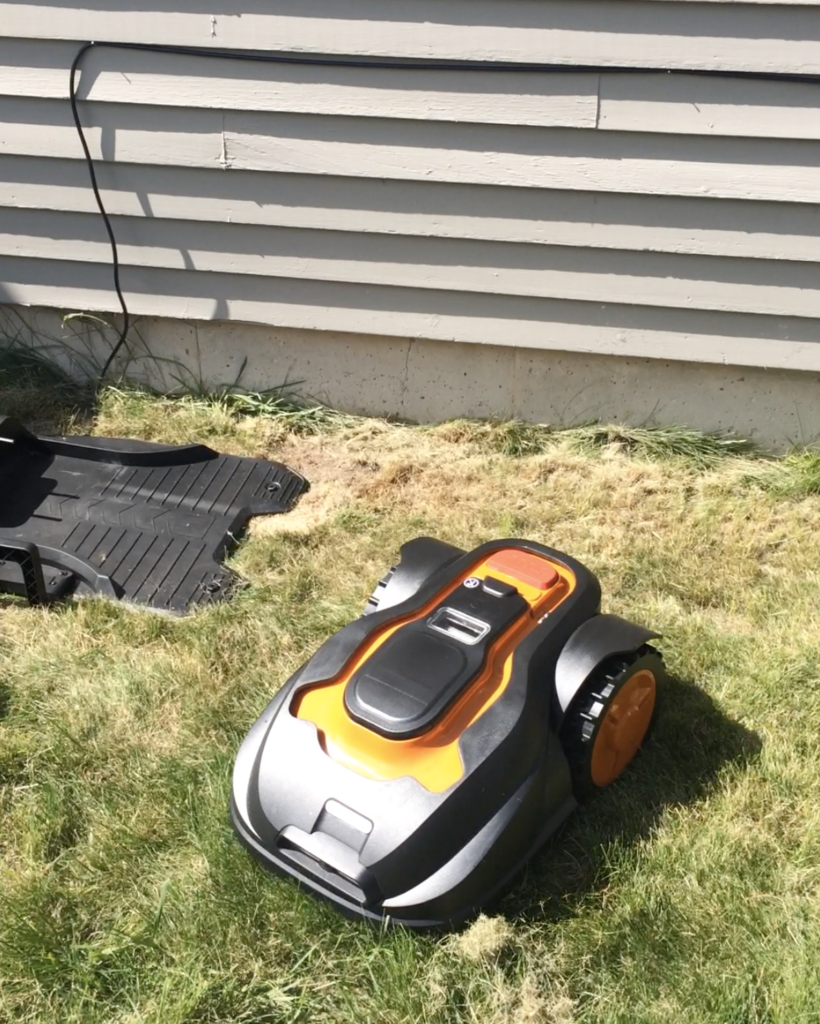
After the wire was installed, the installation was nearly complete! The last step was to install Mo’s home base where he returns to charge. The two ends of the wire simply connect to the base at provided connection points. Then the power cable on the base plugs into a standard outlet. We had an existing hole in our house from an old dryer vent, so we ran the power cable through that to reach an indoor outlet, and then sealed up around it.

That’s all there was to it! Below (if you click on the photo) is a link to a video of Mo’s maiden mowing expedition (which followed him taking one victory lap around the entire boundary wire in Sir Mo Farah-style). We didn’t see him doing the Mobot in celebration like Sir Mo in this photo I found on his official website, but we will keep our eyes peeled for that!