
This describes what to expect the first time you run Outlook 2016 on a CHWB Windows computer. For access from your own computer at home we recommend Outlook Web Access (OWA).
STEP 1: Double-click the Outlook 2016 icon to start it up. The icon will be on your desktop or Start menu.
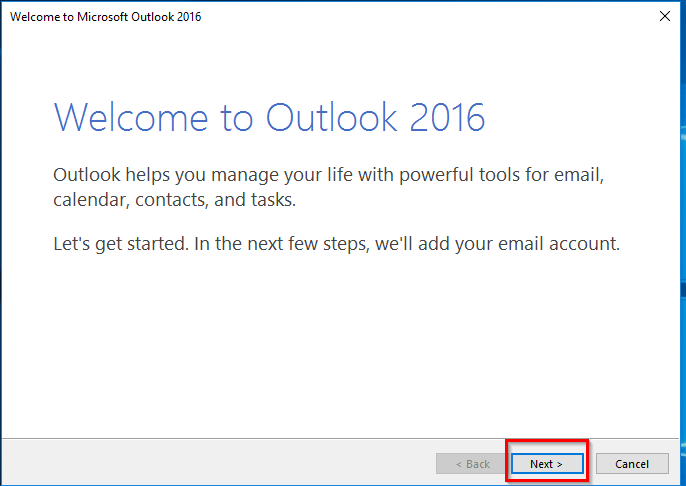
STEP 2: Read the Welcome screen and click Next.
STEP 3: in the Add an Email Account screen, make sure “Yes” is selected (it’s the default) and click Next.

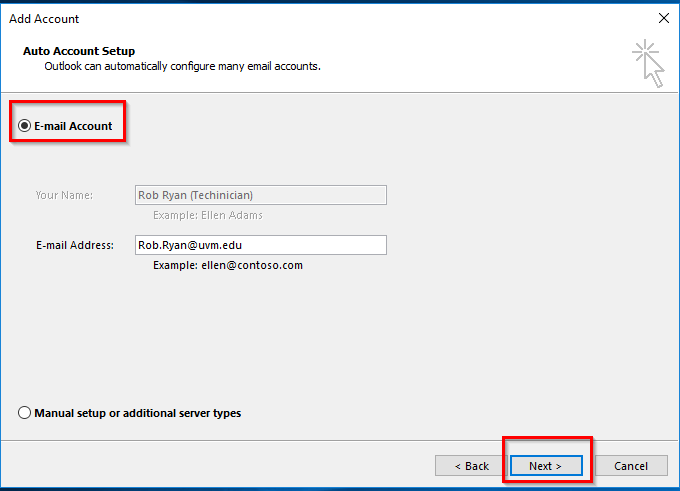
STEP 4: the Auto Account Setup screen will automatically fill in your name and email address. Click Next.
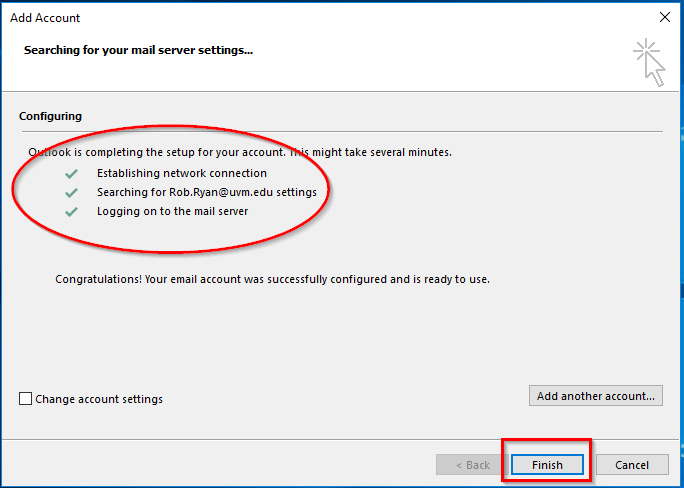
STEP 5: Outlook will complete the setup for your email account. Once it is fully configured (three green checkmarks), go ahead and click the Finish button. You’re done!
You might also be interested in this article: Add An Email Signature