 Through conversations, workshops, and a recent survey, we know that farmers are highly motivated to understand and implement best management practices on fields with subsurface drainage tiles so that both environmental and production risks can be minimized. The University of Vermont Extension Northwest Crops and Soils Program is offering a tile drainage webinar series to provide you with the following:
- Learn about best management practices to use on tile acreages.
- Increase knowledge on how farmland with subsurface tile drainage may affect water quality.
- Increase knowledge about how Required Agricultural Practices (RAPs) affect the use of subsurface tile drainage.
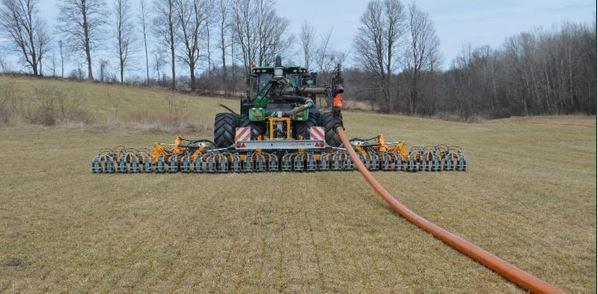
- Learn about end-of-tile treatments.
Each webinar will be from 9:00 to 10:00 a.m. — just a quick break before heading back out to the barn, field, or computer. Learn about tile drainage by attending one or all of the webinars. Attend all five webinars and enjoy a doughnut on us! Just go to go.uvm.edu/drainageanddoughnuts on each webinar date.
Dates, topics, and speakers include:
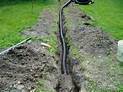
Wed, Oct 24, Introduction to Tile Drainage – Joshua Faulkner, UVM, and Results from Tile Drainage and Conservation Survey – Heather Darby, UVM
Fri, Oct 26, Tile Drainage and Management in Wisconsin – Matt Ruark, University of Wisconsin—Madison
Wed, Oct 31, Tile Drainage and Management in New York – end of tile treatment, Eric Young, USDA ARS
Fri, Nov 2, Tile Drainage and Management in Ohio, Lindsay Pease, UMN and USDA ARS
Thu, Nov 8, Update on RAPs and tile drain rule amendment, Ryan Patch, VAAFM
For more information, please contact Susan Brouillette, susan.brouillette@uvm.edu or Heather Darby, heather.darby@uvm.edu or by phone 802.524.6501.
 Malt Barley and Hop Quality is just one of the afternoon sessions you can choose to attend at the Annual Crops & Soils Field Day on July 26th at Borderview Farm in Alburgh, VT. Andrew Peterson of Peterson Quality Malt will talk about malt barley quality and scouting for grain diseases.


You must be logged in to post a comment.