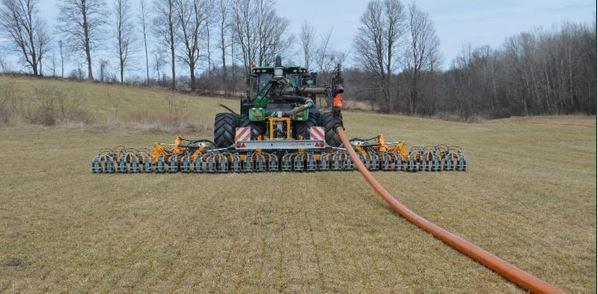
The University of Vermont Extension, in conjunction with the Natural Resources Conservation Service and The University of Maine Cooperative Extension, is offering a free No-Till Intensive Training for Agricultural Service Providers (ASPs)! Deadline to sign up is October 15, 2018.
The No-Till Intensive Training will include three parts:
1. Online Trainings – 8 CCA credits, 1 Pesticide credit
A webinar series will host a farmer, researcher, or other expert practitioner. The online classes will discuss common obstacles to implementing a successful no-till program, address these issues through field proven technical knowledge, and follow a training plan that will best enable the ASP to support the farmers in the no-till practice transition. The webinars are scheduled to meet from 11 a.m. to 12:30 p.m. every other Monday starting on November 5, 2018 and ending on February 18, 2019.
2. No-Till & Cover Crop Symposium – 5 CCA credits per event
Participating ASPs will have the opportunity to attend both the 2019 and 2020 symposiums at no cost to them! Next year’s event is scheduled for February 28, 2019 in Burlington, Vermont.
3. In-Field Intensive Training – 6 CCA credits per training
Four (4) in-field intensive trainings will be offered during Summer/Fall 2019. Participating ASPs are required to attend at least one. The in-field intensives will be held in Maine, Massachusetts, and Vermont. They will be hosted by local collaborating farms that have incorporated no-till into their crop management systems. These hands-on workshops will foster a stronger working knowledge of no-till equipment, soil health, fertility, and technology used to make no-till systems successful.
Enrolled ASPs must commit to attend ALL webinar trainings and ONE in-field intensive training.
To register, go to https://no-till-intensive-trainings.eventbrite.com. Or contact Catherine Davidson at (802) 524-6501, ext. 445, with registration and/or training related questions. Please request a disability-related accommodation upon registering if needed.
This material is based upon work supported by the National Institute of Food and Agriculture, U.S. Department of Agriculture, through the Northeast Sustainable Agriculture Research and Education program under sub-award number LNE18-149.
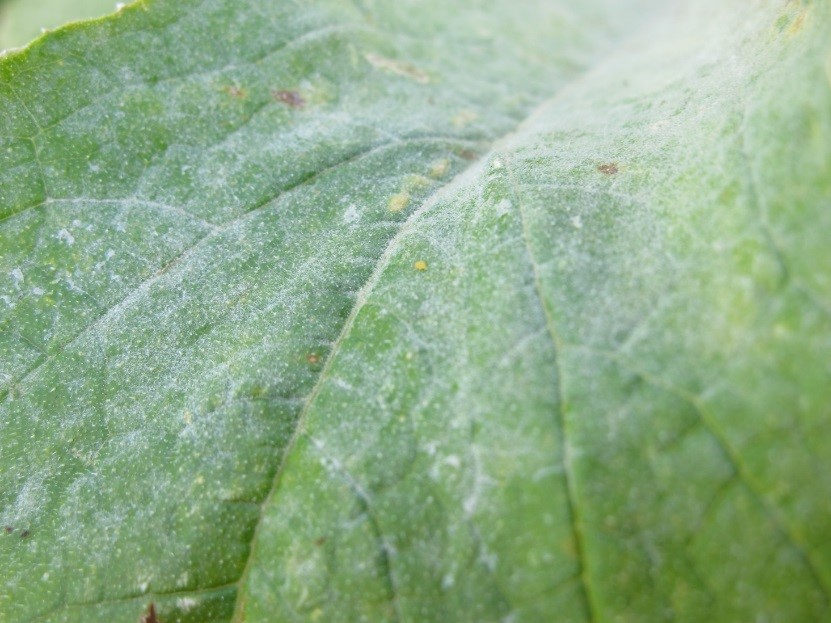
 Malt Barley and Hop Quality is just one of the afternoon sessions you can choose to attend at the Annual Crops & Soils Field Day on July 26th at Borderview Farm in Alburgh, VT. Andrew Peterson of Peterson Quality Malt will talk about malt barley quality and scouting for grain diseases.


You must be logged in to post a comment.