HTC Thunderbolt with SyncML
HTC Android Thunderbolt and SyncML
These directions assume that you have already activated your Android phone and have become familiar with its menu and navigation.
-Locate the cutesy “Android Market” Icon on your phone’s desktop, will resemble this:

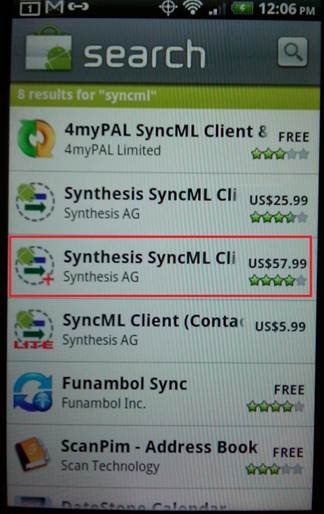
-Once in the market, click on the magnifying glass icon and search for “SyncML” and you will get several hits. The products long name is “Synthesis SyncML Client (Pro and or Standard).
Key point! SyncML Pro will automatically synchronize your contacts at an interval of your choosing, whereas SyncML “standard” requires that you tap the sync button to sync your calendar. There is a significant price difference so you much decide which you prefer and the value of automatic syncing.
-For my purposes, I’m choosing the Pro version of the software. (Outlined in red).
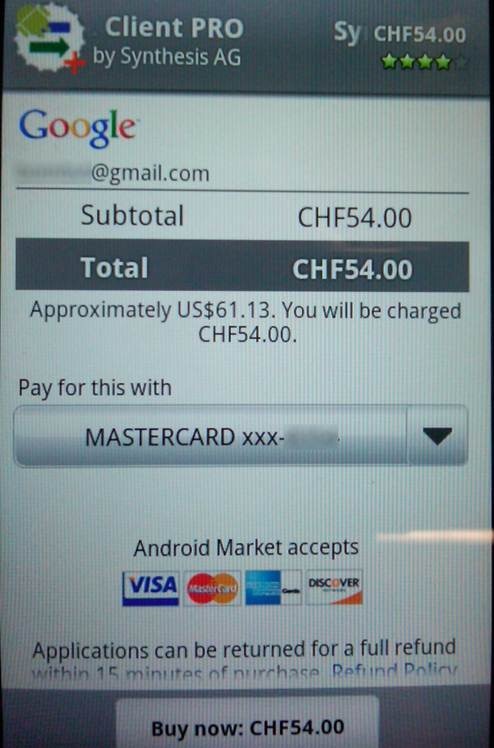
Upon setting up your Android, you will have either entered your Gmail account information, or you will obtain a gmail account. Using the market requires that you have one, and enter your credit card (or pur card) information into their interface.
The screen below shows the transaction (I have done some redacting for privacy.)
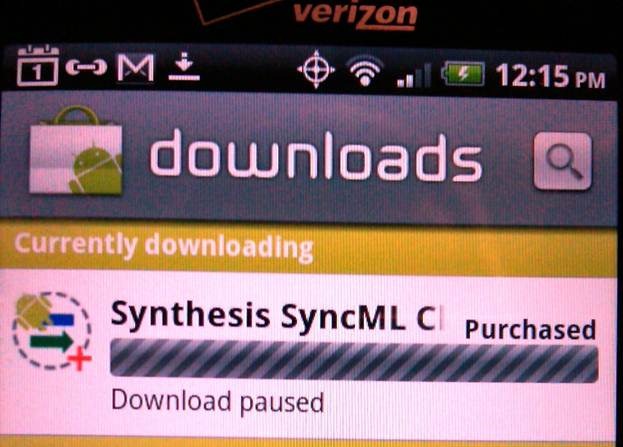
Meanwhile your copy of the SyncML client will be downloading.

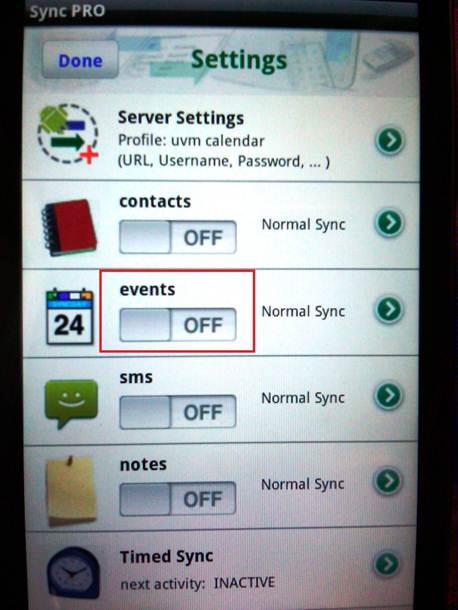
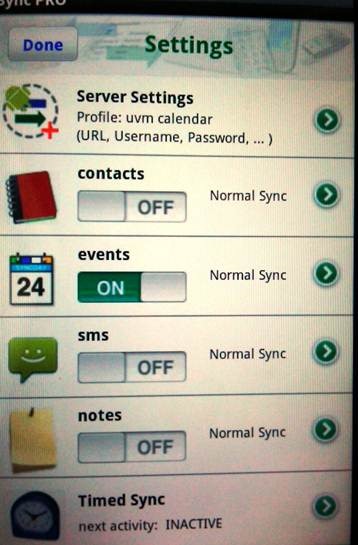
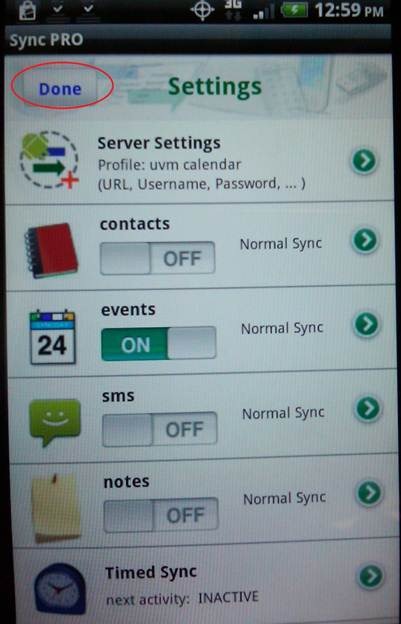
Click the “On” button.
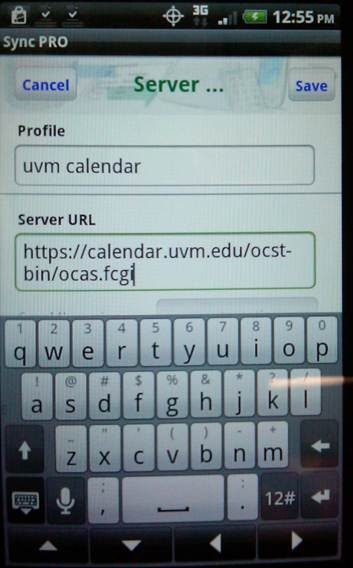
Click the Green arrow to the right of the Events section and enter as follows (case sensitive), Hit “save” when complete.
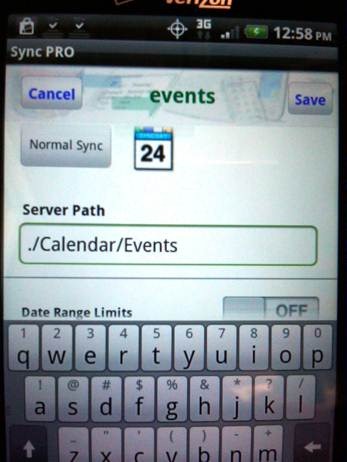
We recommend limiting the date range as shown, expanding beyond this tends to cause errors.
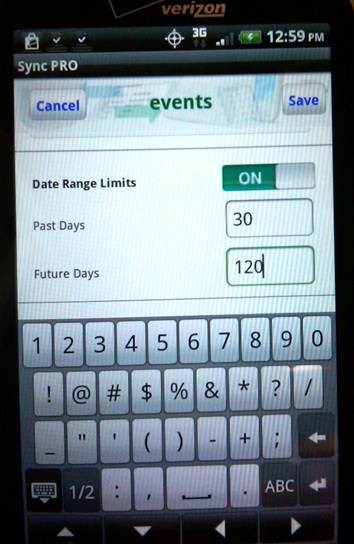
Hit “save” when complete. Then “Done” see below
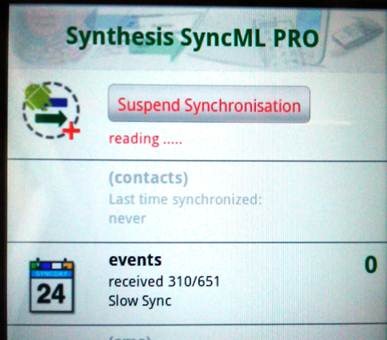
Start synchronization:
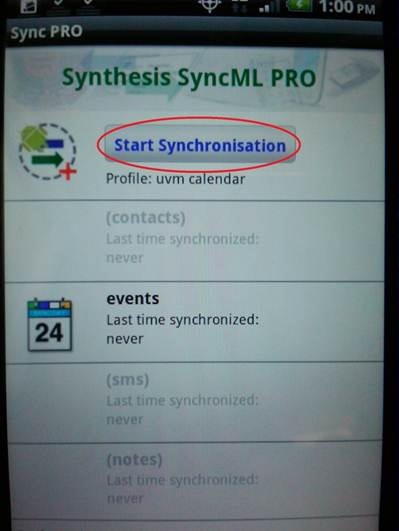
The process will resemble this.
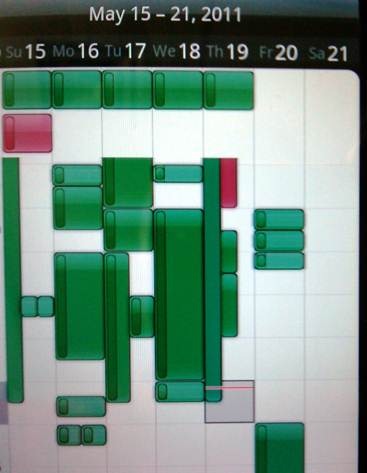
Your calendar on your Android should resemble this: