First off let me tell you that configuring syncML on android devices is a “PAIN” and that I strongly recommend using the UVM calendar web page at “calendar.uvm.edu” with your browser instead.
Having said this if you want to use syncML from synthesis you can and here is a rough road map.
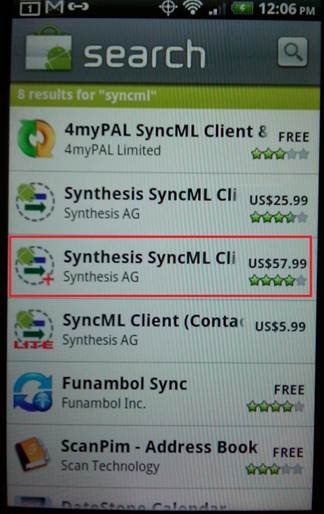
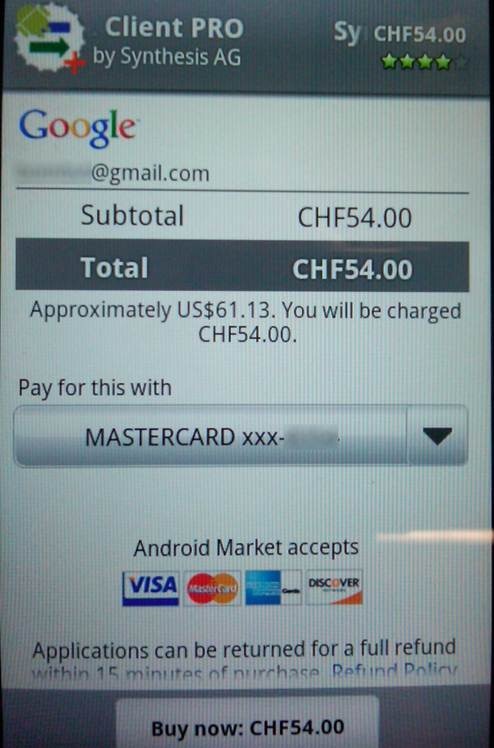
You can purchase the software at the link below, the “pro” version will sync automatically and the “standard” version requires that you hit the “sync” button in the application to make the synchronization happen.
http://www.synthesis.ch/
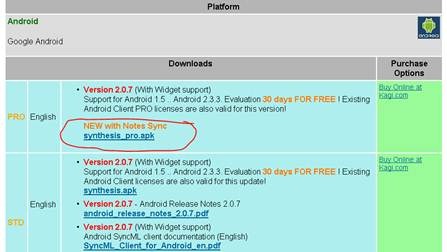
in the section on the left of the page you will find a “download” link, go to client downloads and locate the one for Android, click in there. I suggest the “pro” client.
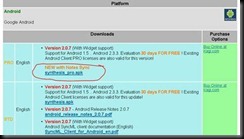
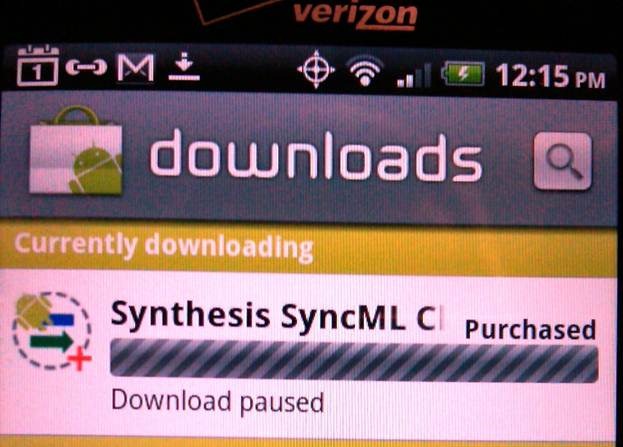
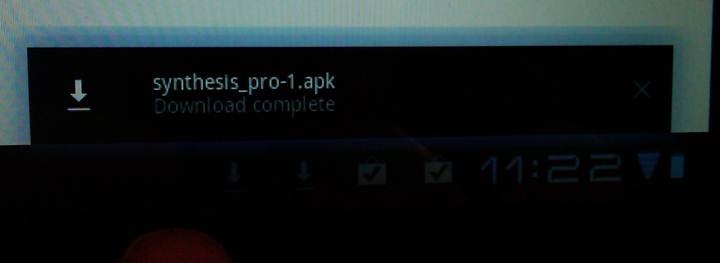
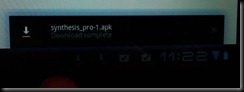
Skip the section that asks for your name address etc, and go to the bottom of the page, check, the “I have read…” and hit the “download now” link. Once the application has downloaded, you will see an indication in the lower right of your screen.
Tap on this and as to open it and the tablet will complain that the application comes from an unknown source. You will need to follow the link to authorize “Unknown Sources”. (When this entire process is complete I recommend turning this important security feature back on.)
When you start the syncML application, you can use the icon below in the “apps” menu.

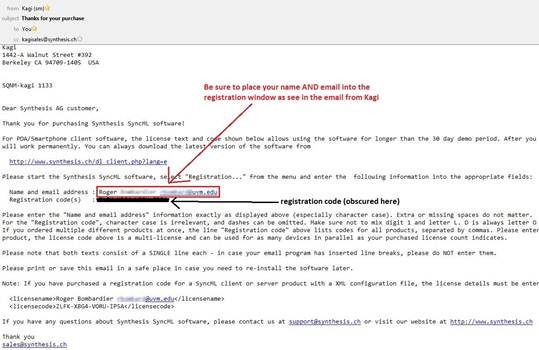
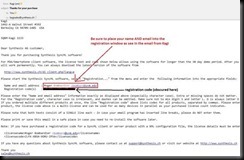
You will be asked to register your product, when you purchased it, you will have been sent an email with your license code.
IMPORTANT: Be sure to put your name and email where it says “name and email” in the registration window and type it exactly as show in the email you received. I have obscured my registration code below.
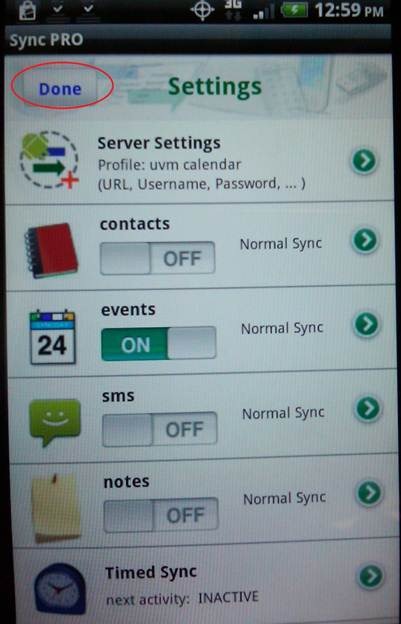
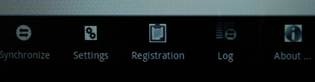
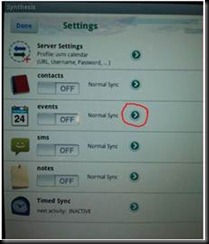
The “settings” menu may be reached by taping the menu on the lower center that looks like a grid and selecting the icon called “settings” shown below:

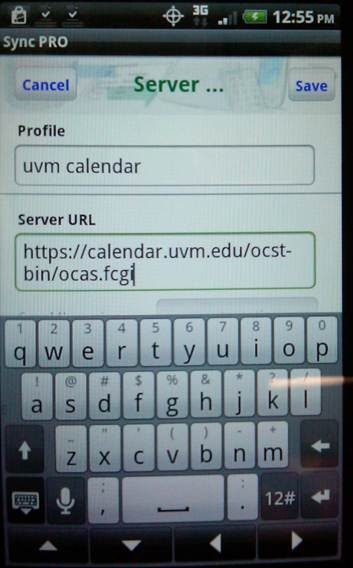
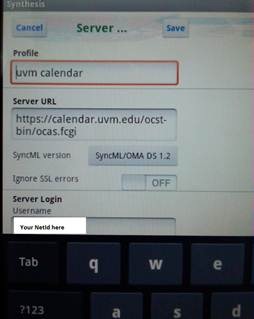
By tapping the URL field, you may enter the path to UVM’s Oracle Calendar server:
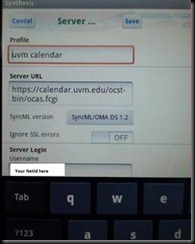
https://calendar.uvm.edu/ocst-bin/ocas.fcgi
(SOME OF THIS TEXT HAS BEEN STOLEN FROM OUR IPHONE PAGE, apologies to the real author, whoever you are)
The above URL is continuous when entered, no spaces. Double check this entry carefully. Use the Save button on the top right when finished. Next, scroll down just a bit (by swiping upwards) and tap the User field under the Server Login heading. Enter your UVM NetID here. Now tap the Password field and enter your NetID password and save these settings.
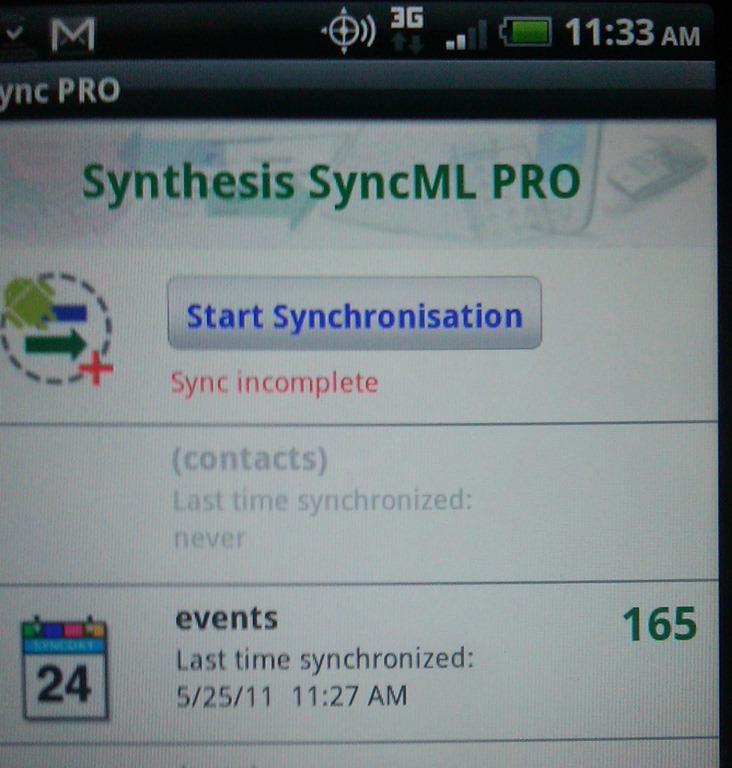
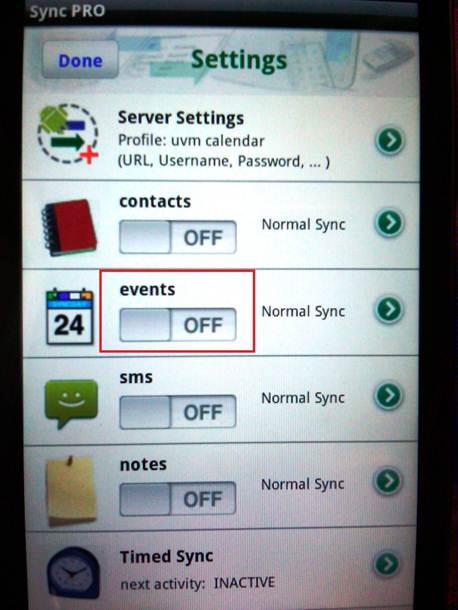
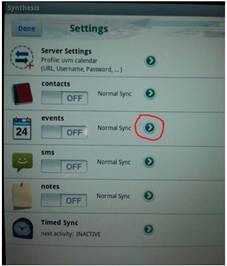
In the menu below, click on the green arrow to the right of the “events” heading:
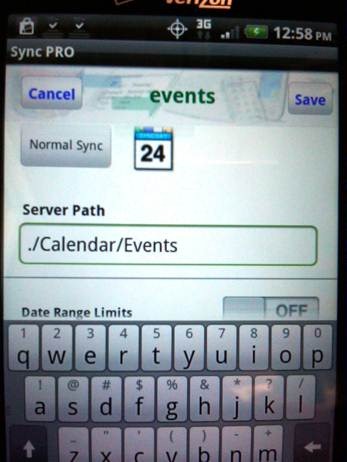
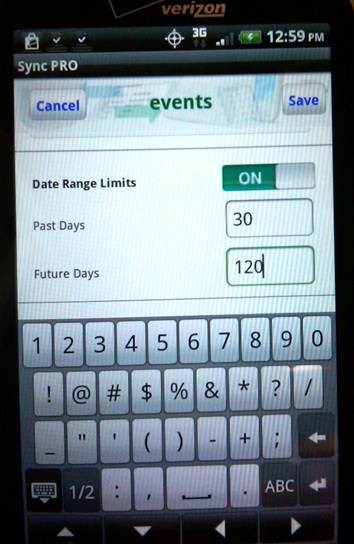
In the “Server Path” window type “./Calendar/Events” (include the period at the left and include upper case letters), Here you can also designate the date range of your syncronization. We offically recommend not exceeding 30 days in the past and 120 days in the future. Going outside this tends to cause failure.
tap “Save”
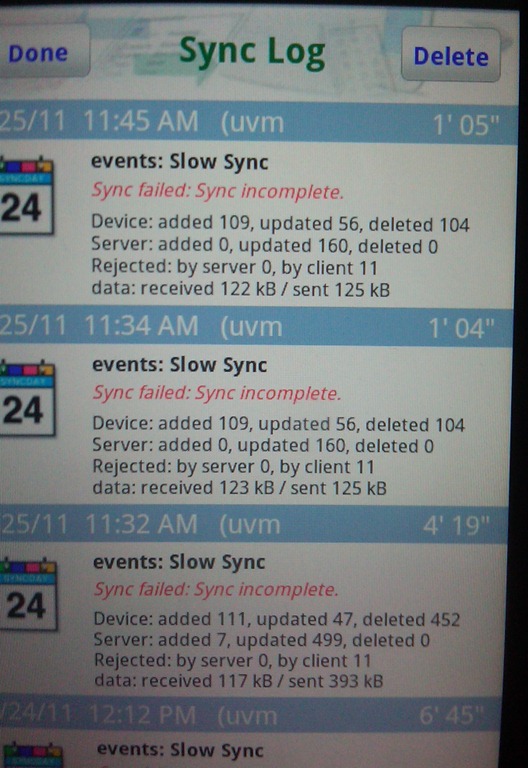
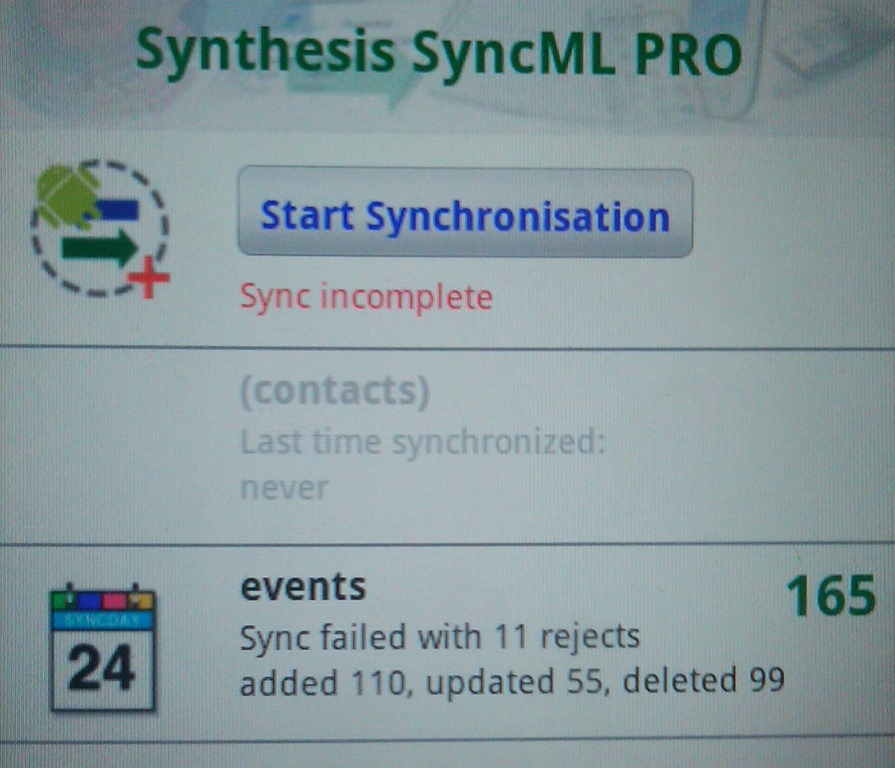
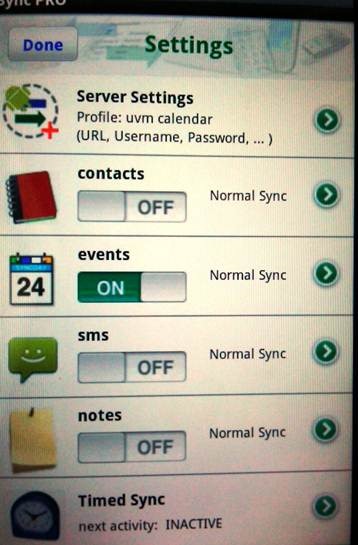
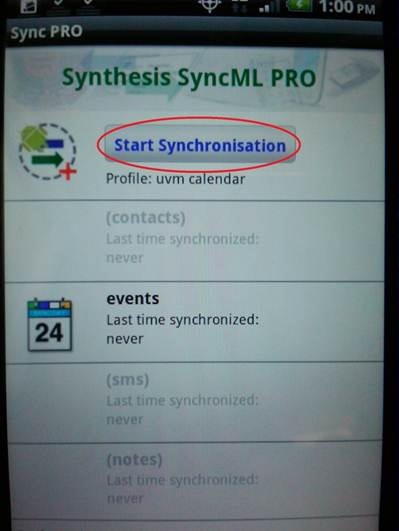
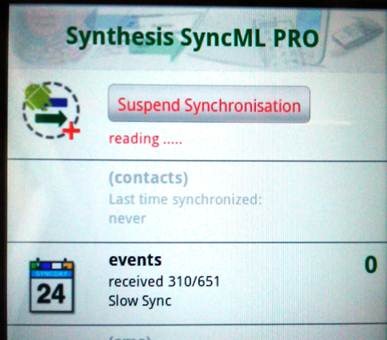
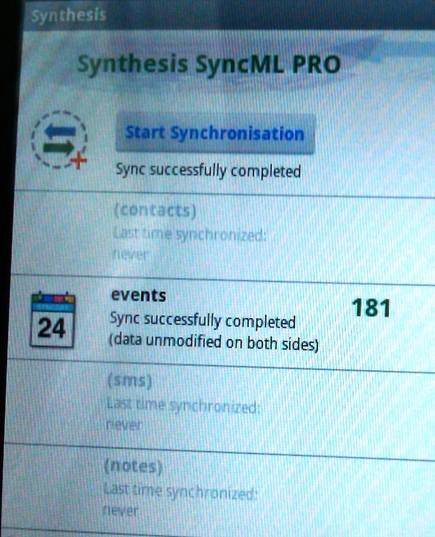
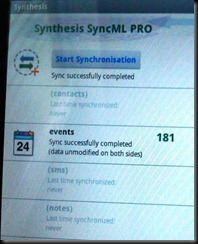
Once complete tap the “Done” button at the top of the settings window and tap the “Start Synchronization” button at the top of the main page menu. You should see numbers appear and an indication that the “Sync successful completed”.
To set your sync interval go to the “setting” menu off the main menu (grid icon lower left part of the screen) and click on the “Timed Sync” icon. In there you can set how often you want the synchronization to occur.
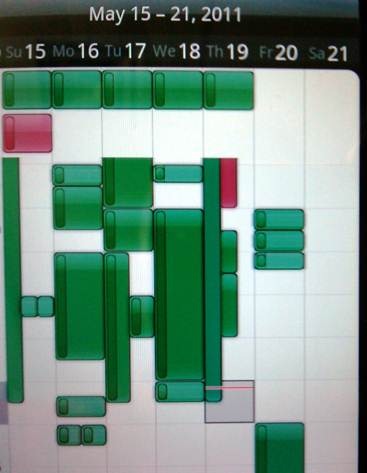
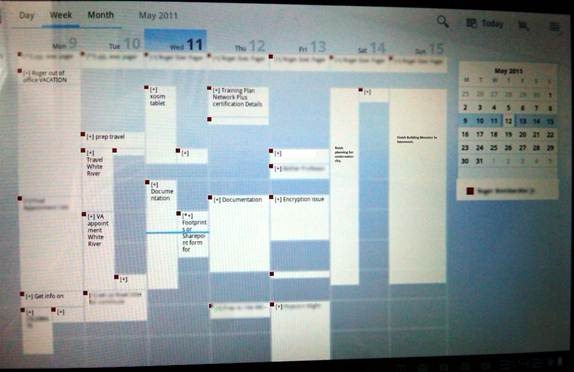
When you return to the tablets “app” screen locate your Calendar application, the icon will resemble this.

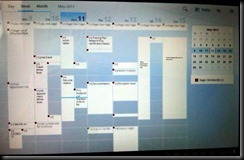
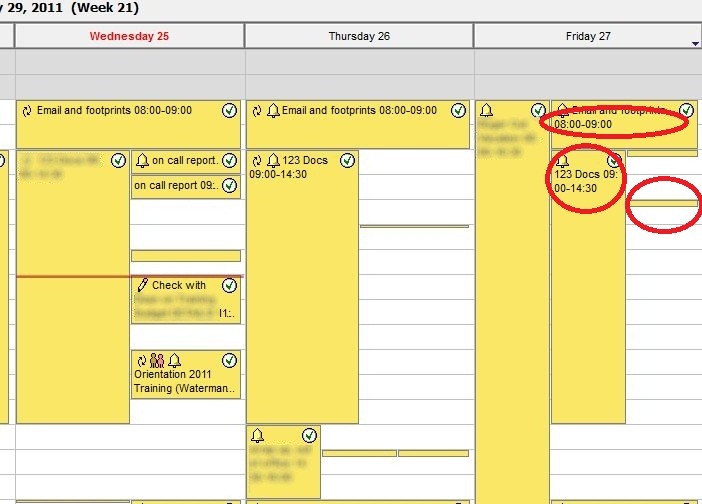
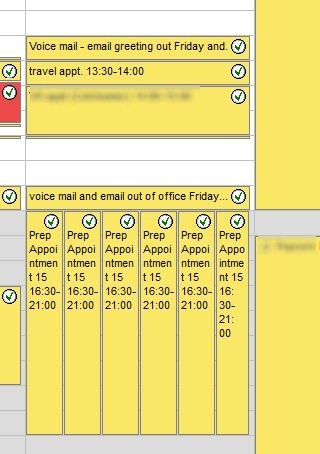
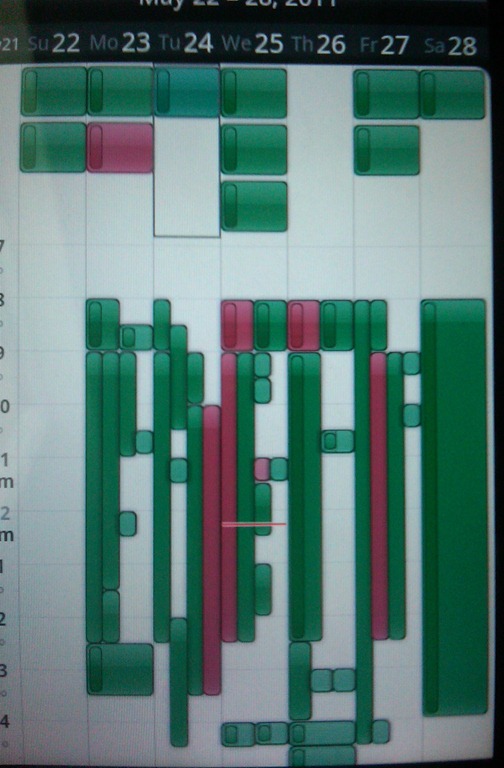
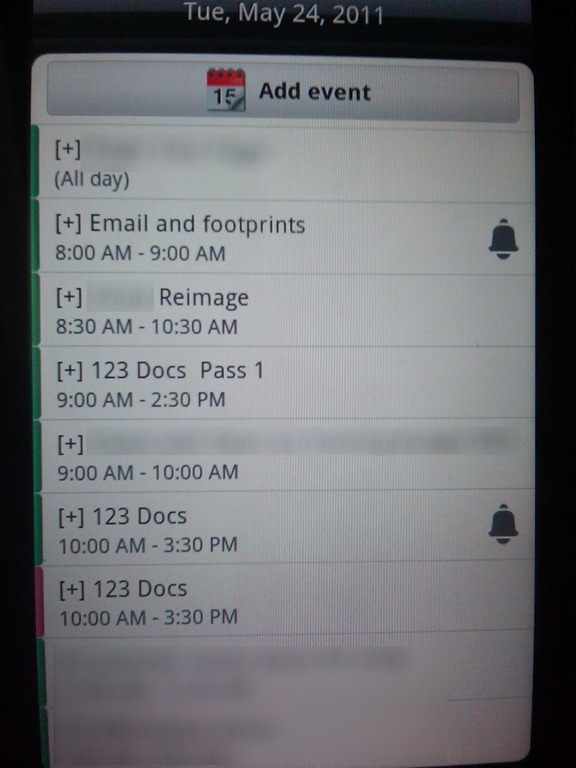
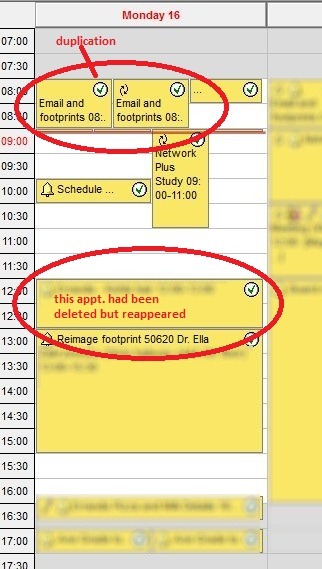
Now, as you can see, the scintillating joy that is my calendar is synchronized on the tablet.