
New in MS Word 365 is Read Aloud. It’s a pretty straightforward, stripped down/simplified text-to-speech (TTS) tool. If you have dyslexia or otherwise are having a difficult time finding typos in your work, try this feature. It’s very helpful.
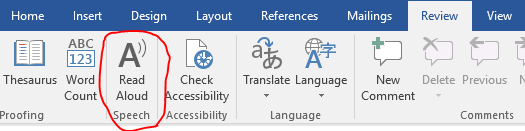
To turn it on, just head over to the Review tab and click on the Read Aloud button.
It’ll automatically start reading from your cursor forward. Traditional icons for audio playback will float in the top right corner of your document window. These include play/pause, skip back (one paragraph), ad skip forward (one paragraph).
There is an icon of a dude with radio waves coming out of his head. That’s the settings button.
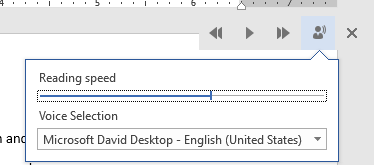
I like cranking the speed up by a few notches. You can also switch to other installed voices. I’m a fan of David’s sonorous speech. I’d totally pay a few bucks to have a Gilbert Gottfried voice though.
What if you have an older version of MS Word? Well, before this feature was released, I was using WordTalk v4.3. It’s a free, standalone app from the folks at the University of Edinburgh. It has some nice keyboard shortcuts that you can enable. The interface is very klunky though. In a pinch, it’ll do the trick.
2017-09-28 update
After using Read Aloud consistently for the past month, I still enjoy and recommend its use. However, I find it to be a bit glitchy with documents that have many co-author comments or embedded references from Zotero. In these documents, the playback will stop mid-word on occasion.
There are also some keyboard shortcuts for Read Aloud, documented here:
- CTRL+Alt+Space – Start or quit Read Aloud
- CTRL+Space – Play/pause
- CTRL+Left arrow or CTRL+Right arrow – Skip back or forward a paragraph
- Alt+Left or Alt+Right – Decrease or increase reading speed
2017-11-08 update
I received a new computer that ships with MS Office 2016, not 365. Read Aloud isn’t in Office 2016. It turns out that you can enable the older Text-to-Speech functionality in a pinch. If you don’t have the MS Speech Platform installed, you can download it here.
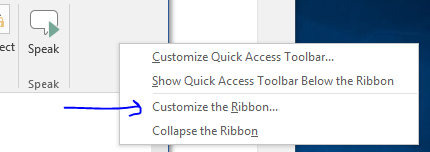
First, right click on the ribbon and select “customize the ribbon”.
Next, make a new group under the Review tab. I called mine Speak. Then under Choose Commands From, select All Commands. Scroll down to Speak and add it to your new group called Speak. Hit save.
You should now have a Speak button on your Review tab. Highlight what you want it to read and click Speak. Click it again to stop the reading.
You can adjust the reading speed under the Windows Control Panel –> Speech Recognition –> Text to Speech (on the left).